Maria would never admit it but she makes a pretty darn good pie….so excited she is here to share one of her best recipes! Thank you sister…

Let me just say, there is something spectacular when you bake a pie. Making a Strawberry Rhubarb pie makes for some summer magic. I never heard of it until I moved to Kansas and it is a local favorite here.Making a pie may sound scary to most people. It was for me. I have many a pie story, but going to a pie baking class helped change my perspective. Let me put you at ease and tell you it isn’t so bad, and the more I practice, the easier and more enjoyable the experience becomes.Here’s my trick…I make the crust months or weeks or days before I know I’m going to actually make the pie. It takes the pressure off and cuts the time in half. Or if your blood pressure rises just thinking about making a pie crust, then skip making it all together and buy a ready made pie dough and make the rest. Then when you get really comfortable and are up for a challenge, you can take the training wheels off and I dare you someday to try make a pie from scratch.
Trust me, it’s a huge sense of accomplishment, I’m pretty sure I get endorphins from doing it ;)…but then again, I have a weird passion for food.
The Pie Dough
If you want to try crust from scratch, you will use one ball of dough from Country Pie Crust Recipe
Or 1 Ready Made Pie Dough (for top and bottom shell)
Strawberry Rhubarb Pie Recipe:
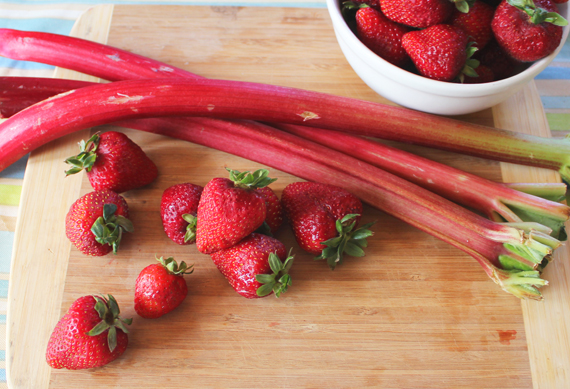
3 Cups of Strawberries (sliced and quartered)
3 Cups of Rhubarb (chopped into 1/2 inch pieces) Rhubarb can be found in the produce section of your grocery store, it kind of looks like red celery.
2 Cups Sugar
2/3 Cup of Flour
1 Tbs. Butter
Directions:
– Preheat your oven to 425 degrees.
– Toss the chopped strawberries and rhubarb with the flour and sugar.
– Place bottom pie crust in a 9 inch pie plate. I usually poke the bottom crust with a fork 3 or 4 times.
– Spoon fruit into pie evenly distributing it and dot with butter pieces.
– Cover pie with top crust and slit with a knife for ventilation a few times. Tuck the top layer of crust OVER and UNDER the bottom layer and pinch around to seal. (I take my right thumb to the edge of the dough and pinch with my left fore finger and thumb the dough around my right thumb.)
Optional: Brush pie with Egg Wash (wisk 1 egg with 2 Tbs. Milk) to make the crust shine.
– Foil the edges of the pie so the crust doesn’t burn (removing during last 15 minutes of baking) and place in oven on bottom rack.
– Bake pie for 60 minutes, or until crust is golden brown and juice begins to bubble through the slits in the crust.
Let pie cool completely, about 2 hours, before serving.
Extra Notes:
– Usually my crust doesn’t look picture perfect by any means and sometimes my crust looks lopsided, but I remind myself it’s HOMEMADE! I say a “rustic” looking pie looks more authentic anyway 😉
– For Christmas, I received of these oven liners and it totally saves my oven and house from leaking pie burning muck.
– In my oven, I usually bake about 10 minutes extra so the crust isn’t doughy, each oven is different.
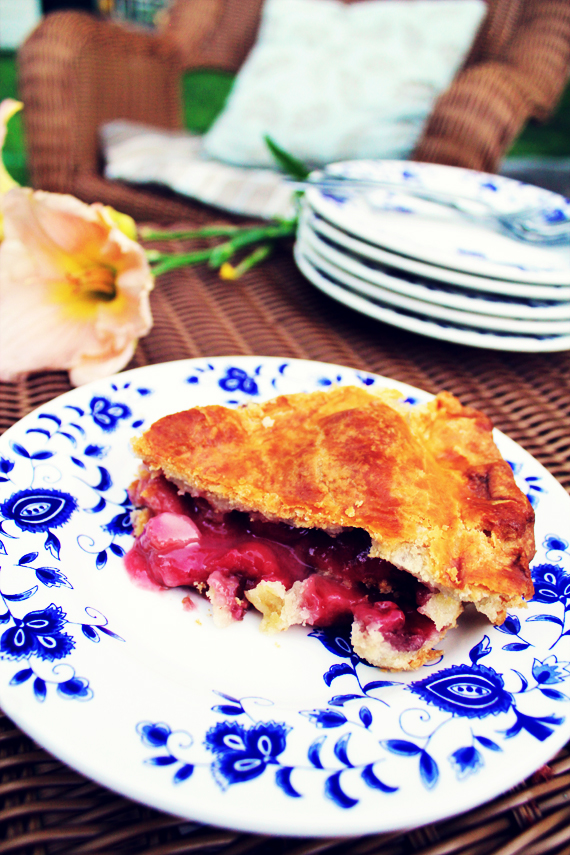
Voila!
I confess I don’t make pie all the time, but I do love making it for special occasions, or when family comes to visit and it always makes the moment that much sweeter!
Enjoy!


