From our talented abroad contributor, Davina of Passports and Pamplemousse
Growing up down undah’ was an unintentional luxury, that unfortunately, I took for granted. I suppose it’s kind of like people who live by the ocean; they always tell me they rarely actually go to the beach, because they live there so they assume they have the rest of their lives to go there. Similarly, friends in New York City have told me that they’ve lived in the big apple for years and never been to see the Statue of Liberty or the Guggenheim. And, as a child and teenager growing up in Australia, I didn’t realize just how gorgeous it really was, until I was forced to leave.
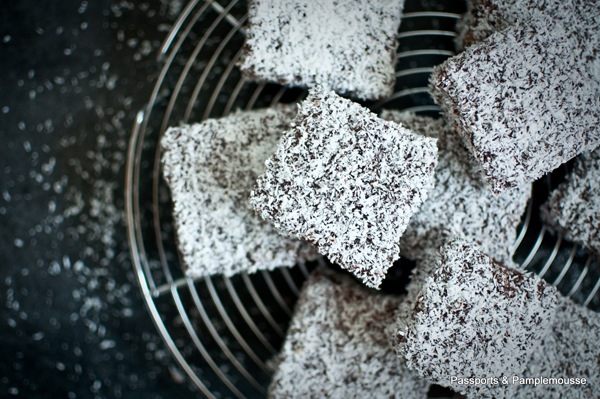
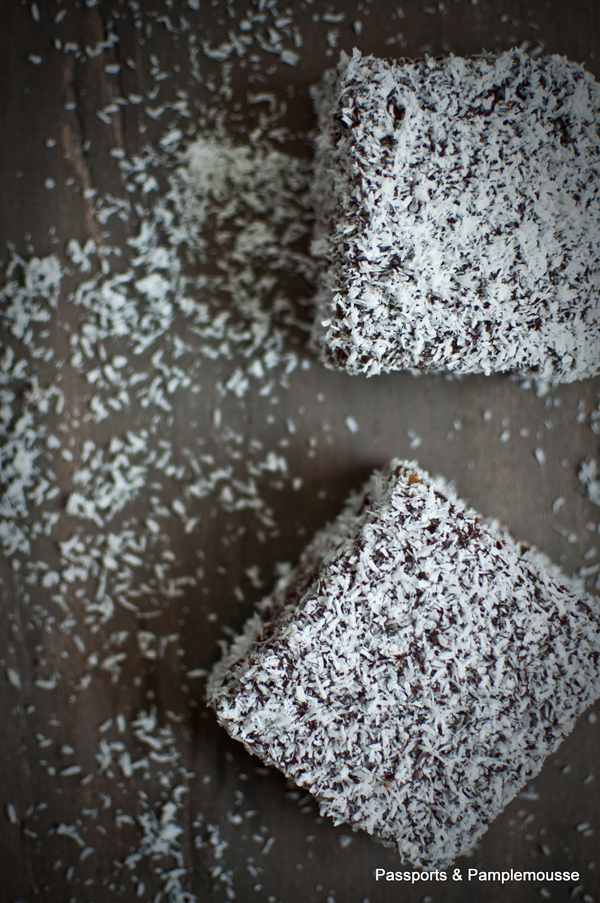
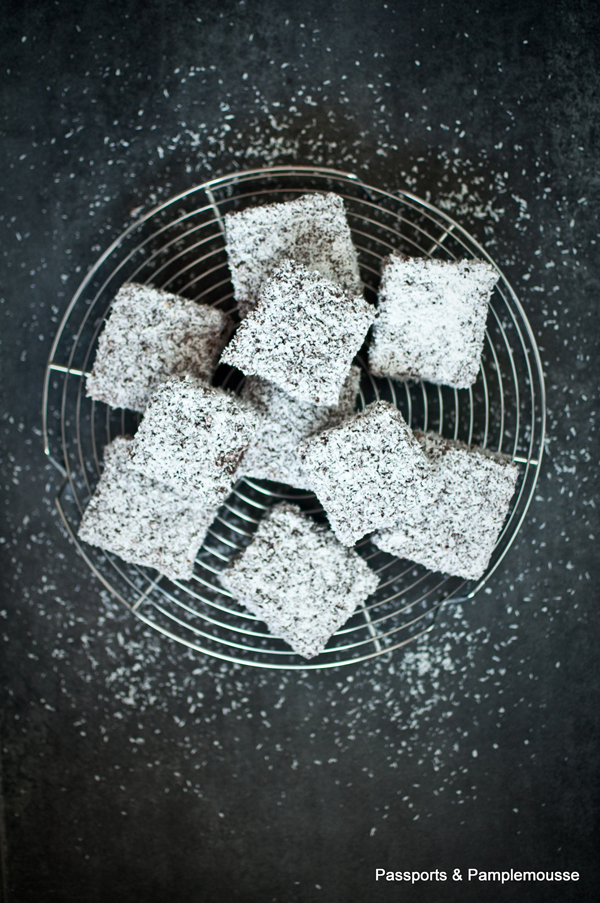
So in Honor of the upcoming Australia Day holiday (January 26th), I baked one of my favorite Aussie treats – The Lamington. fact, it’s so revered in my home-state of Queensland, that there is actually a National Lamington Day (July 21st). The pinnacle of Lamington fever was last experienced in 2011 when the world’s biggest Lamington was made in Toowoomba, weighing in at 1320kg and breaking the Guinness World Record.
For now, I’ll stick to small batch Lamingtons… and here’s my recipe. I use Jacques Pepin’s basic sponge cake as a base, rather than the regular commercial lamington recipes. I find it perfectly spongy and much healthier than the alternatives:
What you’ll need:
– a square baking dish about 30 to 40cm or two smaller dishes. Lining them with baking paper is the easiest method, as sponge cake tends to stick and be very delicate. Baking paper allows you to lift the cakes out easily!
– an upright electric mixer for the sponge cake
– some skewers or large forks (the straight 2 pronged forks you use for meat are perfect)
– a pre-heated oven. Set to 177 degrees Celsius
– cooling rack and kitchen towel underneath it
For the sponge cake:
6 large eggs (room temperature)
169 grams of Sugar
½ teaspoon of high quality vanilla extract
150 grams of all purpose flour
56 grams of melted unsalted butter (optional)
For the icing:
30 grams of melted butter
2 cups of powdered sugar
½ cup of high quality cocoa powder
50 ml of milk at room temperature (perhaps a bit more; set aside if needed)
and a deep plate of shredded coconut (to roll in)
Sponge Cake Instructions:
When you follow the sponge cake rules below, it comes out perfectly. Like a sponge; light and fluffy with a hint of vanilla. A real beaut as we’d say in Australia!
Place the eggs, sugar and vanilla in the bowl of an electric mixer (whisk attachment).
Small tip: If your mixer has an induction, set the heat to about 30 degrees Celsius for just a minute or so. This ensures that the sugar dissolves. Alternatively, you can begin by whisking the mixture over a pot of boiling water for a few seconds. Do NOT over-heat or you will have scrambled eggs. Then, transfer to the electric mixer. This step is optional, but I find it does help.
Mix this at medium high speed for a good 10 minutes. You want to incorporate a lot of air, so the mixture should triple in volume (at the very least) and be a slight yellow color. It should make a thick ribbon.
Once you have achieved this, slowly SIFT the flour while FOLDING the mixture to the same time. It may help to have a 3rd hand here – one person folds while the other sifts slowly. Sift the flour slowly enough that clumps do not form.
Once you have done so, slowly fold in the butter way, the same way. (Make sure the butter is not too hot!)
Fill the baking trays about half way. The mixture will rise on its own in the oven.
Bake at 177 degrees Celsius for roughly 15 to 20 minutes. Baking time will depend on the size of your tray. Your sponge cake is done when there is a nice deep golden brown color on top. The cake should not sink in or sag.
Allow it to cool before attempting to take it out of the baking dish.
Once cool, cut out squares of the same size. I like to do mine roughly 6cm x 6cm (with a thickness of about 1.5 or 2cm) (as pictured)
For the icing and rolling:
Start with 30 grams of melted butter, 2 cups of powdered sugar, ½ cup of high quality cocoa powder and
50 ml of milk at room temperature. Mix with a fork.
Set aside a deep plate of shredded coconut
Set up your cooling rack and set a towel underneath it, so excess icing and coconut can drip off.
The icing should not be too runny, yet it should also not be too thick. You want to be able to spoon it out and drizzle it over the cake squares. It should stick and not run off. If it the icing is too thick, it will glob down when you roll it in coconut.
Starting with 50ml of milk is perfect for the ratio of icing sugar to cocoa powder. After that point, even a small drop of milk will go a long way – if you find the icing is too thick for you, then just add small drops of milk until you reach the desired consistency.
Some people like to dunk their sponge squares in the icing. I find that the sponge falls apart this way, and rolling the coconut is a disaster.
I like to take a 2 pronged fork that we use for meat, and skewer the sponge cake square onto it.
Then I take a spoon, and drizzle on the chocolate icing lightly – allowing the excess to drip back off, before rolling it on all sides in the shredded coconut.
Place on the cooling rack, so the excess can drip off, and allow these to dry.
They taste splendid with some jam or whipped cream in the middle (a sort of lamington sandwich) and will stay lovely and moist in a Tupperware container for a few days! (if they last that long!)


