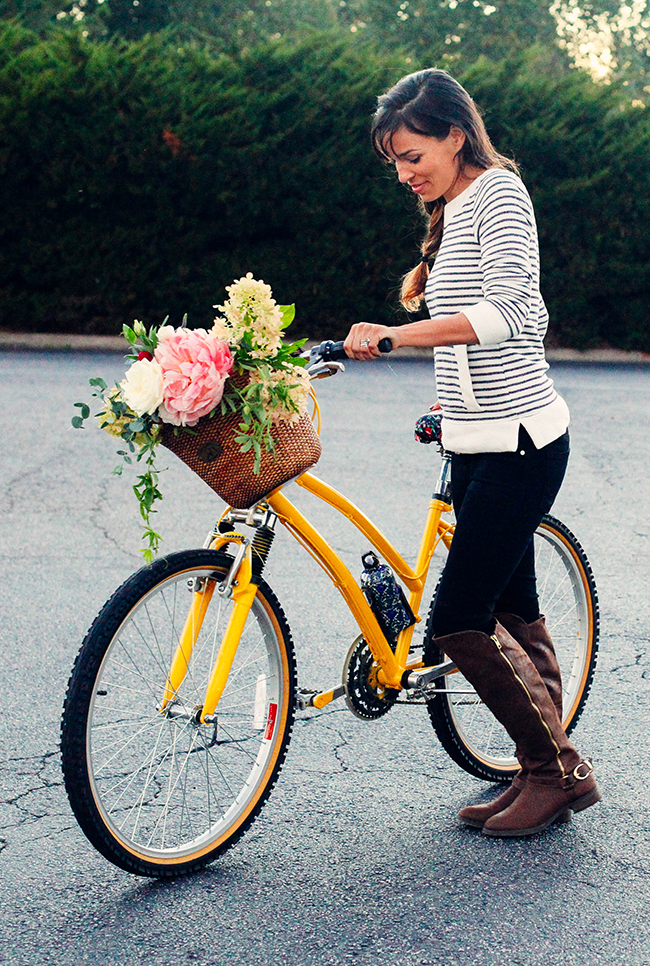
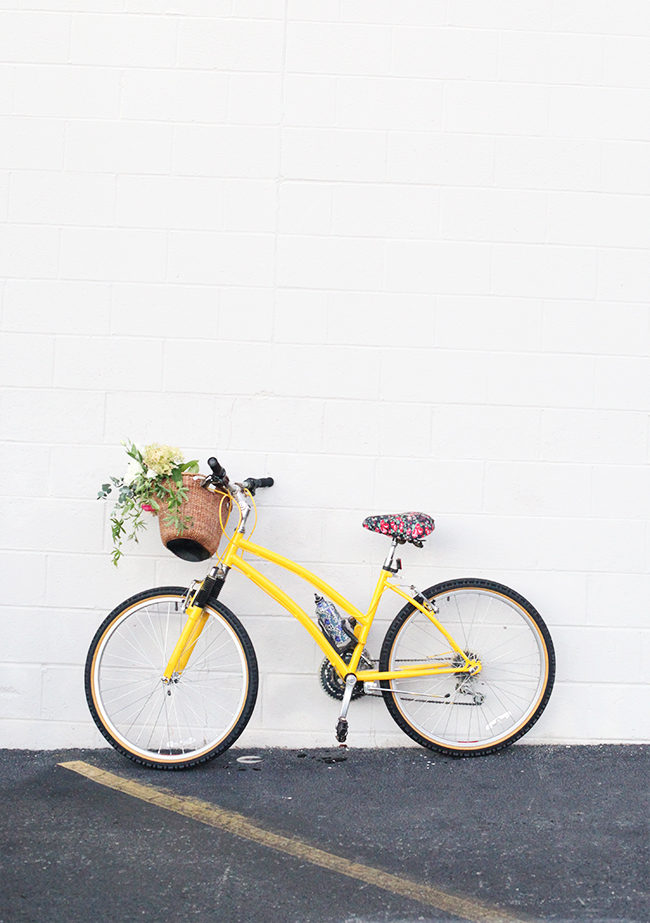
I blame Seaside Beach for the incurable desire to have a yellow bike with a basket. Happiness is inevitable when riding a yellow bike;) I have a sturdy and faithful huffy bike that has traveled between states with me over time, and I was getting the drift she was ready for a change too. So we took the leap into golden yellow, and teamed up with ScotchBlue™ Painter’s Tape to make it happen.
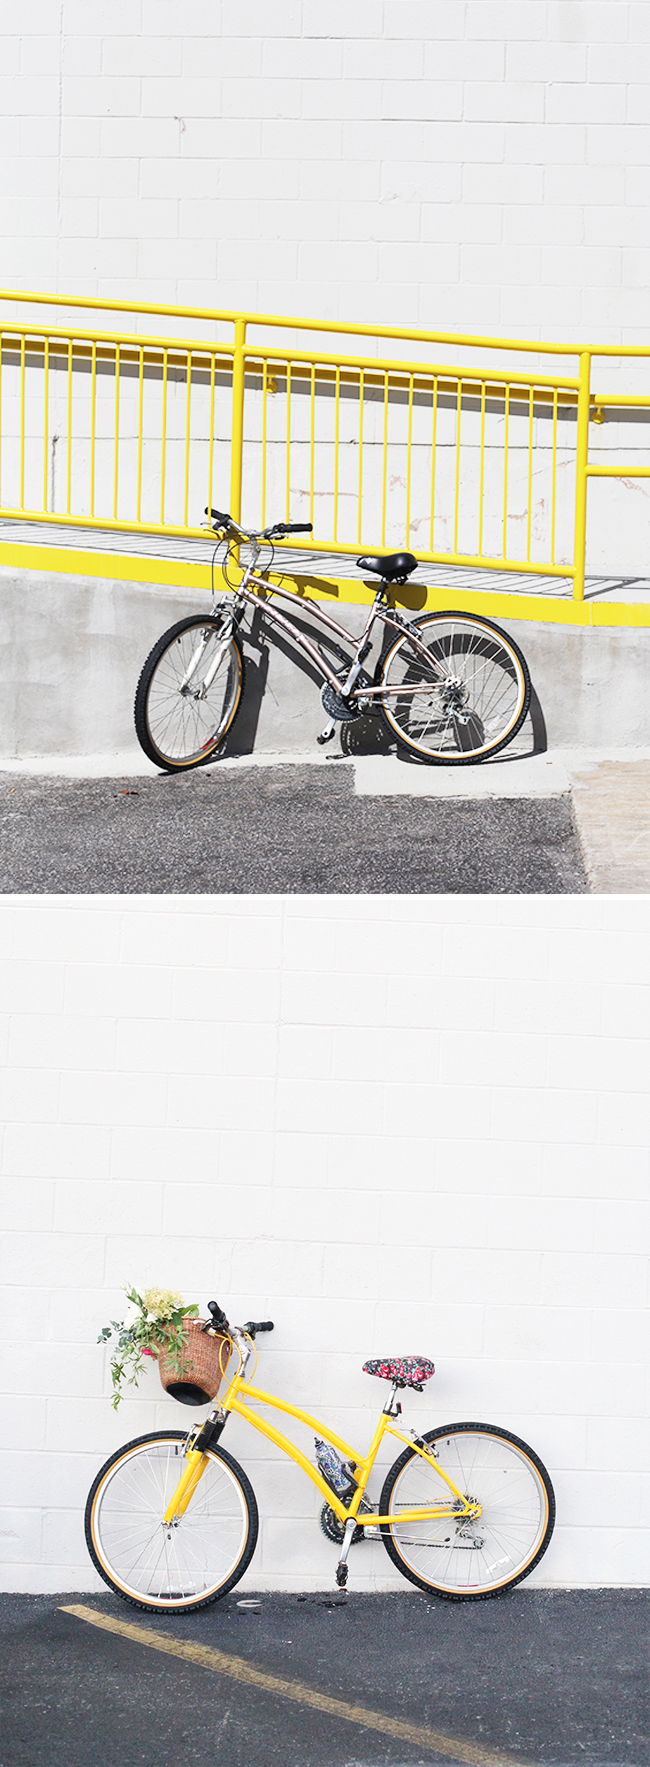
{Before and After}

Supplies:
ScotchBlueTM Painter’s Tape Original Multi-Use 2090
Metal Primer Spray Paint
Advance Formula Spray Paint
Bike Seat Cover (optional)
Basket (optional)
Directions for Your DIY Bike Makeover:
1) Wash Your Bike – Just use warm soapy water and a rag and make sure you wash and dry before starting your project!
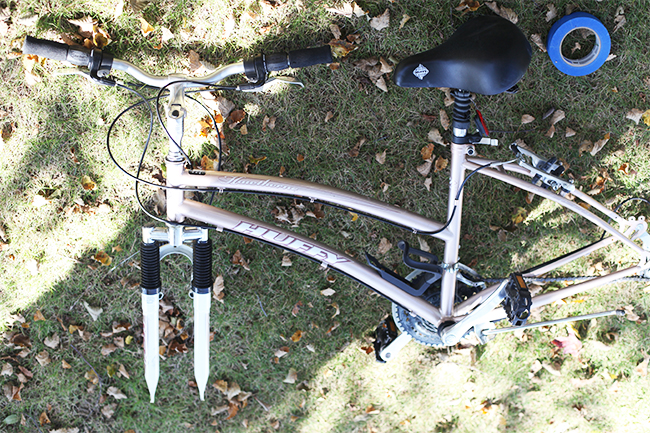
2) Remove Wheels – Thankfully I had some backup manpower to disassemble the wheels (thanks Gabe).
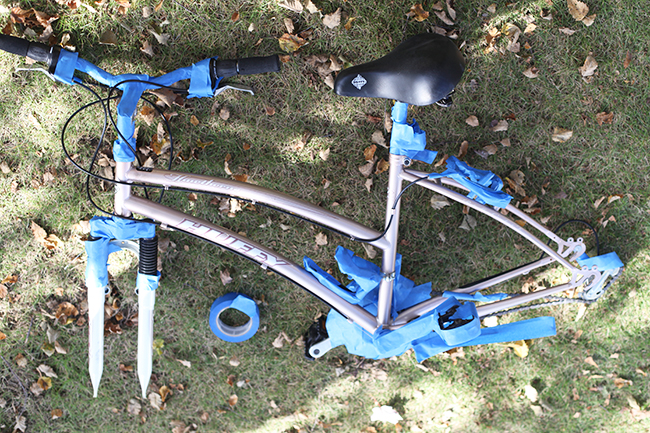
3) Apply Tape – Wrap and double wrap every section you do not want painted, with ScotchBlue™ Painter’s Tape You have to be really thorough and double check every inch of the bike!
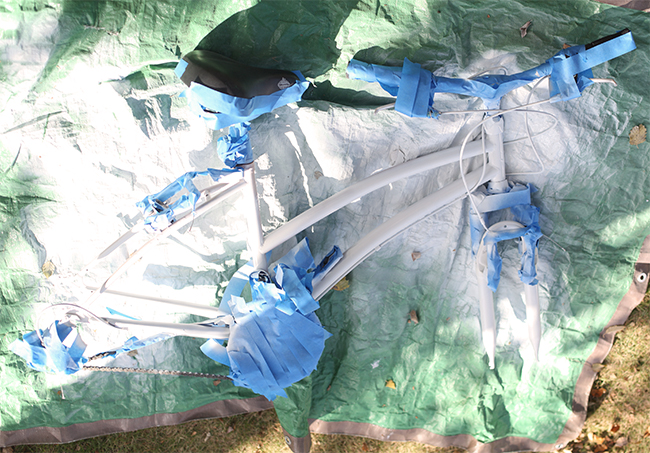
4) Prime – I highly recommend using a primer spray for metal and aluminum bikes to hold the lacquer spray well and prevent chipping.
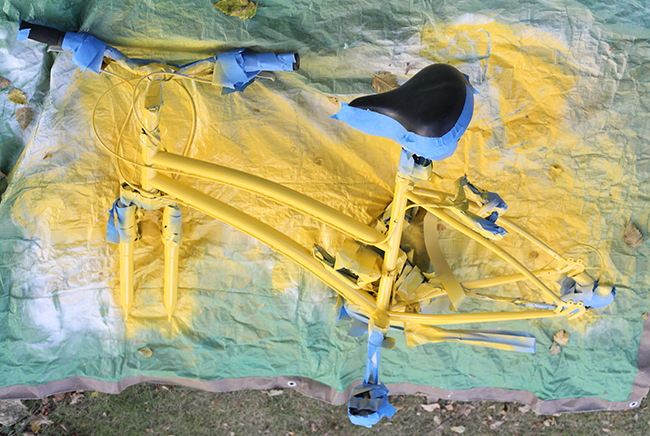
5) Spray Paint – Depending on the type and color of your spray paint you may need to apply two coats. I spray painted one coat on one side, let dry, flipped over, and spray painted the other side. This worked pretty well!
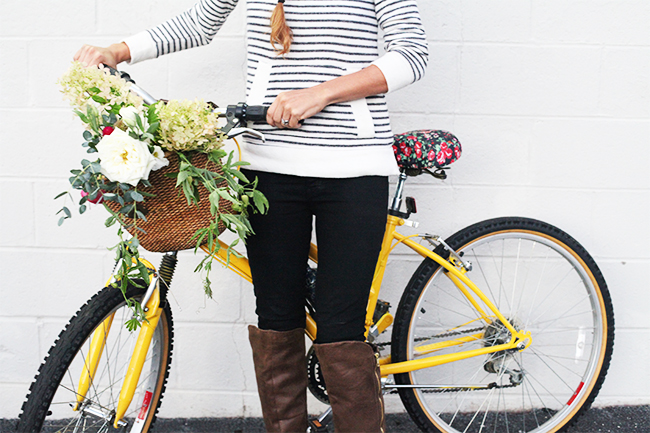
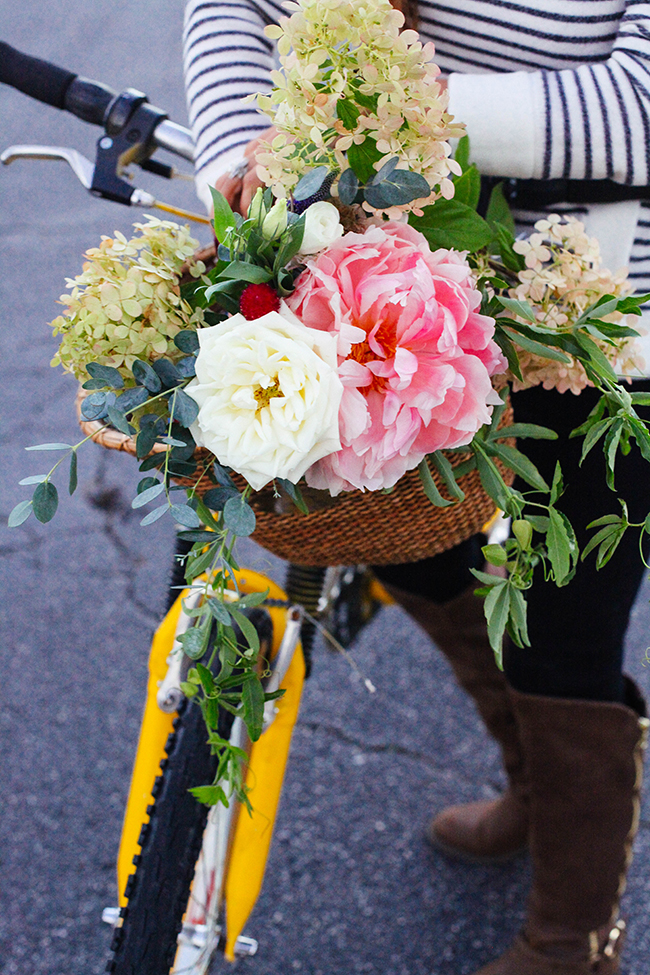
6) After your bike is completely dry, you can reassemble the wheels, add a basket, a bike seat cover, and maybe a batch of fresh florals. (Florals pictured by Allison Song)
You now have yourself a bike that makes you feel like you are on vacation;) There are so many ways you can get creative with this. Color blocking, stripes, or maybe even neapolitan. I would love to see what you come up with if you tackle a bike makeover!
 I am proud to be a 3M sponsored blogger, and, as part of my responsibilities, I get the opportunity to evaluate ScotchBlueTM Painter’s Tape. Opinions are my own and additional products used in the project were selected by me.

 Scotch Blue: