(Written by Gabe)
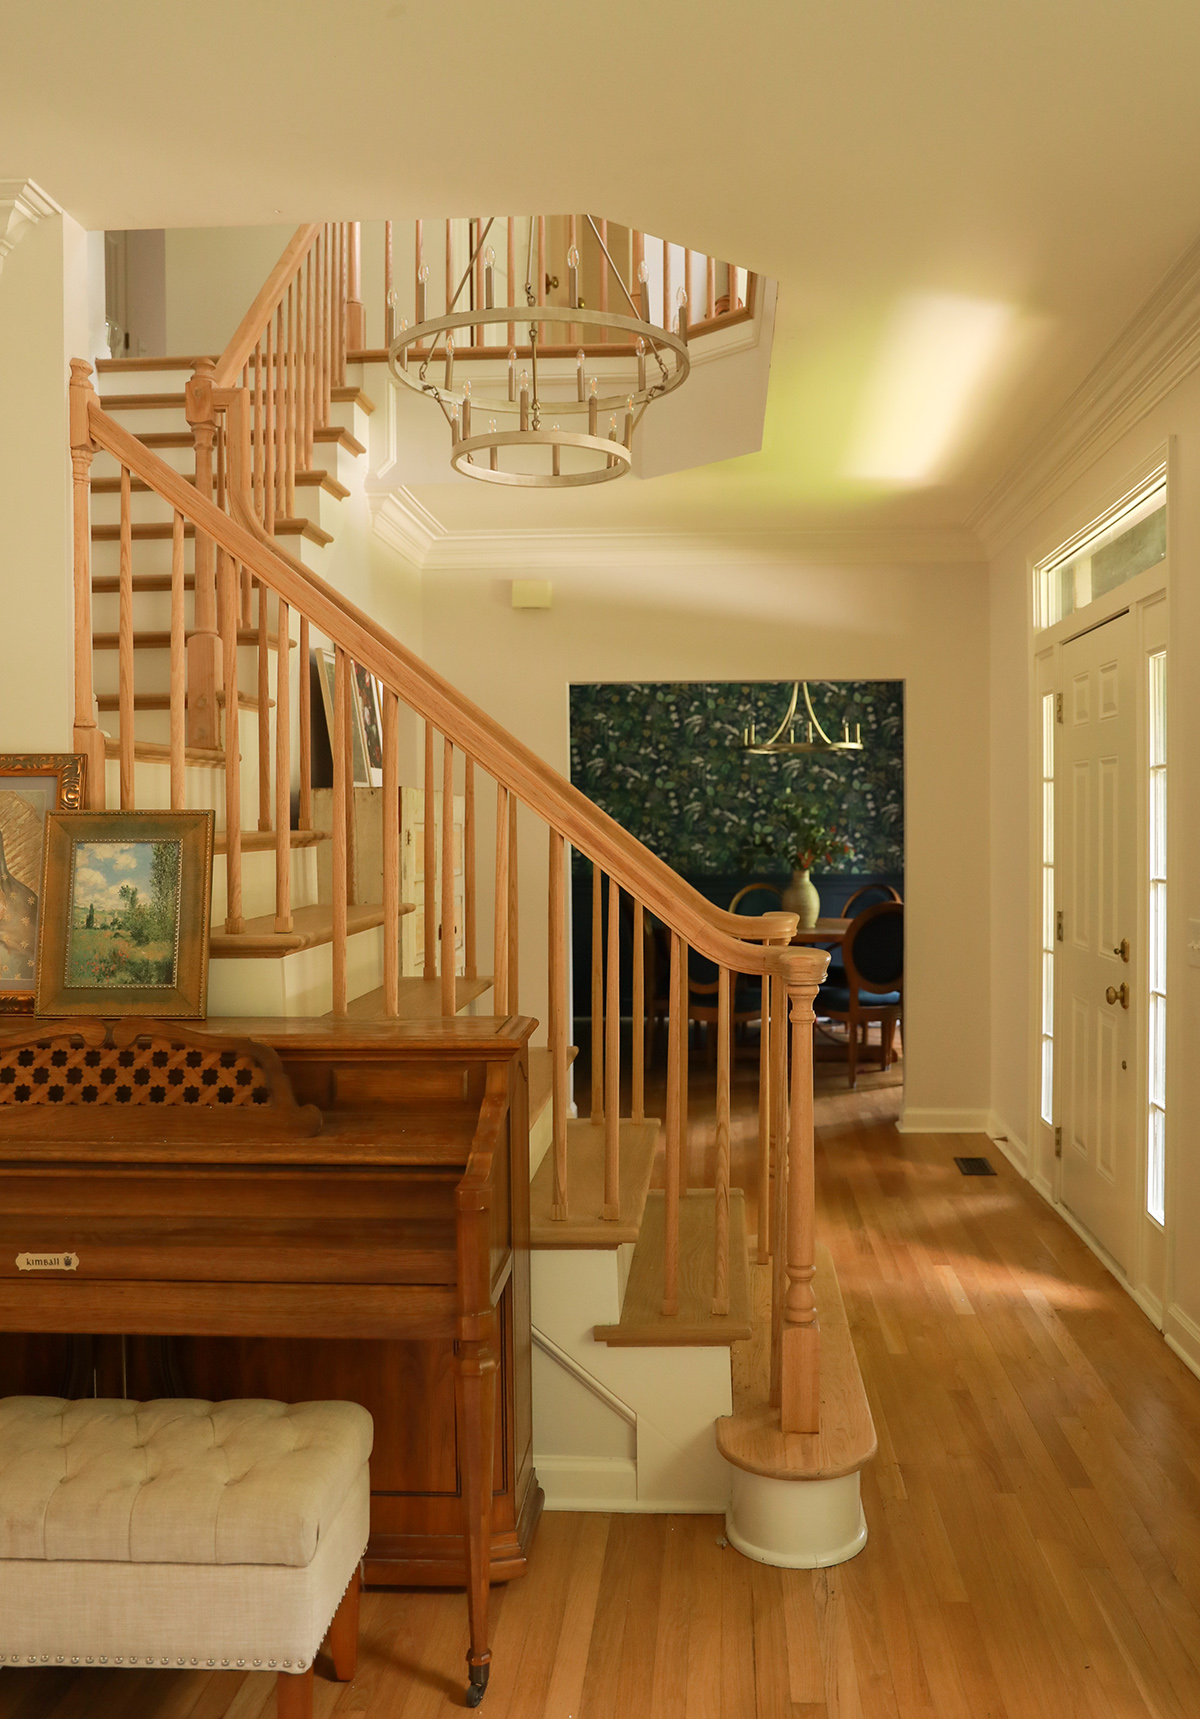
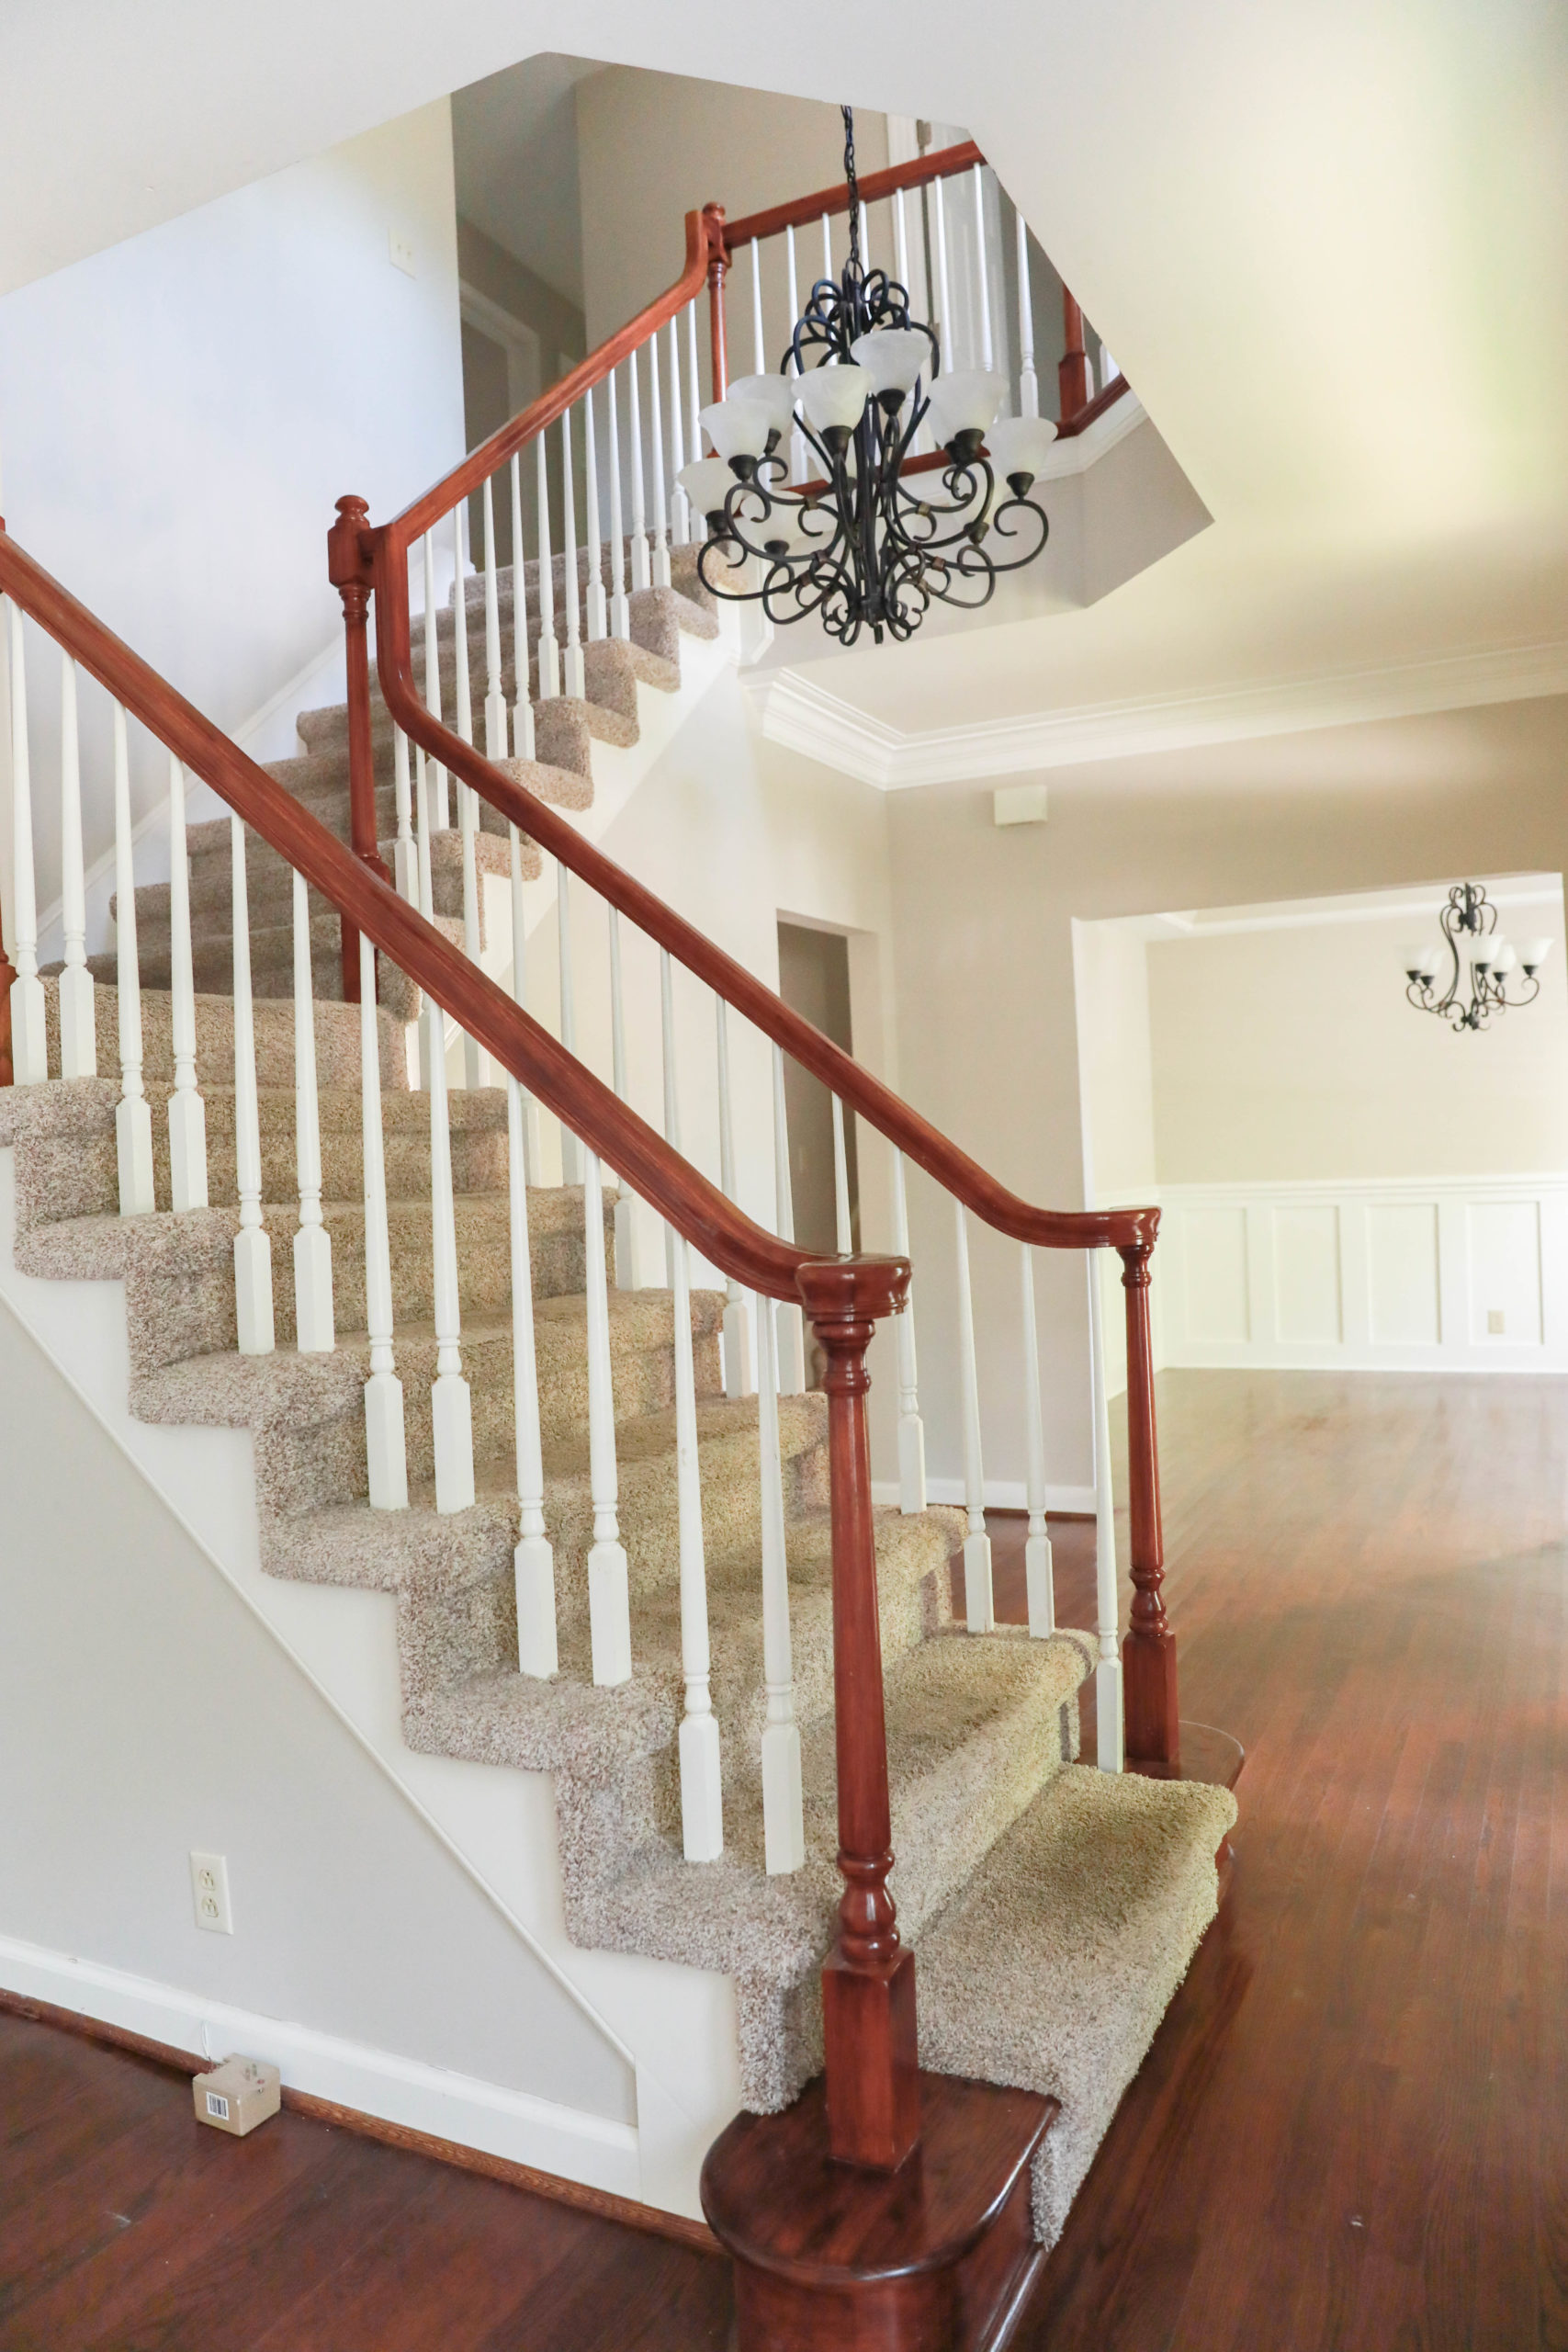
We often debate what is worth doing ourselves, and what is worth hiring out for home renovation projects. Sometimes the time involved isn’t realistic for us to tackle with a full and busy house! This was our big debate with our staircase renovation. Today we are going to share the process for how to refinish staircase railings, as well as the before and after photos of the whole staircase renovation.

(Where we started)
We have two sets of stairs, a hallway, and hand rails that needed renovating. We had a few contractors come out to look at the scope of work and give us a quote. It was definitely a hefty project, and the total quote was above our budget. We decided to leave the stairs to the professionals, and attempt the railings and posts ourselves. We had wanted to keep the same balusters, but it was difficult to remove them without breaking during the renovation. We ended up having to buy new ones. We found
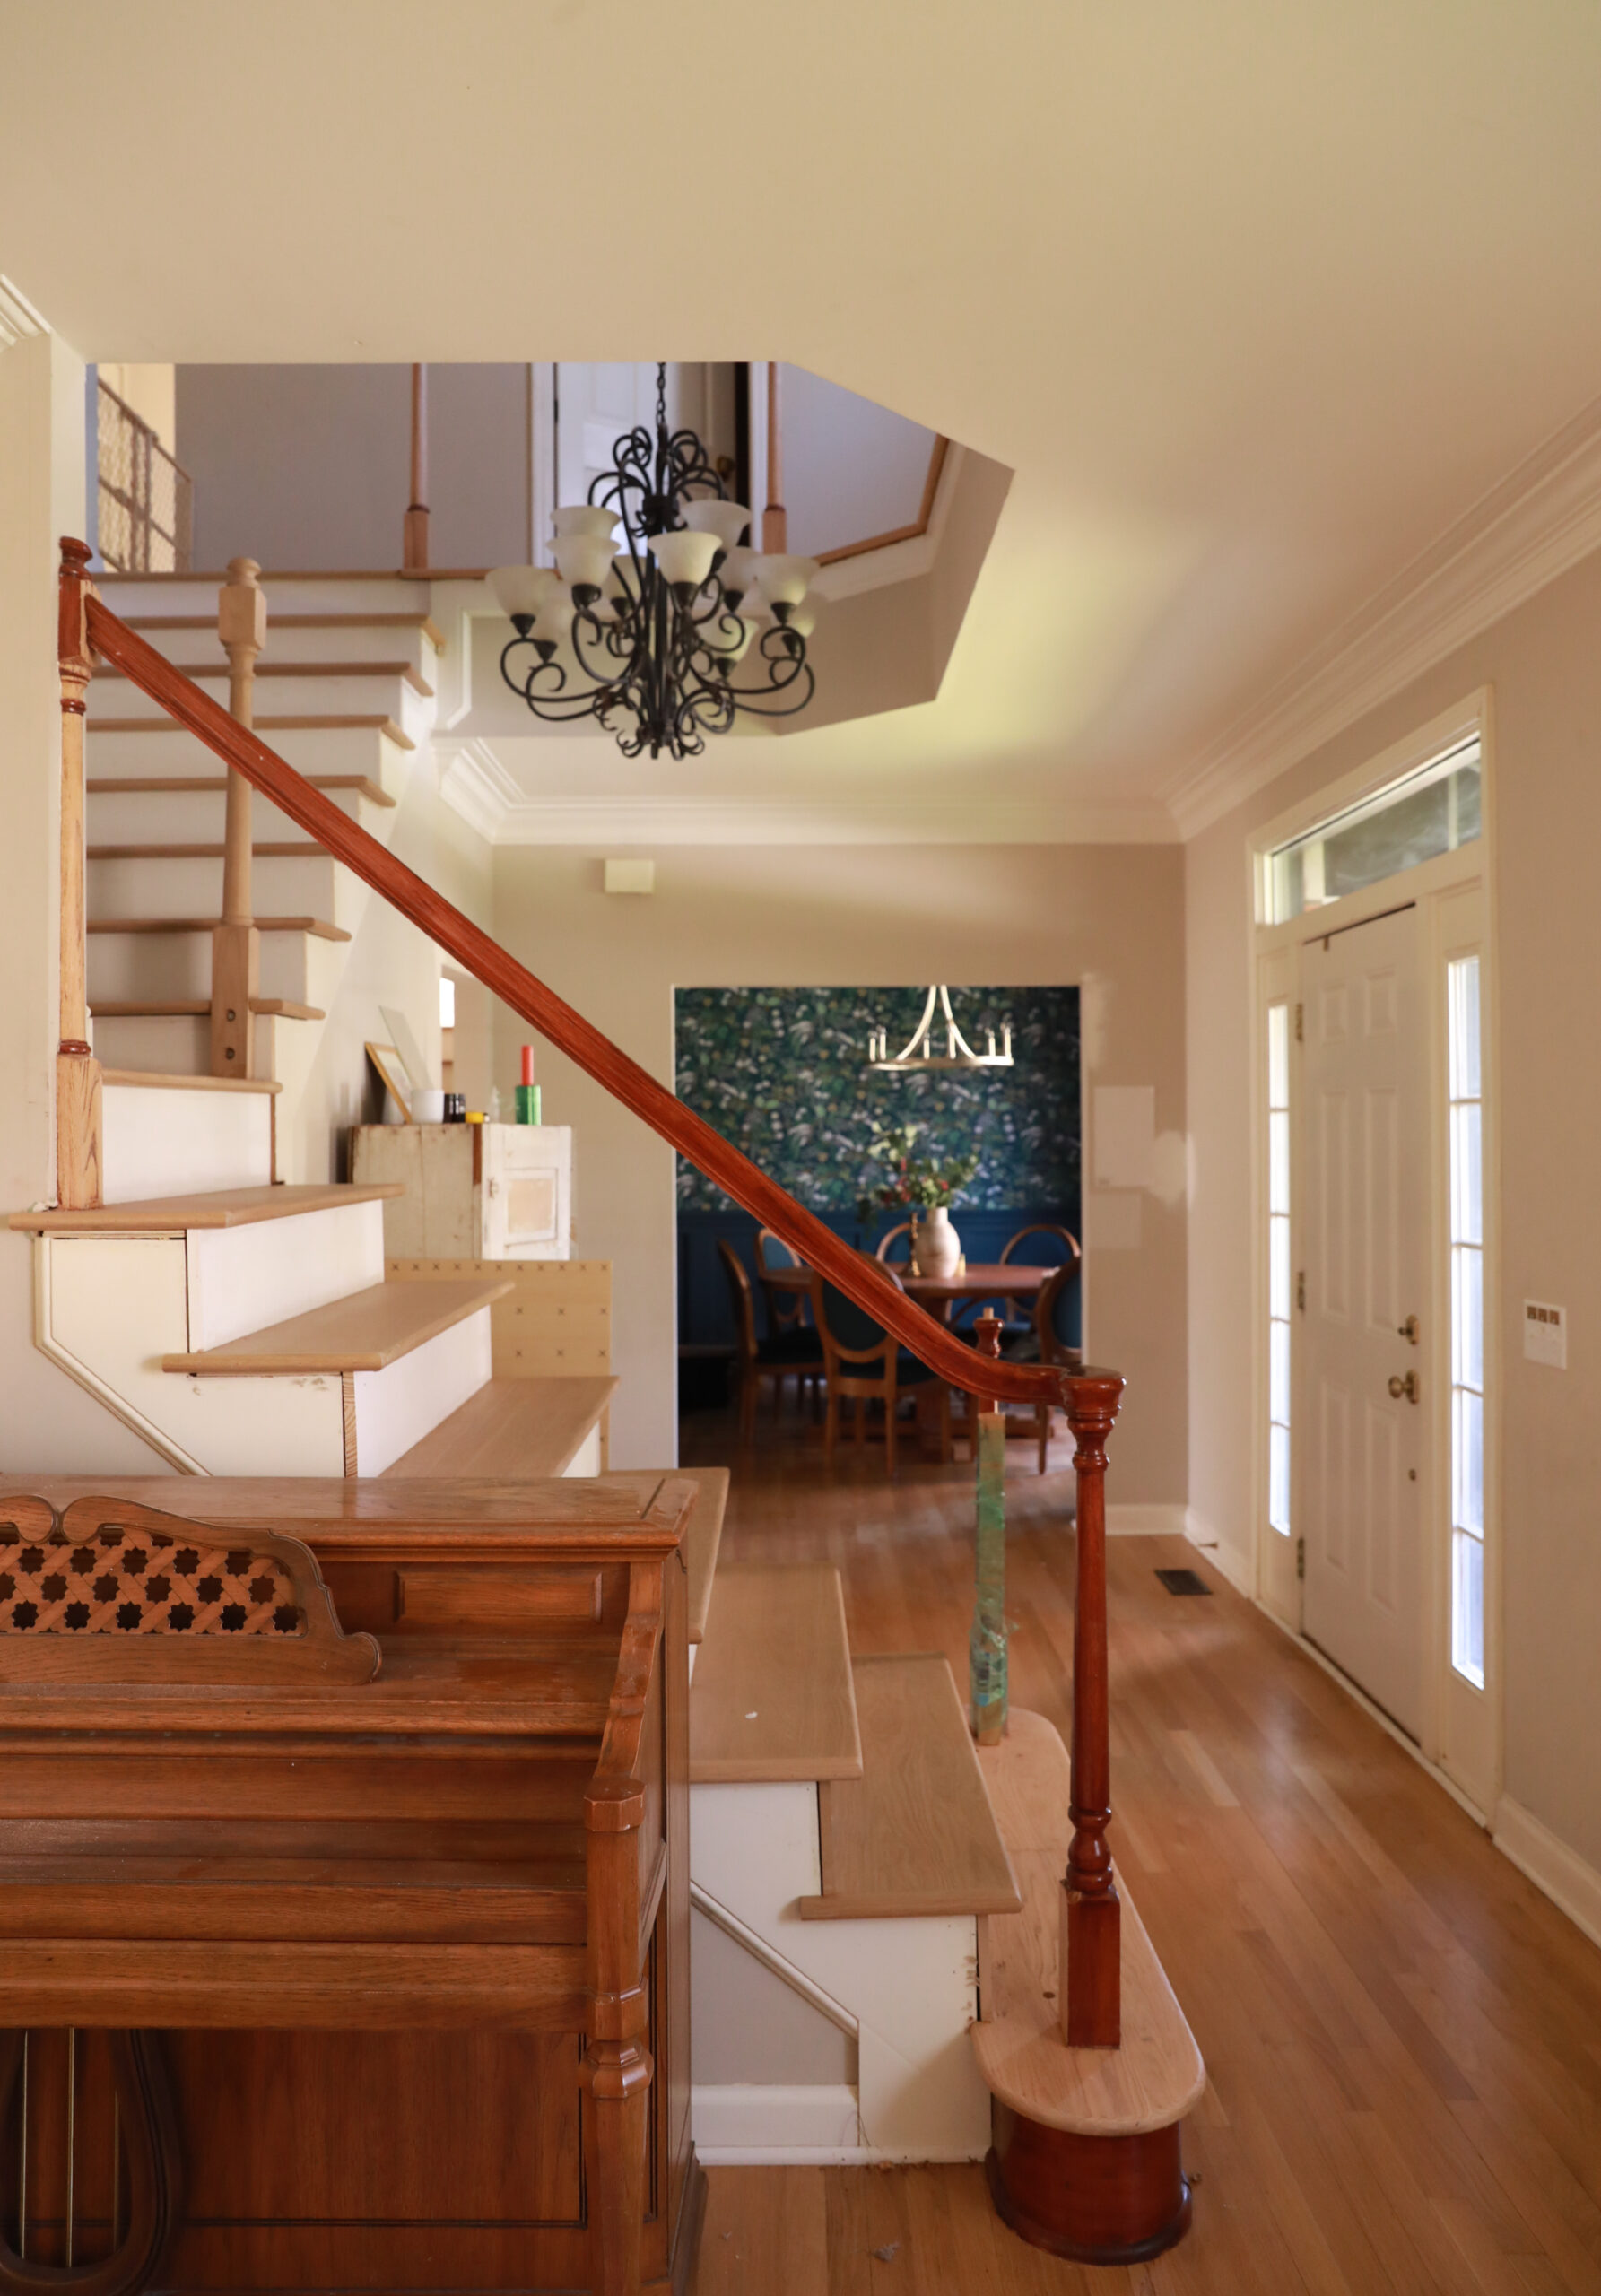
Some renovations require expensive tools that may not be worth it if you are only doing the project once! In this case, a good detail sander and a few scrapers did the trick! I ended up purchasing the Milwaukee M12 Detail Sander specifically for this project. It is an amazing little sander and well worth the extra money. It packs a lot of power in a small package and gets into tight, awkward places better than any other sander I have used. There were a few times when I found my more powerful random orbital sander was needed for a couple stubborn spots.
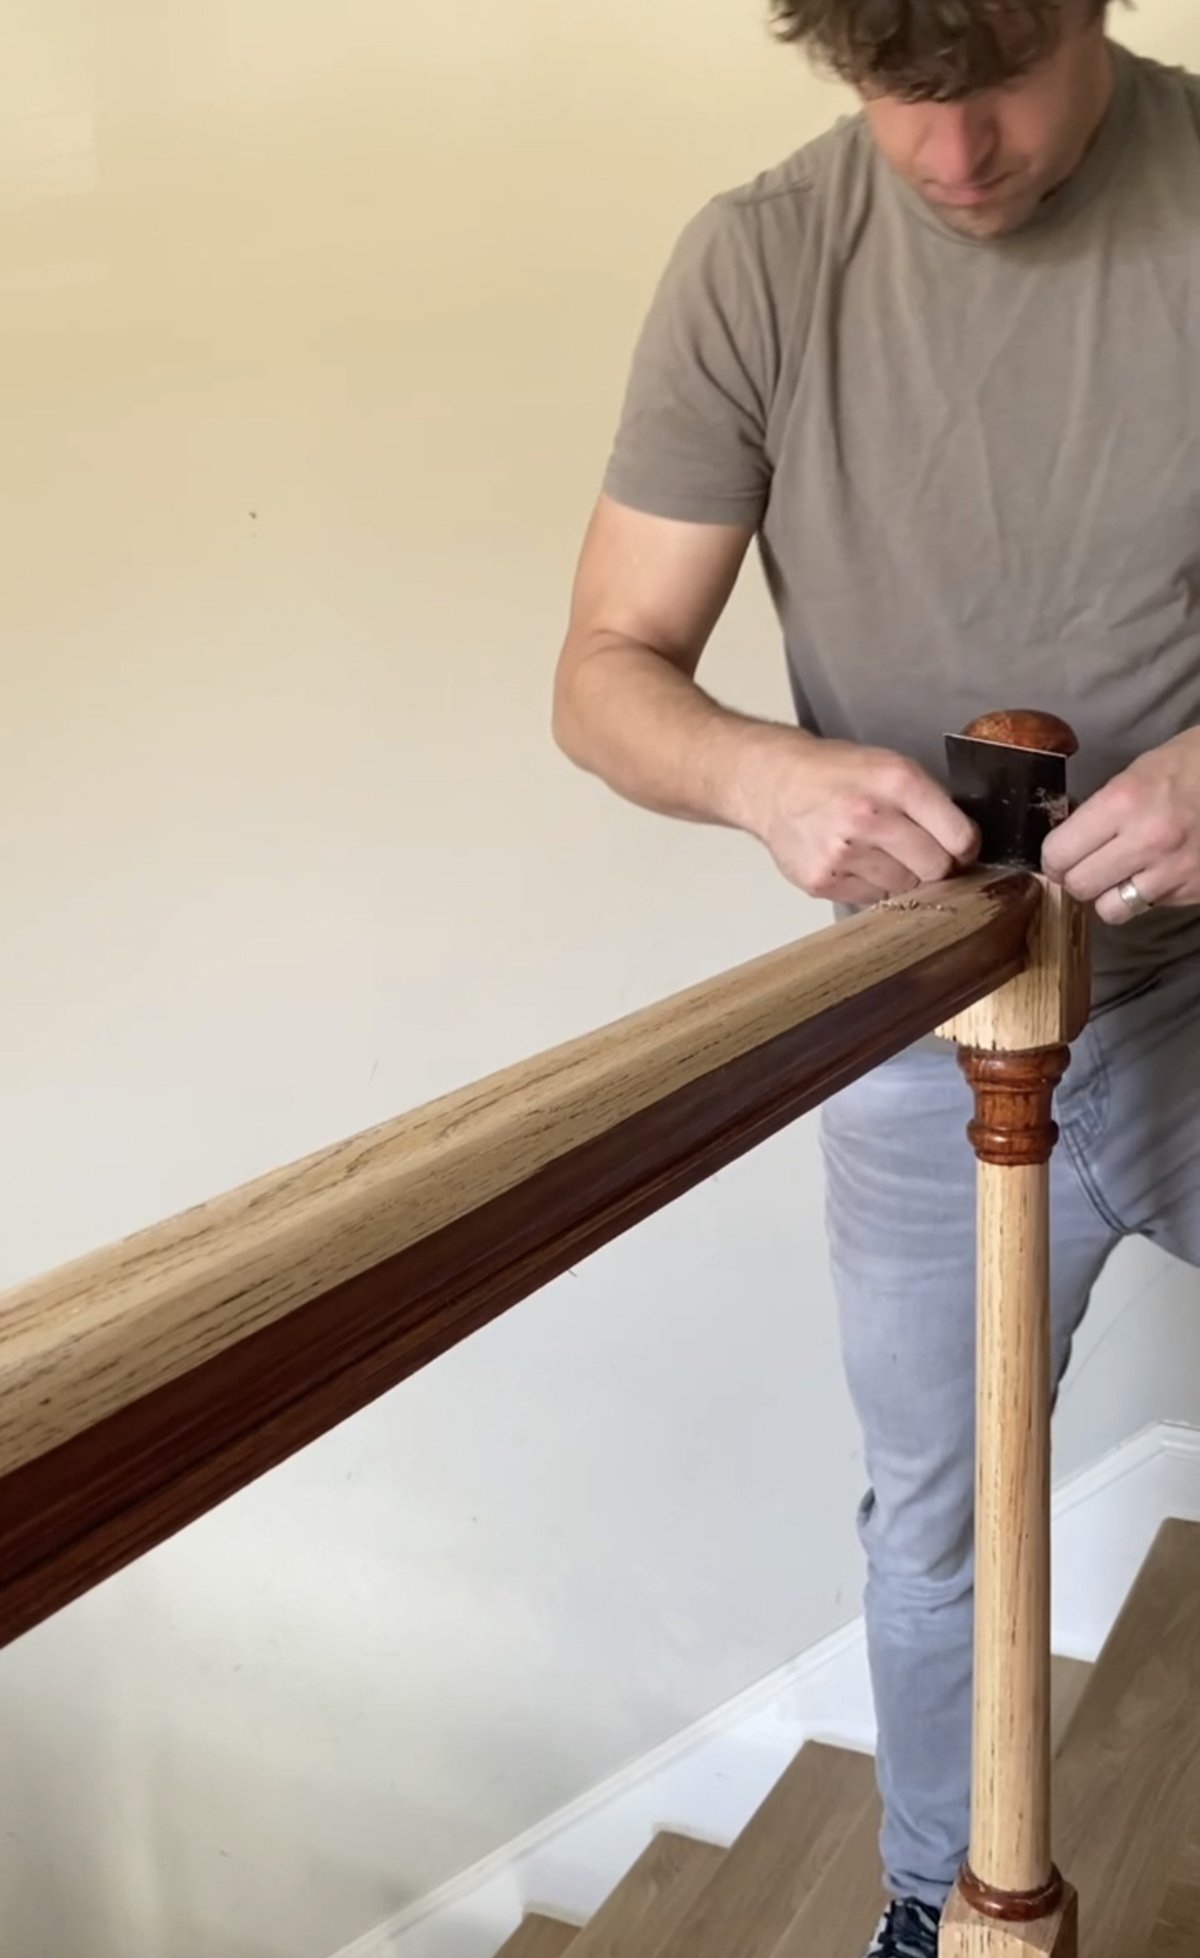
Tools for removing the old finish and surface prep:
- Detail sander
- Sanding mesh pads or sanding paper – 80, 120, 180 (Sanding mesh is preferred)
- File set – (A narrow triangle file for hard to reach grooves)
- Card scrapers (cabinet scrapers)
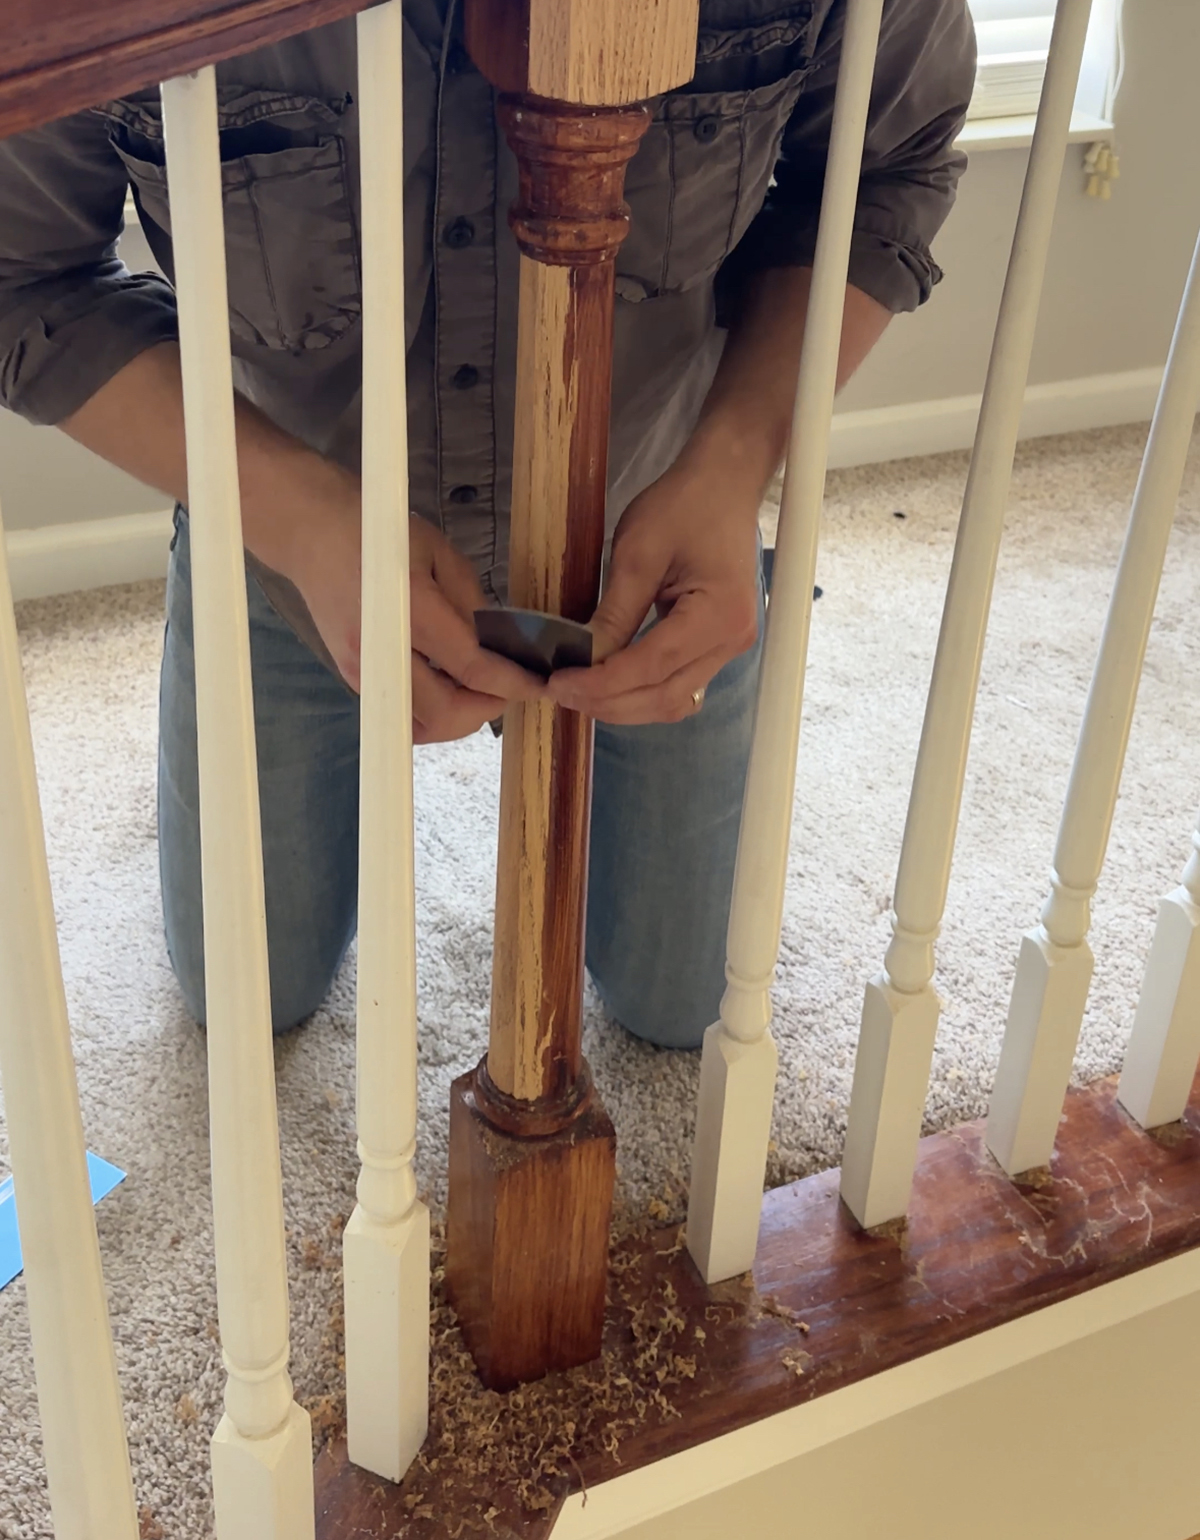
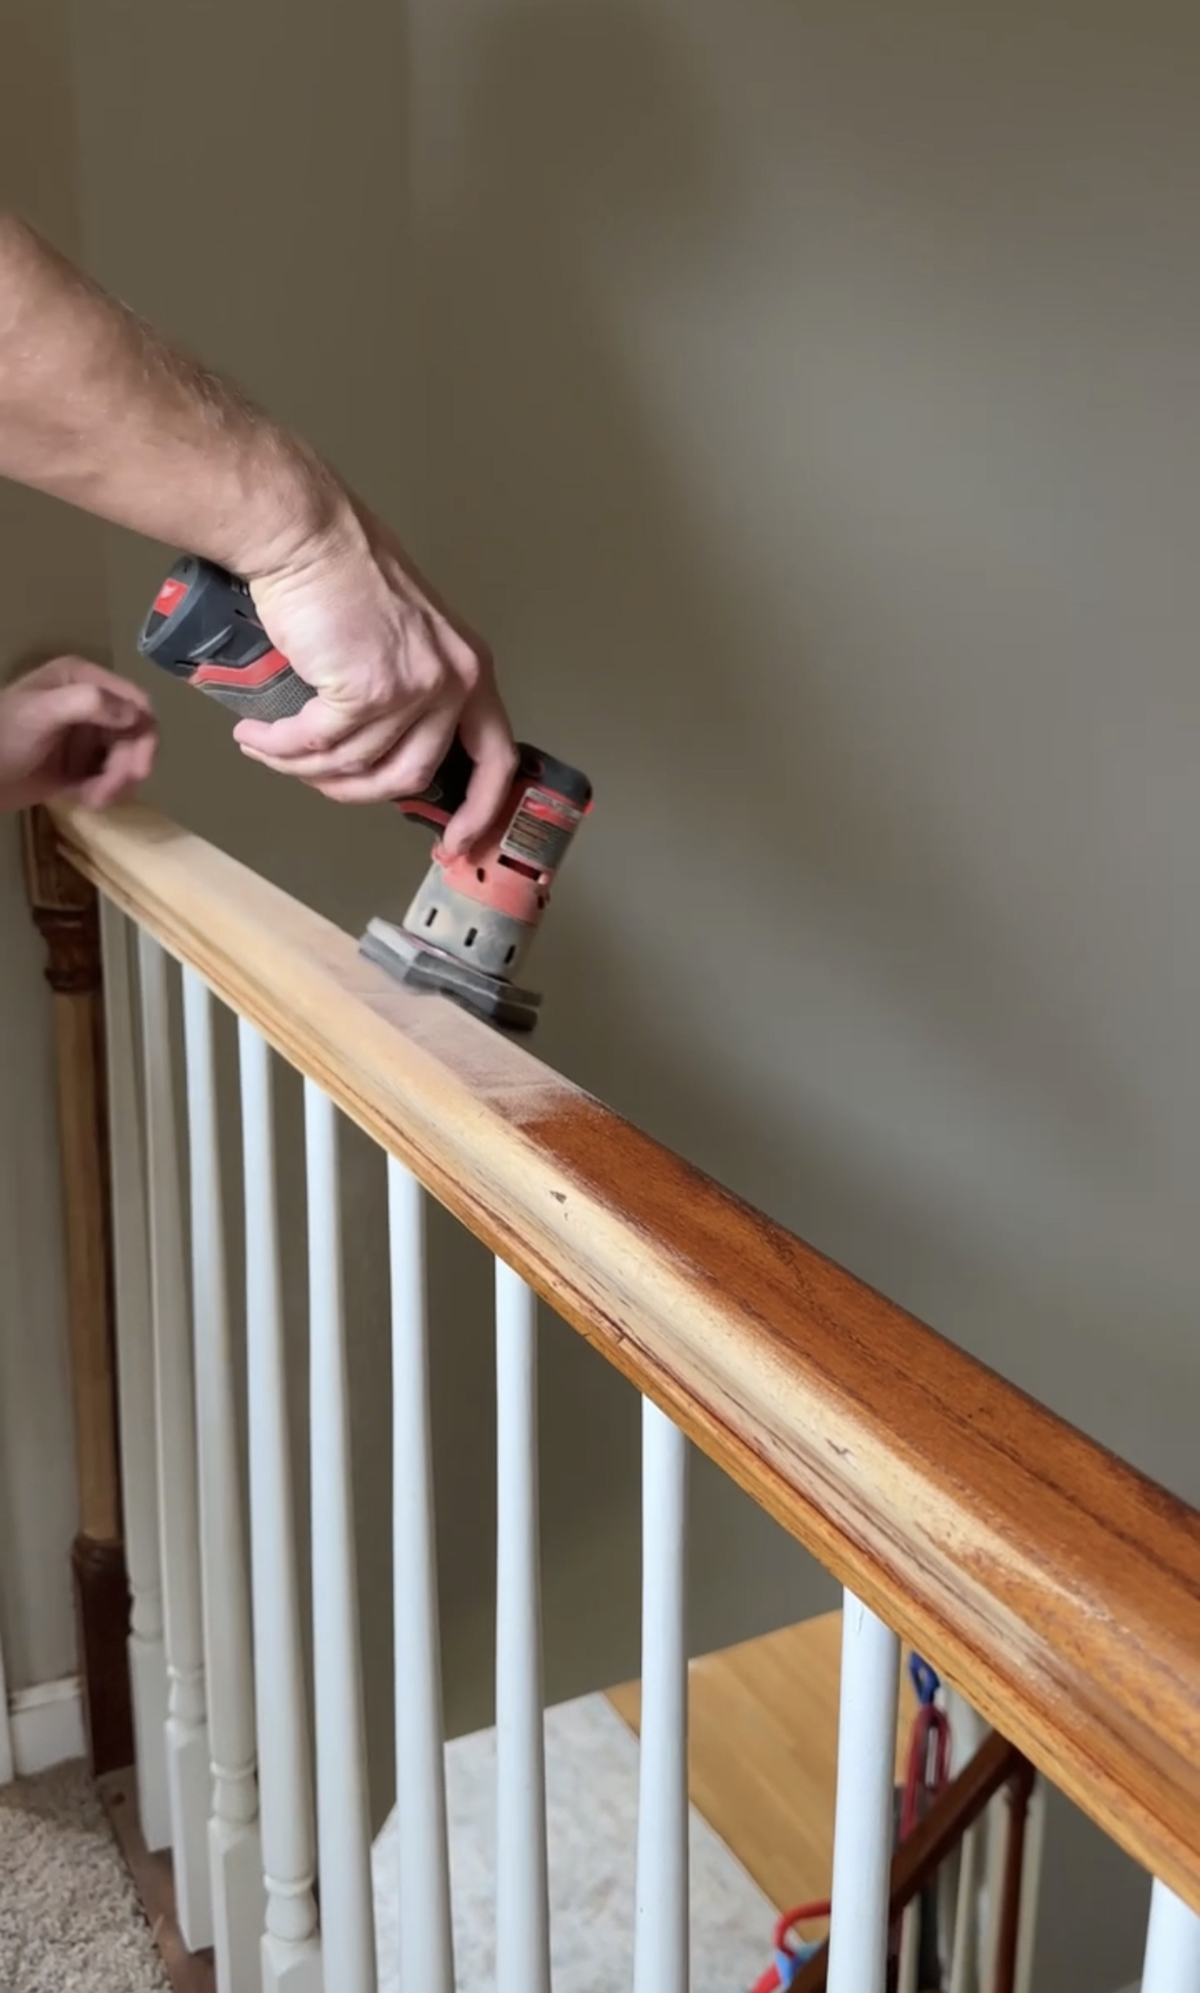
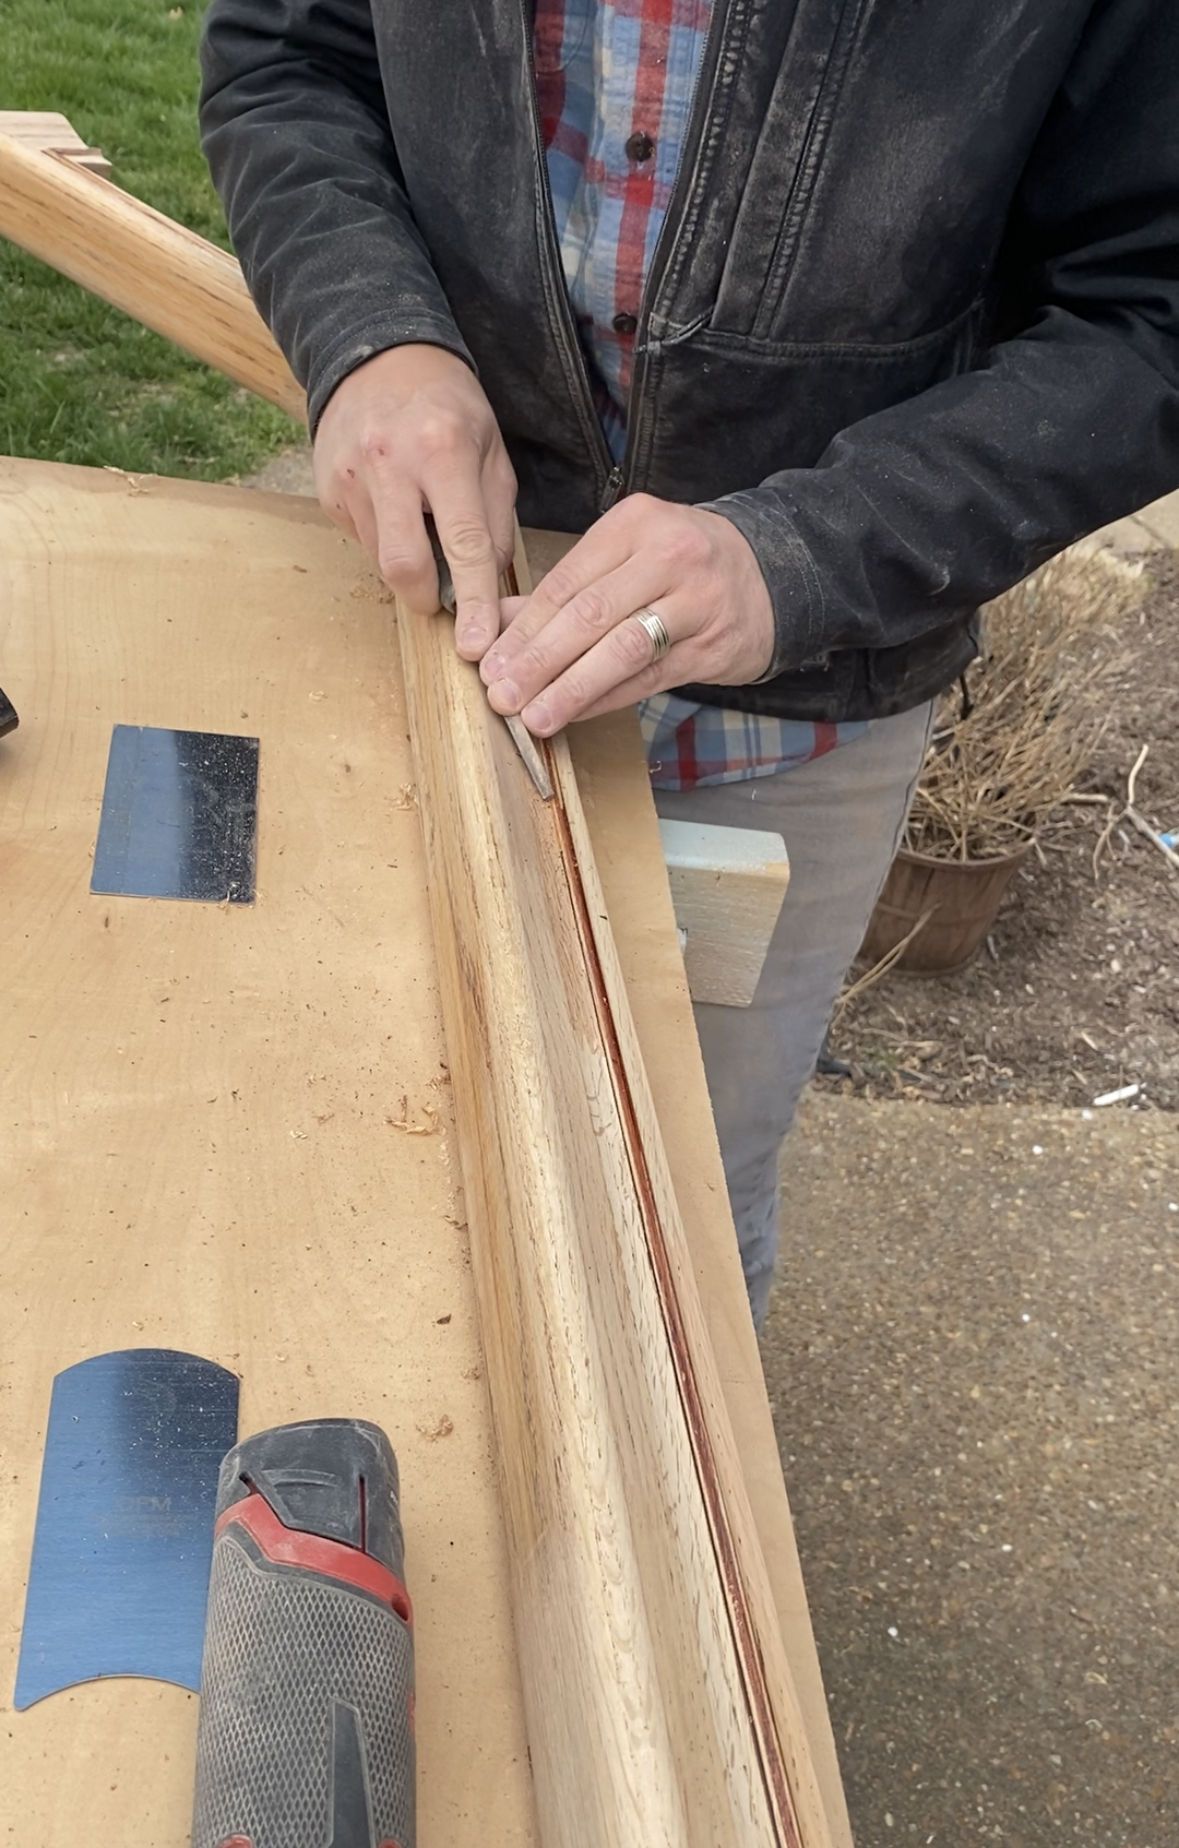
STRIPPING THE OLD STAIN
We began removing the worn-out red mahogany finish by scraping it with card scrapers to reveal the beautiful red oak hiding underneath. When sharp, card scrapers do an amazing job of safely removing the thin top layer of material without the need for rough, heavy sanding and the dust that sanding creates. These scrapers can be pulled or pushed across the surface depending on the angle and needed leverage. Use a set that includes both straight-edged scrapers for flat areas and curved-edged scrapers for areas that are gently rounded. Best of all, using a scraper is so much more satisfying than using a loud sander. For extra tight and hard-to-reach areas, we found it best to use sanding mesh and files to remove the remaining old finish.
PREPPING THE SURFACE
Once all the old finish was removed it was time to prep the surface for the new finish. The goal was simply to remove any residual staining from the old finish and smooth out the surface. The detail sander and sanding mesh did a very good job with this task especially on the heavy curved areas. All areas were hit with 80 grit then followed with 120 grit. The top of the handrail was also hit with 180 grit to ensure a smooth finish.
Tools for cleaning surface and finish application
- Vacuum with hose and soft bristled head
- Tack cloth
- 200 grit or higher sanding mesh or paper
- Tack cloth
- Natural bristled 2.5in brush (don’t go cheap!) if using oil based finish
- Fine 100% nylon or nylon/polyester brush (don’t go cheap) if using water based finish
Before applying the finish, the rails and posts need to be thoroughly cleaned of all dust. We used a vacuum with a hose and a soft-bristled head to clean all surfaces, and followed up with a quick wipe using a tack cloth. The goal is to remove as much dust as possible from the surface before applying the finish. Residual dust can cause tiny bumps, called nibs, to form on the wood surface after the finish dries, so it is important to remove all possible dust. I always do an additional final wipe with a tack cloth right before applying the finish to an area as well. Never wipe down the wood with a wet rag or water-based cleaning solution to clean raw wood, as it will cause the wood grain to swell and you will have to sand it smooth all over again. Not fun!
At this point, the railings and posts looked brand new. I am always amazed at the beauty of natural oak and wonder why it is so commonly covered up with stain. We love the look of raw oak and wanted the natural color and grains of the oak to shine. Although we would have liked to get the stairs and railings to the same tone, that is another dilemma we may address another day.
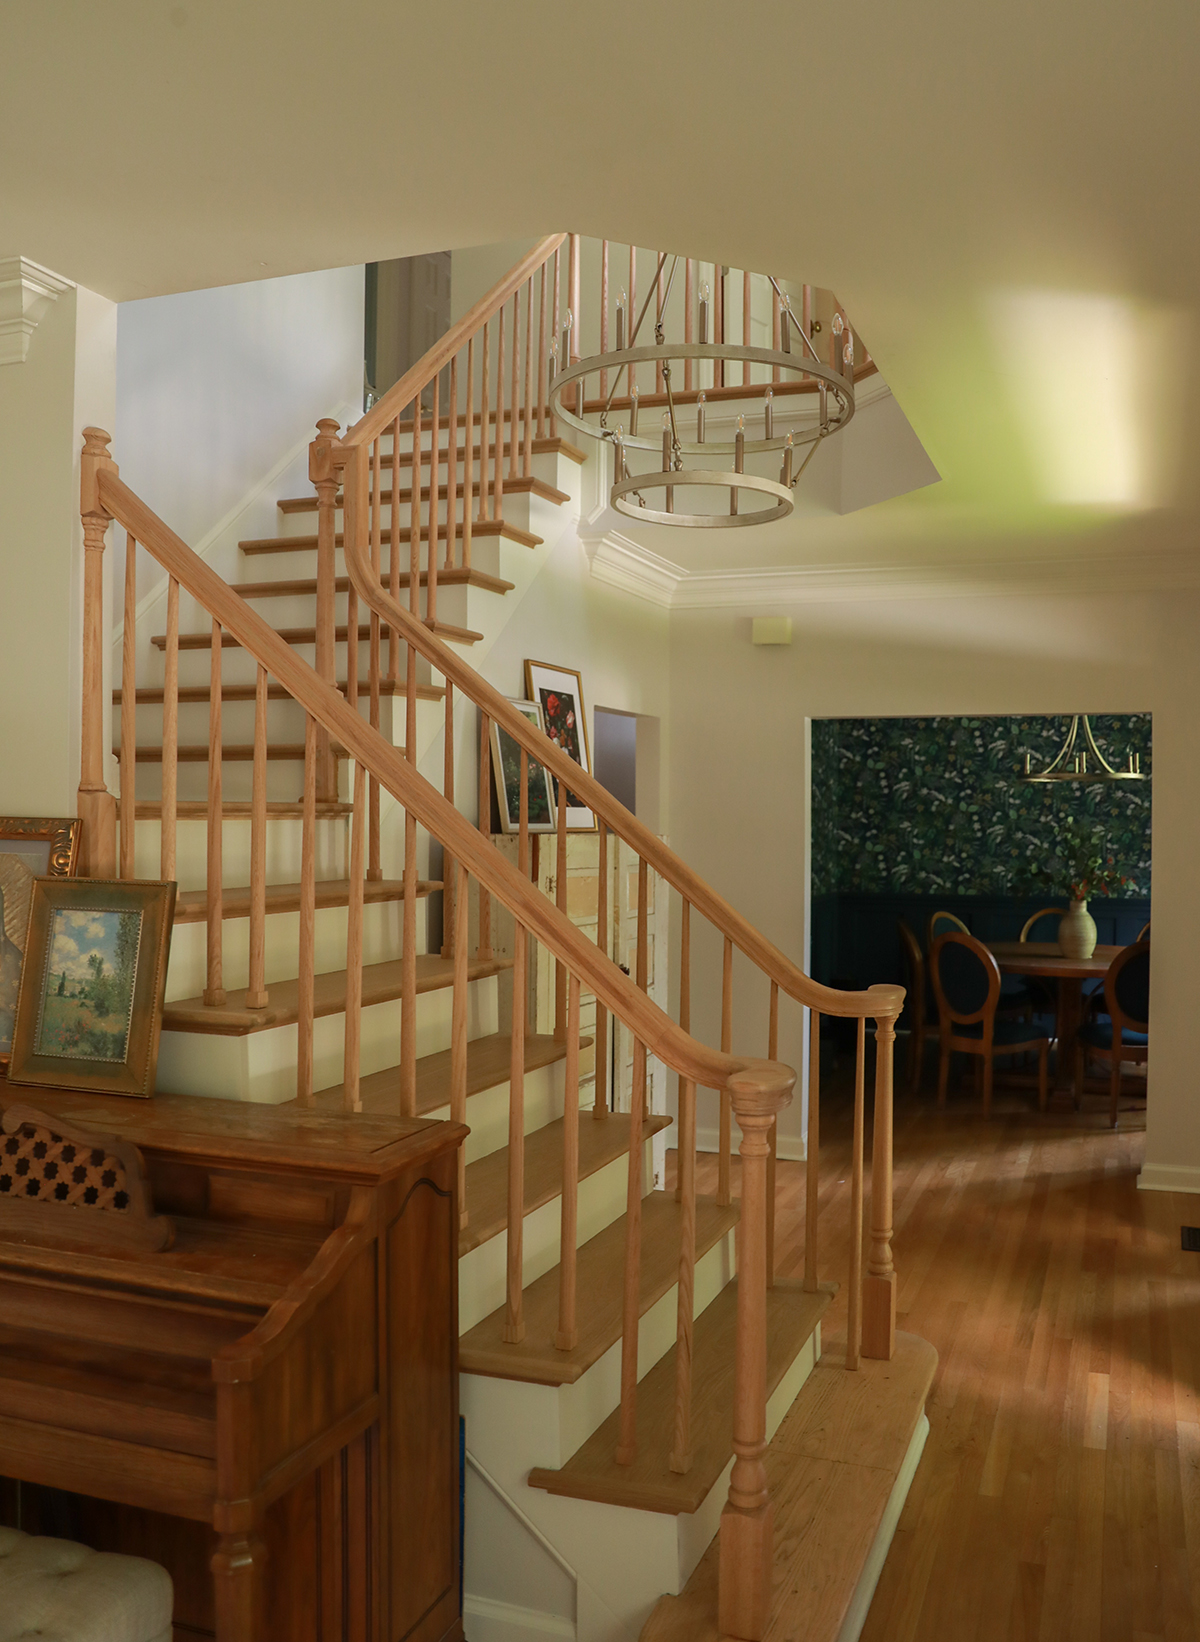
To achieve the raw look, we chose to use Bona Natural Seal followed by two coats of Bona Traffic HD Matte. This Bona system is simply amazing. It is a hard-wearing, commercial-grade, two-part water-based finish for floors and handrails. It’s low VOC, very durable, dries and cures quickly (multiple coats of finish can be applied in a day), and has minimal color change, which allows the natural color and tones of the wood to shine. The matte version we prefer is also low-sheen, and when applied by a Bona certified professional, provides great traction for little sock-covered clumsy feet. We highly recommend it for stairs that constantly have little ones going up and down and all around.
We first applied a thin coat of Bona Natural Seal to seal the raw wood and keep the color as natural as possible. Use a high-quality brush, not a cheap disposable brush. If you want to go a bit lighter, additional coats of Natural Seal can be applied. The wood grain may raise slightly, but don’t worry about it. Let it dry for a couple of hours and apply a thin coat of Bona Traffic in the same way as the Natural Seal. After a few hours, gently sand with 220-grit fine sanding mesh or paper to smooth out the finish. Remember to be gentle and careful when sanding. Finally, wipe down with a tack cloth and apply one last coat of Traffic to the top rail. Once dry, you will have an amazingly warm and beautiful stair rail. Sometimes, Anna finds me whispering sweet nothings to my gorgeous red oak handrails in the middle of the night as they glow in the moonlight!
Let me know if you have any questions below, and I will do my best to answer!


