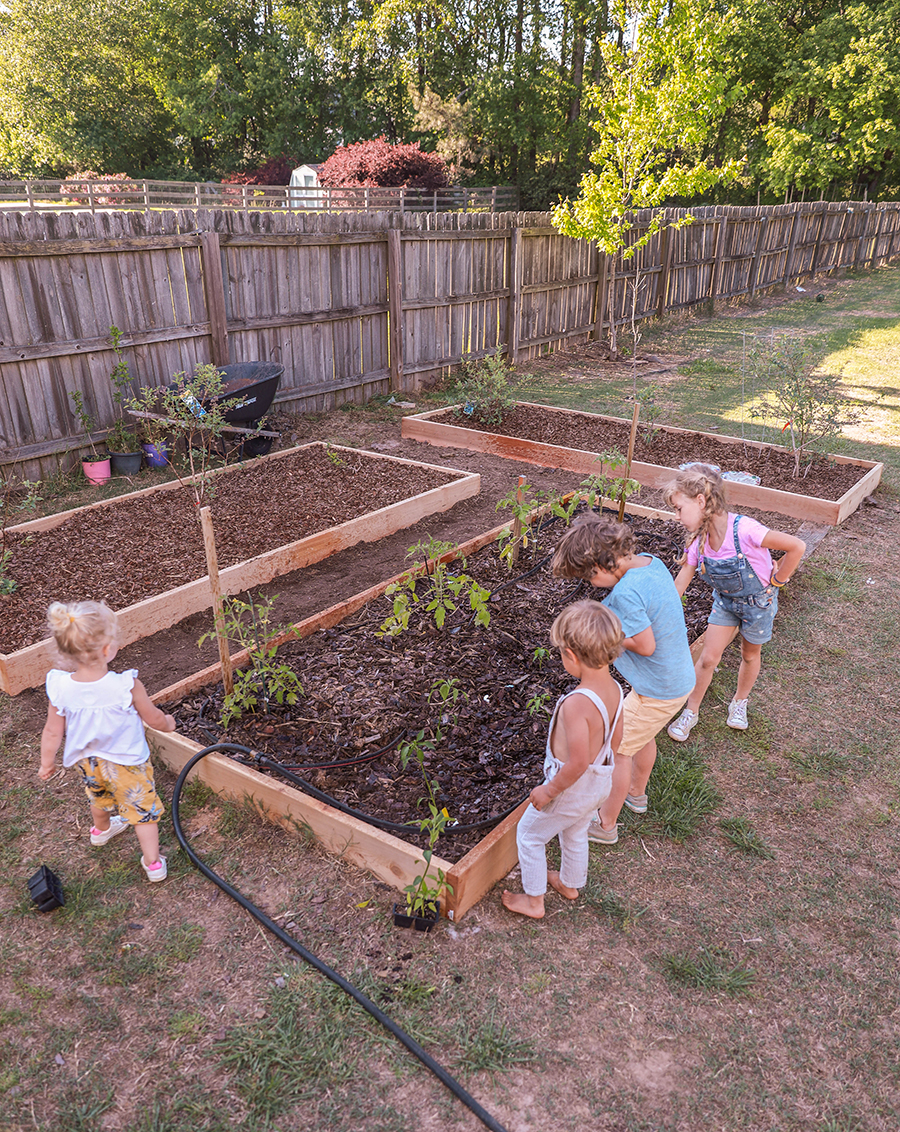

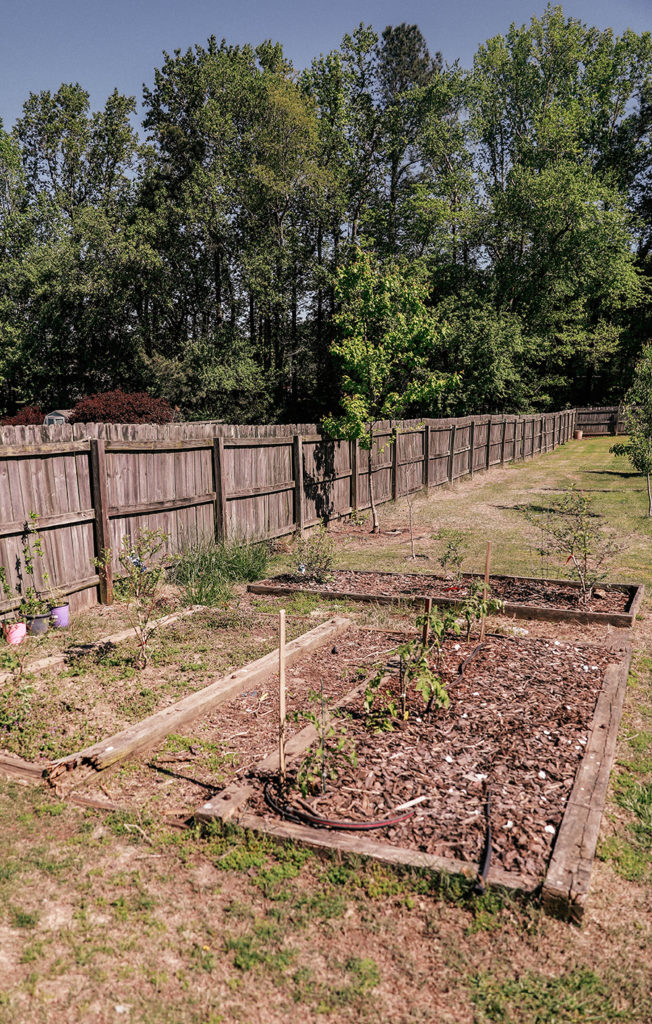
There were three garden beds in our backyard when we moved in, but unfortunately the boards were old and splitting. So this week we decided to re-build some simple DIY garden beds made of cedar wood. It does take a good deal of time weed, re-cultivate soil, and fill the beds but it really is an easier thing to build than you would think!
There is something to be said about including your children in the experience of working with your hands. It parallels so closely to life in that what you cultivate and plant today is what you reap tomorrow. So many lessons can be learned from a family garden;) They were so eager to help that we are a tad worried about the survival rate of these plants due to over watering, over planting, and over touching from eager toddler hands….

DIY GARDEN BEDS:
Materials for 3 Garden Beds:
9 – 2x8x12 cedar boards
3- 2x4x8 cedar or ground contact grade pine boards
2.5 in. exterior (decking) screws
3 bags of play sand (optional)
Tools: Miter saw or circular saw, drill/driver, power sander (optional), sledge hammer or heavy hammer.
The finished size of the beds are 12′ by 5′, so the actual cut boards pre construction are 12′ for the long sides and 4′ 3.5″ for the short sides. we Also cut the 2×4’s to into 18 14in long pieces. These boards can likely be cut to length upon request when you purchase the boards if you do not have a saw available.
Process:
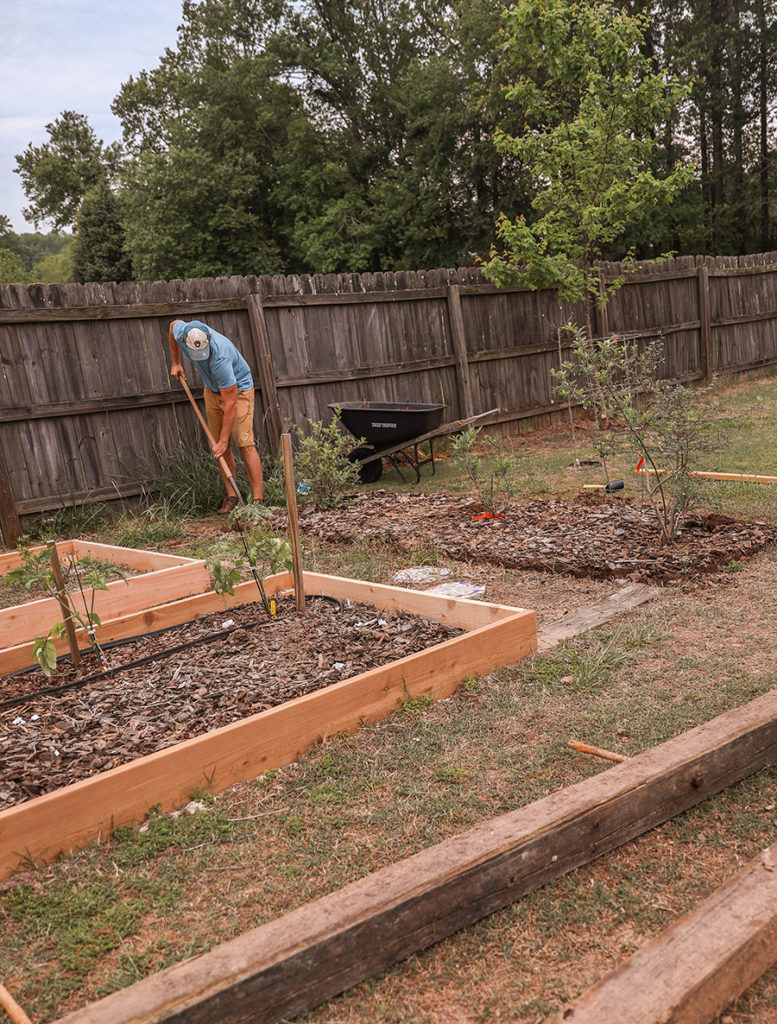
1. Prep your ground. After tearing out the old raised bed sides we noticed the the ground was surprisingly uneven, so we used a flat faced shovel to level out the ground where the boards would go then filled the groove with play sand. This allowed for easier assembly as the now level surface helped the boards sit evenly on the ground.
2. Cut your boards to length (if they are not already precut). We also quickly sanded the boards to reduce the chance of splinters knowing that our children would be regularly helping us with the gardening.
3. Assemble the frame the using the drill/driver and 2.5in exterior screws. Place the shorter 2×8’s inside the longer 2×8’s and use three screws per joint. Pre-drilling your holes will help to prevent wood splitting when installing the screws.
4. After we constructed the box we used six of our 14in 2×4 pieces to help secure the corners and long sides of each box. This helps to prevent movement and warping over time. To do this, we dug a hole roughly 8 in deep and wide enough to fit a 2×4 inside each corner and half way down the length of the long side. Then, we placed our 2×4 pieces in each hole and drove it down deeper using your heavy hammer until the top of the 2×4 was between 2 and 3 inches below the top of the garden bed box. We then secured these to the box frame using our screws and back filled the holes. Be sure to pack the soil into the hole as you fill it in. Cutting the bottom of your 2×4’s at an angle will help it go deeper into the ground with less effort.
5. Two last optional steps will help prolong the life of your bed:
– Line the inside of your frame with thick plastic,
– Apply a sealer to the outside of your bed. Both will help reduce the moisture absorbed by the wood and will help protect it from the sun.
6. Finally, fill with dirt!
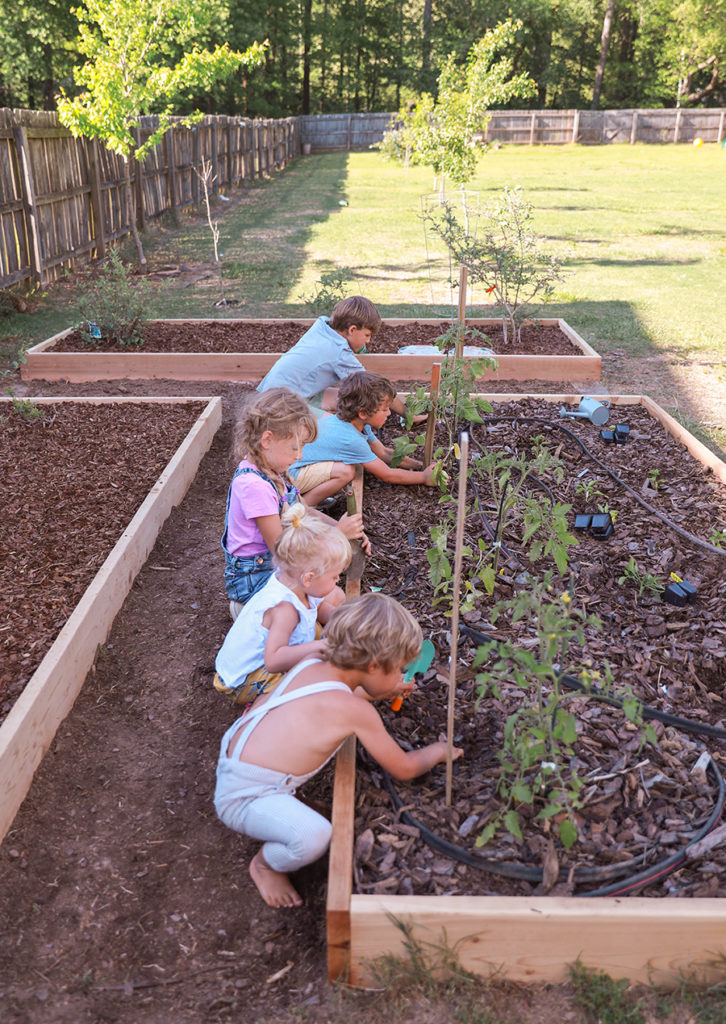
Gabe basically has a dream of having a fruit orchard in our backyard which is why every year I will often come home to new fruit trees or bushes ready to be planted. In 2 out of the 3 of these garden beds we planted blueberry bushes, and the other is full of tomatoes and peppers.Crossing my fingers they survive toddler love aggression.
Let us know if you have any q’s below!


