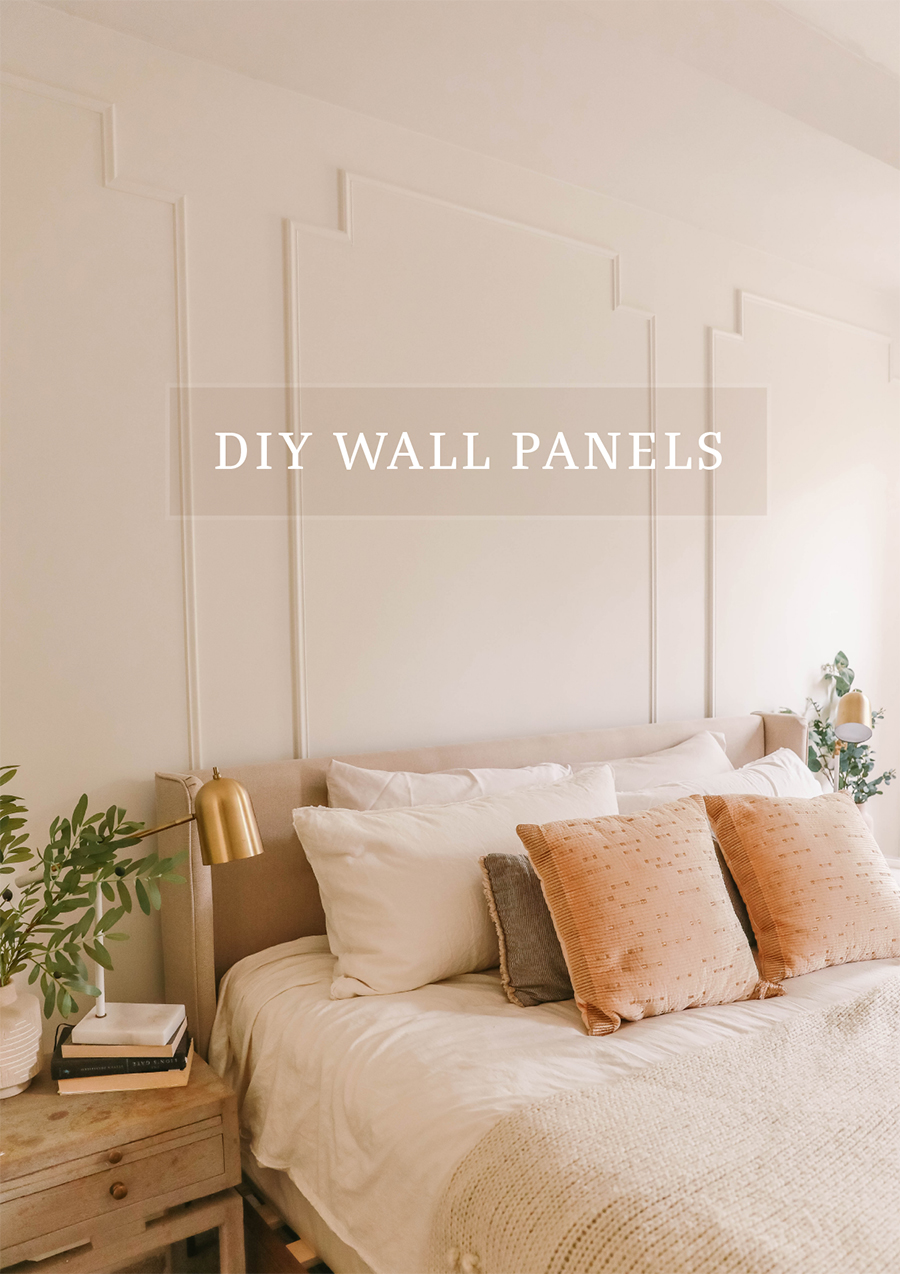
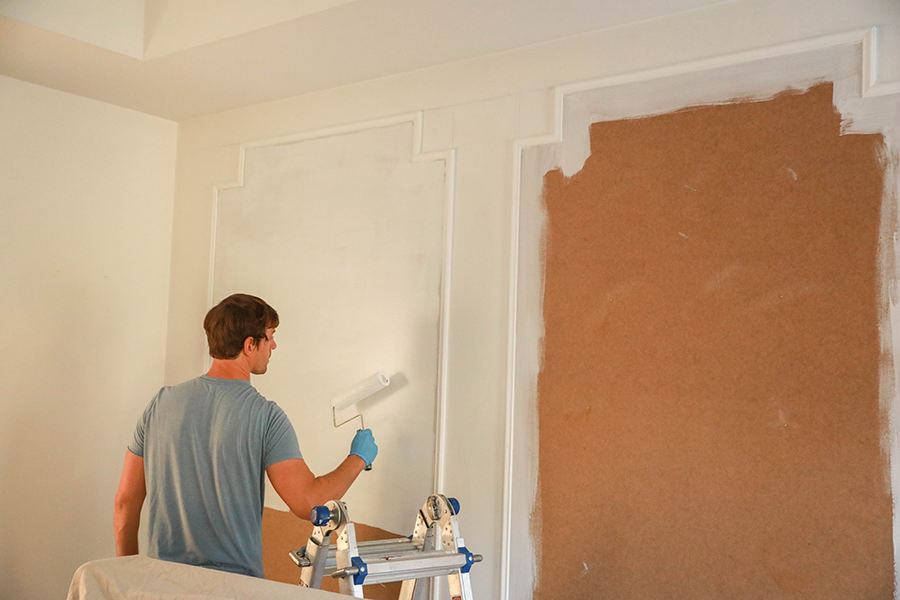
I love when Gabe and I get the chance to work on a project together. I knew in my head what I wanted the outcome to be, and thanks to some sketches, visuals, and lots of problem solving, Gabe make it come to life! Today he is share the DIY for these decorative wall panels he constructed and installed in our master bedroom. This is a fairly easy process that takes between one to two weekends depending on how you decide to try it! (More explanation on that in a moment.)
The key to this project is precision when making any cuts to ensure nice tight joints and lines…which is not hard if you have the patience:)
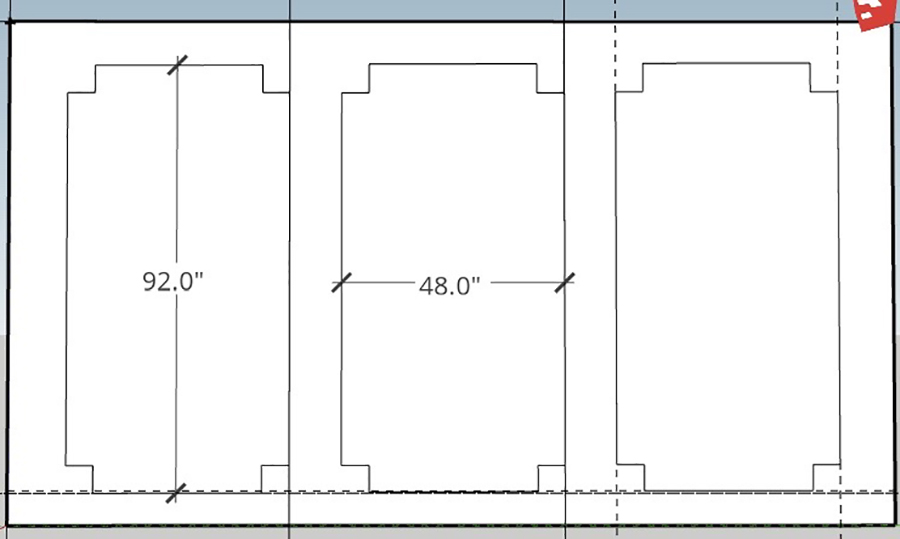
The original concept and design mock up before we began!
There are two options when approaching this project:
- The first is to create full panels like we did using MDF and end cap trim. There are more steps to this option, and therefore takes more time, but it produces a much more refined professional look when seeing it in person. It also helps to combat uneven or damaged walls.
- Option two is to take a flat backed chair rail moulding and affix it directly to the wall in your desired design without an MDF panel. This can be quicker and cheaper to complete, but can also be more tedious to properly alight depending on the shape of your walls. It will also require more caulking. This option will photograph well, but in my opinion does not look as refined or professional when seeing it in person. For that reason we chose the first option.
Materials/Supplies:
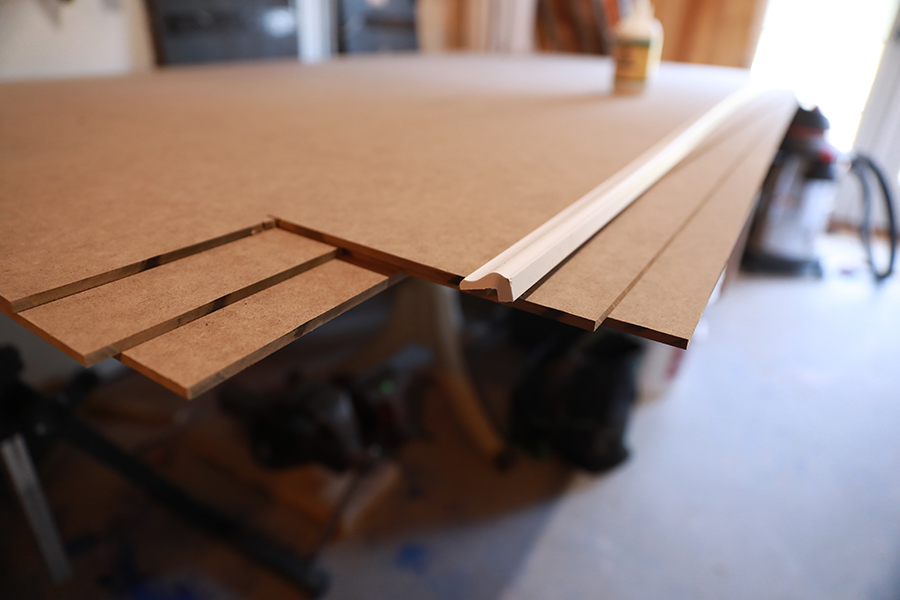
– ¼ in thick MDF panels
– Moulding of your choosing – We selected this cap molding from Home Depot that has a 1/4in “rabbit” on the back, meaning it can overlap the edge of the 1/4in MDF. This allows for an easier and cleaner finished product.
– Adhesive to glue the MDF and moulding together. – I used RooGlue because I had it on hand and the moulding cap we selected is PVC vs. wood. RooGlue is great at glueing plastics to wood products. Clear Gorilla Glue is a less expensive option as well. If your moulding is wood based, I recommend using Titebond II.
– Construction or panel adhesive for installation onto the wall. – I prefer Locktite Power Grab, but have also used Liquid Nails Paneling Adhesive with success. I used 2 tubes for the three large panels.
– Finishing nails to hold the panel/molding in place on the wall as the adhesive cures.
– Painter’s Putty or wood filler to fill nail holes.
– Painter’s tape or masking tape
– Moulding Caulk (I used DAP Alex Plus)
– Primer paint
– Paint – Our wall color is White Moderne by Behr
* Optional – Starbond CA Glue and Accelerator. – I love this stuff, it’s like duct tape on steroids. I used it to pre-glue the molding corners together before I adhered it to the MDF panels. This is not necessary, but made construction much easier/cleaner.
Tools:
Circular saw
Miter saw or miter box
Finishing nail gun (Hammer and finishing nails can work as well, but will be more work)
Brushes and Rollers for painting
Caulk Gun
Keyhole saw (if holes need to be cur for electrical outlets)
Straight edge
Level
Tape Measure
Nail set
Hammer
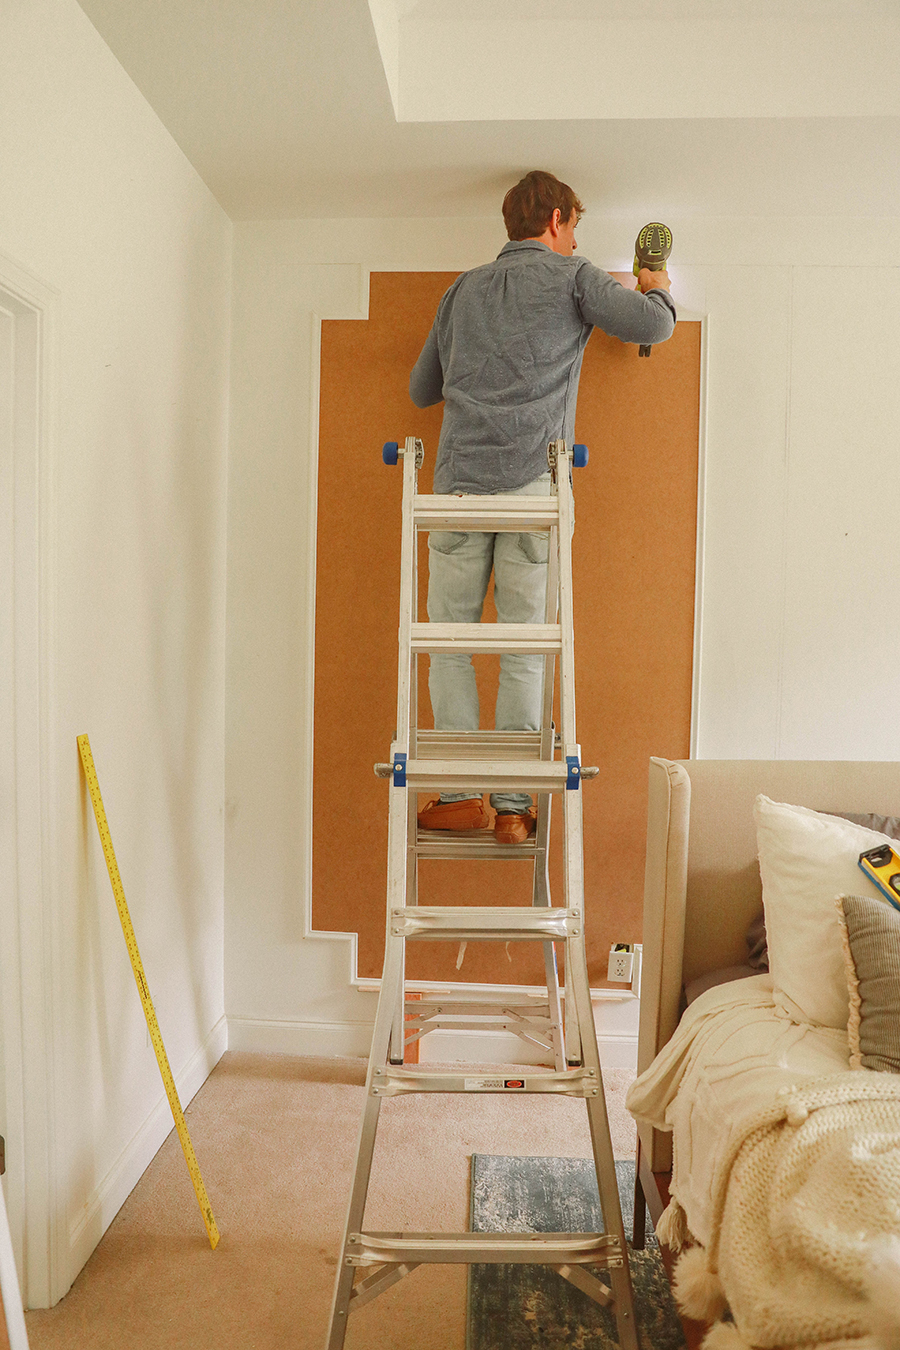
1.Using the circular saw, cut the MDF to your desired size and cut out internal corners. I took corners in by 6in. Using a straightedge and t-square will help insure your cuts are square. Clamping the MDF panels together very tightly will allow you cut all the panels at one time. Just take your time cutting.
2. Using a miter saw or miter box, cut the moulding pieces to size. Use the outer dimensions of each edge of the MDF panel as your template.
If your moulding has a rabbit like ours, hold the moulding in place on your paneling and trace a line at the internal edge of the moulding. Repeat until the internal edge of the moulding has been traced around the entire outer edge of each MDF panel. This will give you the dimensions of each piece of moulding that needs to be cut.
3. Dry fit the moulding onto the MDF to ensure a tight fit. Use painters tape to make sure the moulding does not shift as you dry fit the moulding. Make any adjustment cuts as needed.
If you are not using MDF panels you will still want to dry fit your moulding together to ensure your corners are a proper 90 degrees.
4. This is an optional step, but one that I find makes construction much easier. After dry fitting the moulding, I like to glue the corners together to pre-fabricate the moulding before gluing it to the MDF. Using the Starbond CA glue with accelerator at each corner creates a very strong instant bond.
If you opt to exclude the MDF panel and affix your molding directly to the wall, I highly recommend this step as it will help insure your corners and lines are square. I have found it easier to create tight corner joints.
5. Next glue your moulding to the MDF and use the painters tape to ensure tight/constant contact with the MDF until the glue sets. Once the glue sets remove the tape.
6. Now that your panels are completed, prep the walls. Simply use your tape measure, level, and straightedge to draw guidelines on your wall so you know the precise location of each panel. Now is also the time to use the key hole saw to cut holes for any electrical outlets. If you do have to cut holes for the electrical outlets, be sure to get some ¼ in electrical box extenders to ensure your project is properly following fire code. That may sound scary, but trust me installing some box extenders are super easy. If you can use a screwdriver and know how to shut off the power to the room at the breaker box, it is a piece of cake.
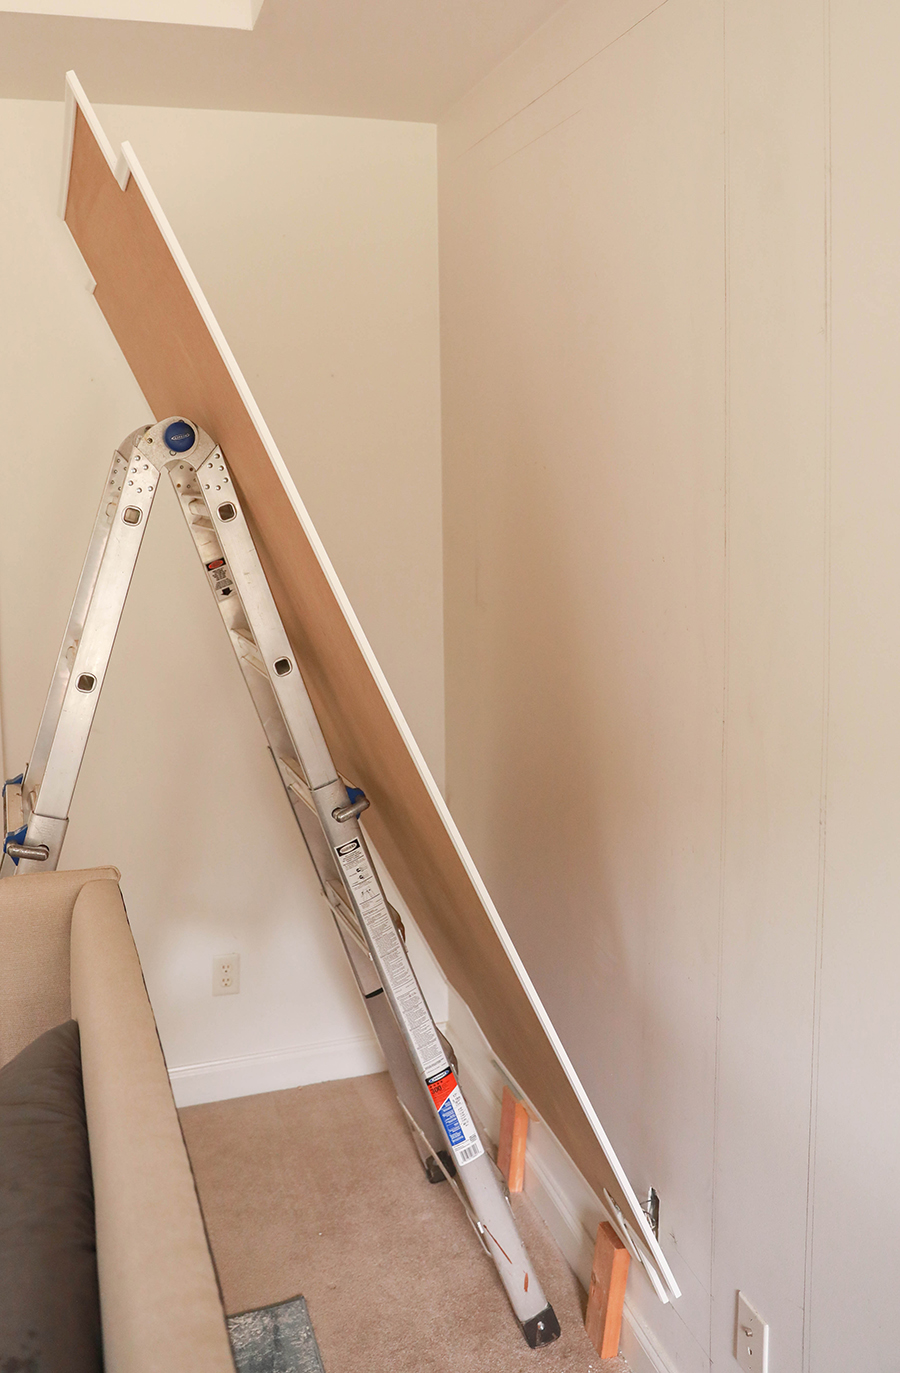
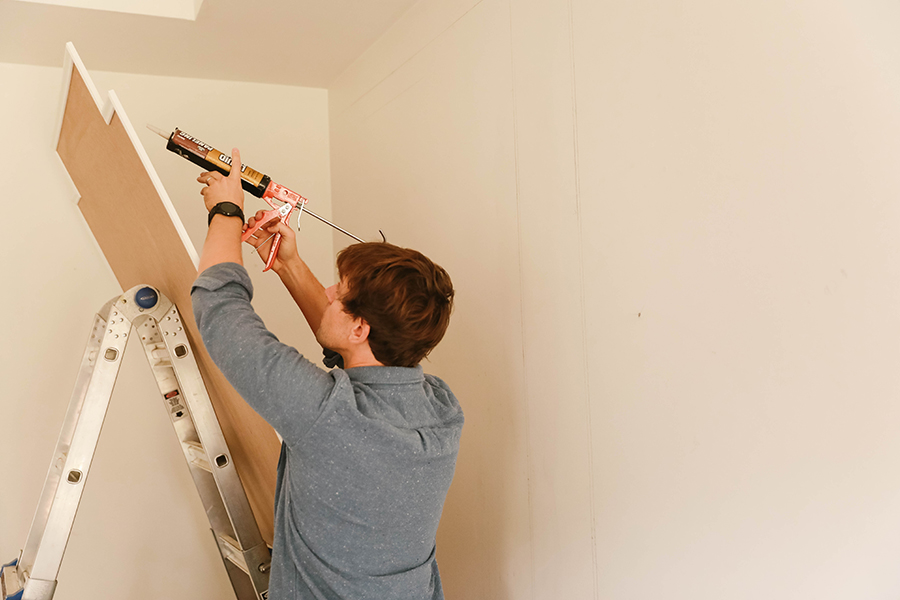
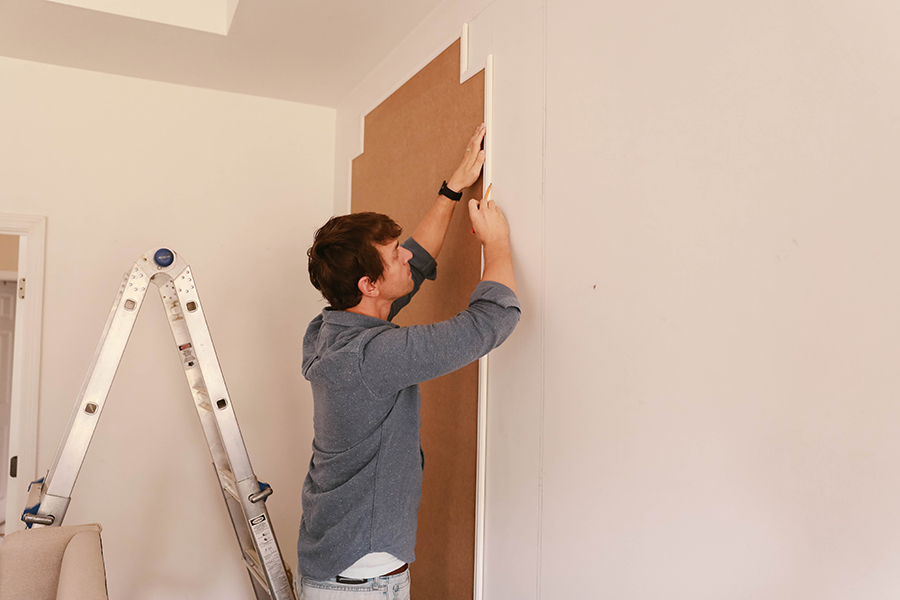
7. Things are now set to install the wall panels onto the walls. It helps having and extra set of hands or two at this point. If you do not have help, scrap wood (I used spare 2×4’s) and wood shims can be used to support the panels as you affix them to the wall. To affix them to the wall apply your panel adhesive or construction adhesive to the back of a panel. Use your caulk gun to apply a consistent bead of adhesive roughly one inch from the outer edge as well as quarter sized dots about every 10 in on the entire wall side of the panel. (Some prefer to use 10 to 12 in circles of adhesive rather than the dot method.) Wait a couple min to allow the adhesive to get a tad tacky, then press onto the wall and adjust as necessary ensuring the panel sits within your guidelines created in step 6. Use your level to ensure your panels are straight and level. Once properly in position, use the finishing nails to ensure the panel does not shift or fall as the adhesive sets. Repeat until all panels are installed.
Note – If you are only installing the moulding to the wall the same general steps apply. Apply the adhesive directly to the back of the moulding in a solid bead and align on the wall using the guidelines from step 6. If your glue is tacky enough you may not need nails to hold it in place, but I usually like to use a couple nails just in case. Keep a wet rag handy to wipe away any adhesive that oozes out the sides.
8. Once the adhesive properly sets, use a nail set and hammer to ensure all nail heads are just below the surface of your panel or moulding. Fill all nail holes with painters putty or wood filler.

9. Use the moulding caulk and caulk gun to fill in any gaps where the panels/moulding and wall meet. Use a wet finger to smooth out the caulk.
10. Once the nail holes are filled and caulk is dry, apply primer to the MDF and moulding. I recommend two coats of primer on any bare MDF or wood moulding. Last finish up with your final coat of paint.
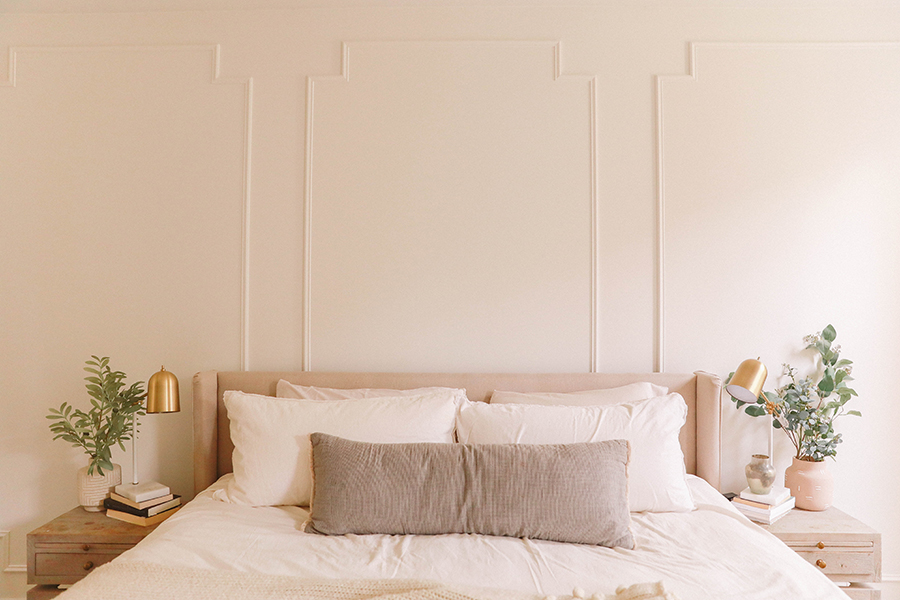
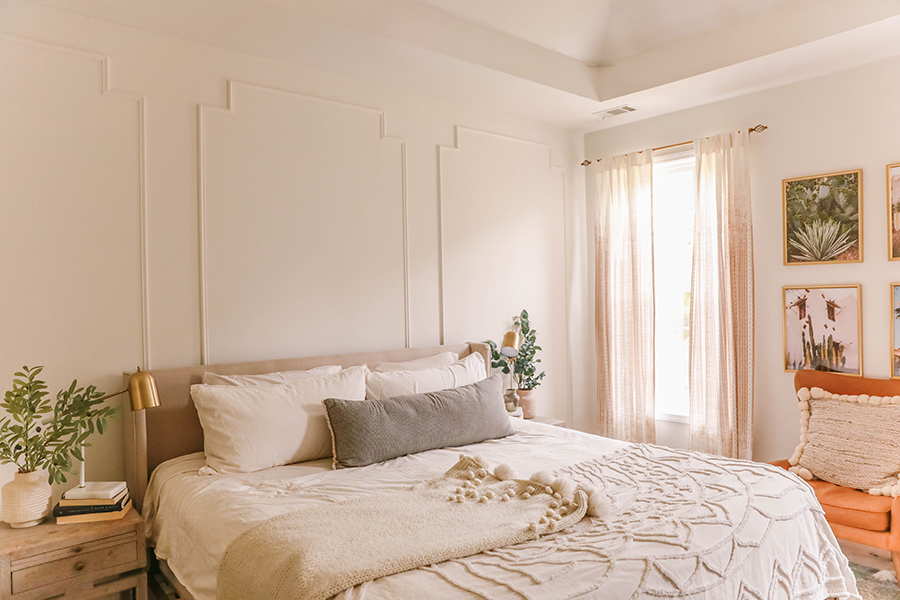
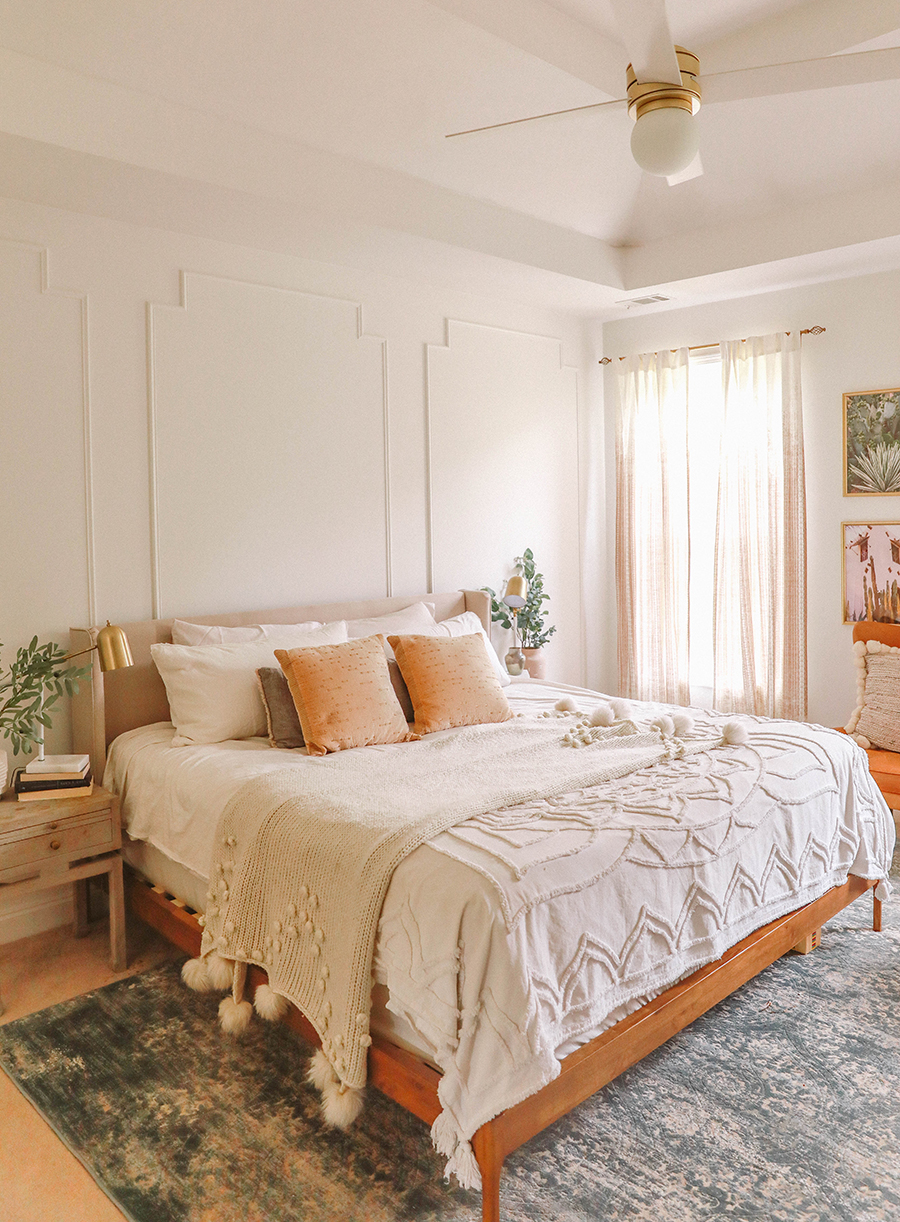
This is a cost effective way to elevate your space, and a way to improve a large blank wall! It really created more visual balance to this room. Anna is looking for a few art pieces in between the panels to complete it.
Have any questions? Drop them below, and we will make sure to answer them!
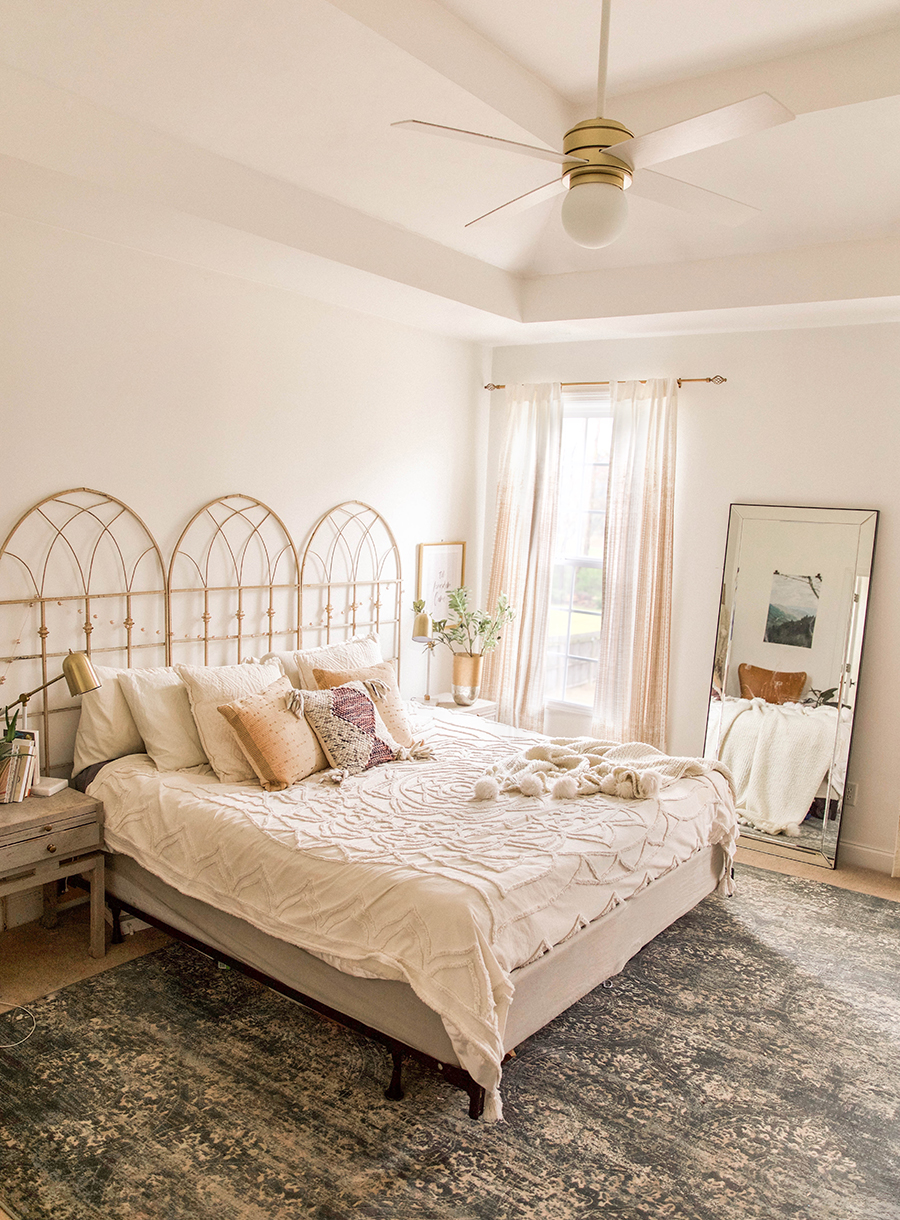
Bedroom sources:
Bed frame
Tufted comforter (similar)
Linen Duvet Set
Lumbar pillow
Pom knit throw (sold out but similar)
Nightstands – Anthropologie (sold out, but love this one!)
Lamps
Ceiling Fan
Paint – White Moderne by Behr


