When we finished out our daylight basement, we made the plans to have a laundry room, and convert the upstairs laundry room into a larger pantry. We didn’t realize we were moving then of course, so this February we decided to finish it up. I will be honest this may be one of the hardest rooms to let go of when we move because oh my gosh! The laundry room is now a peaceful oasis that I want to live in!
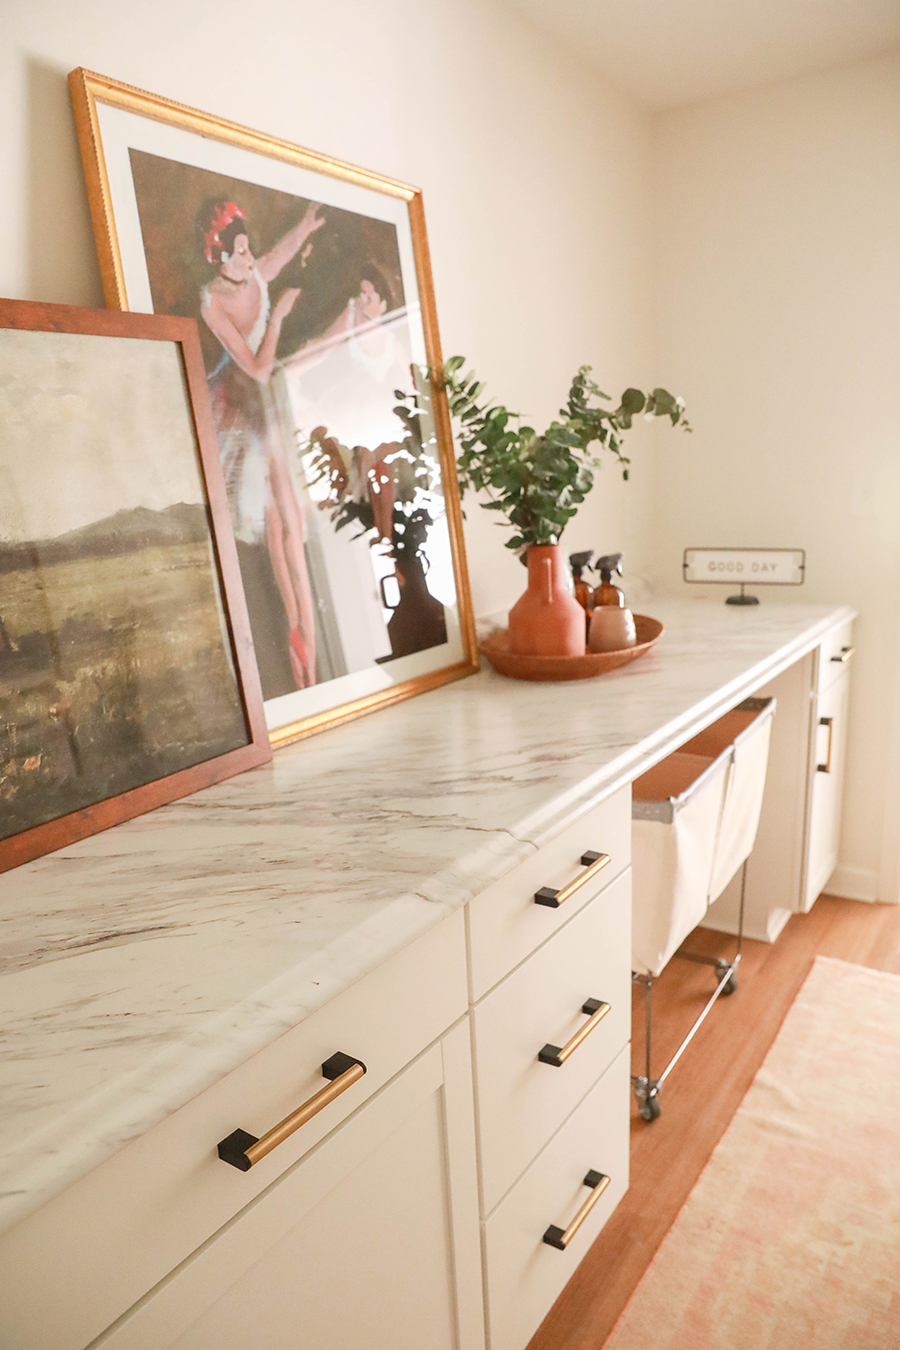
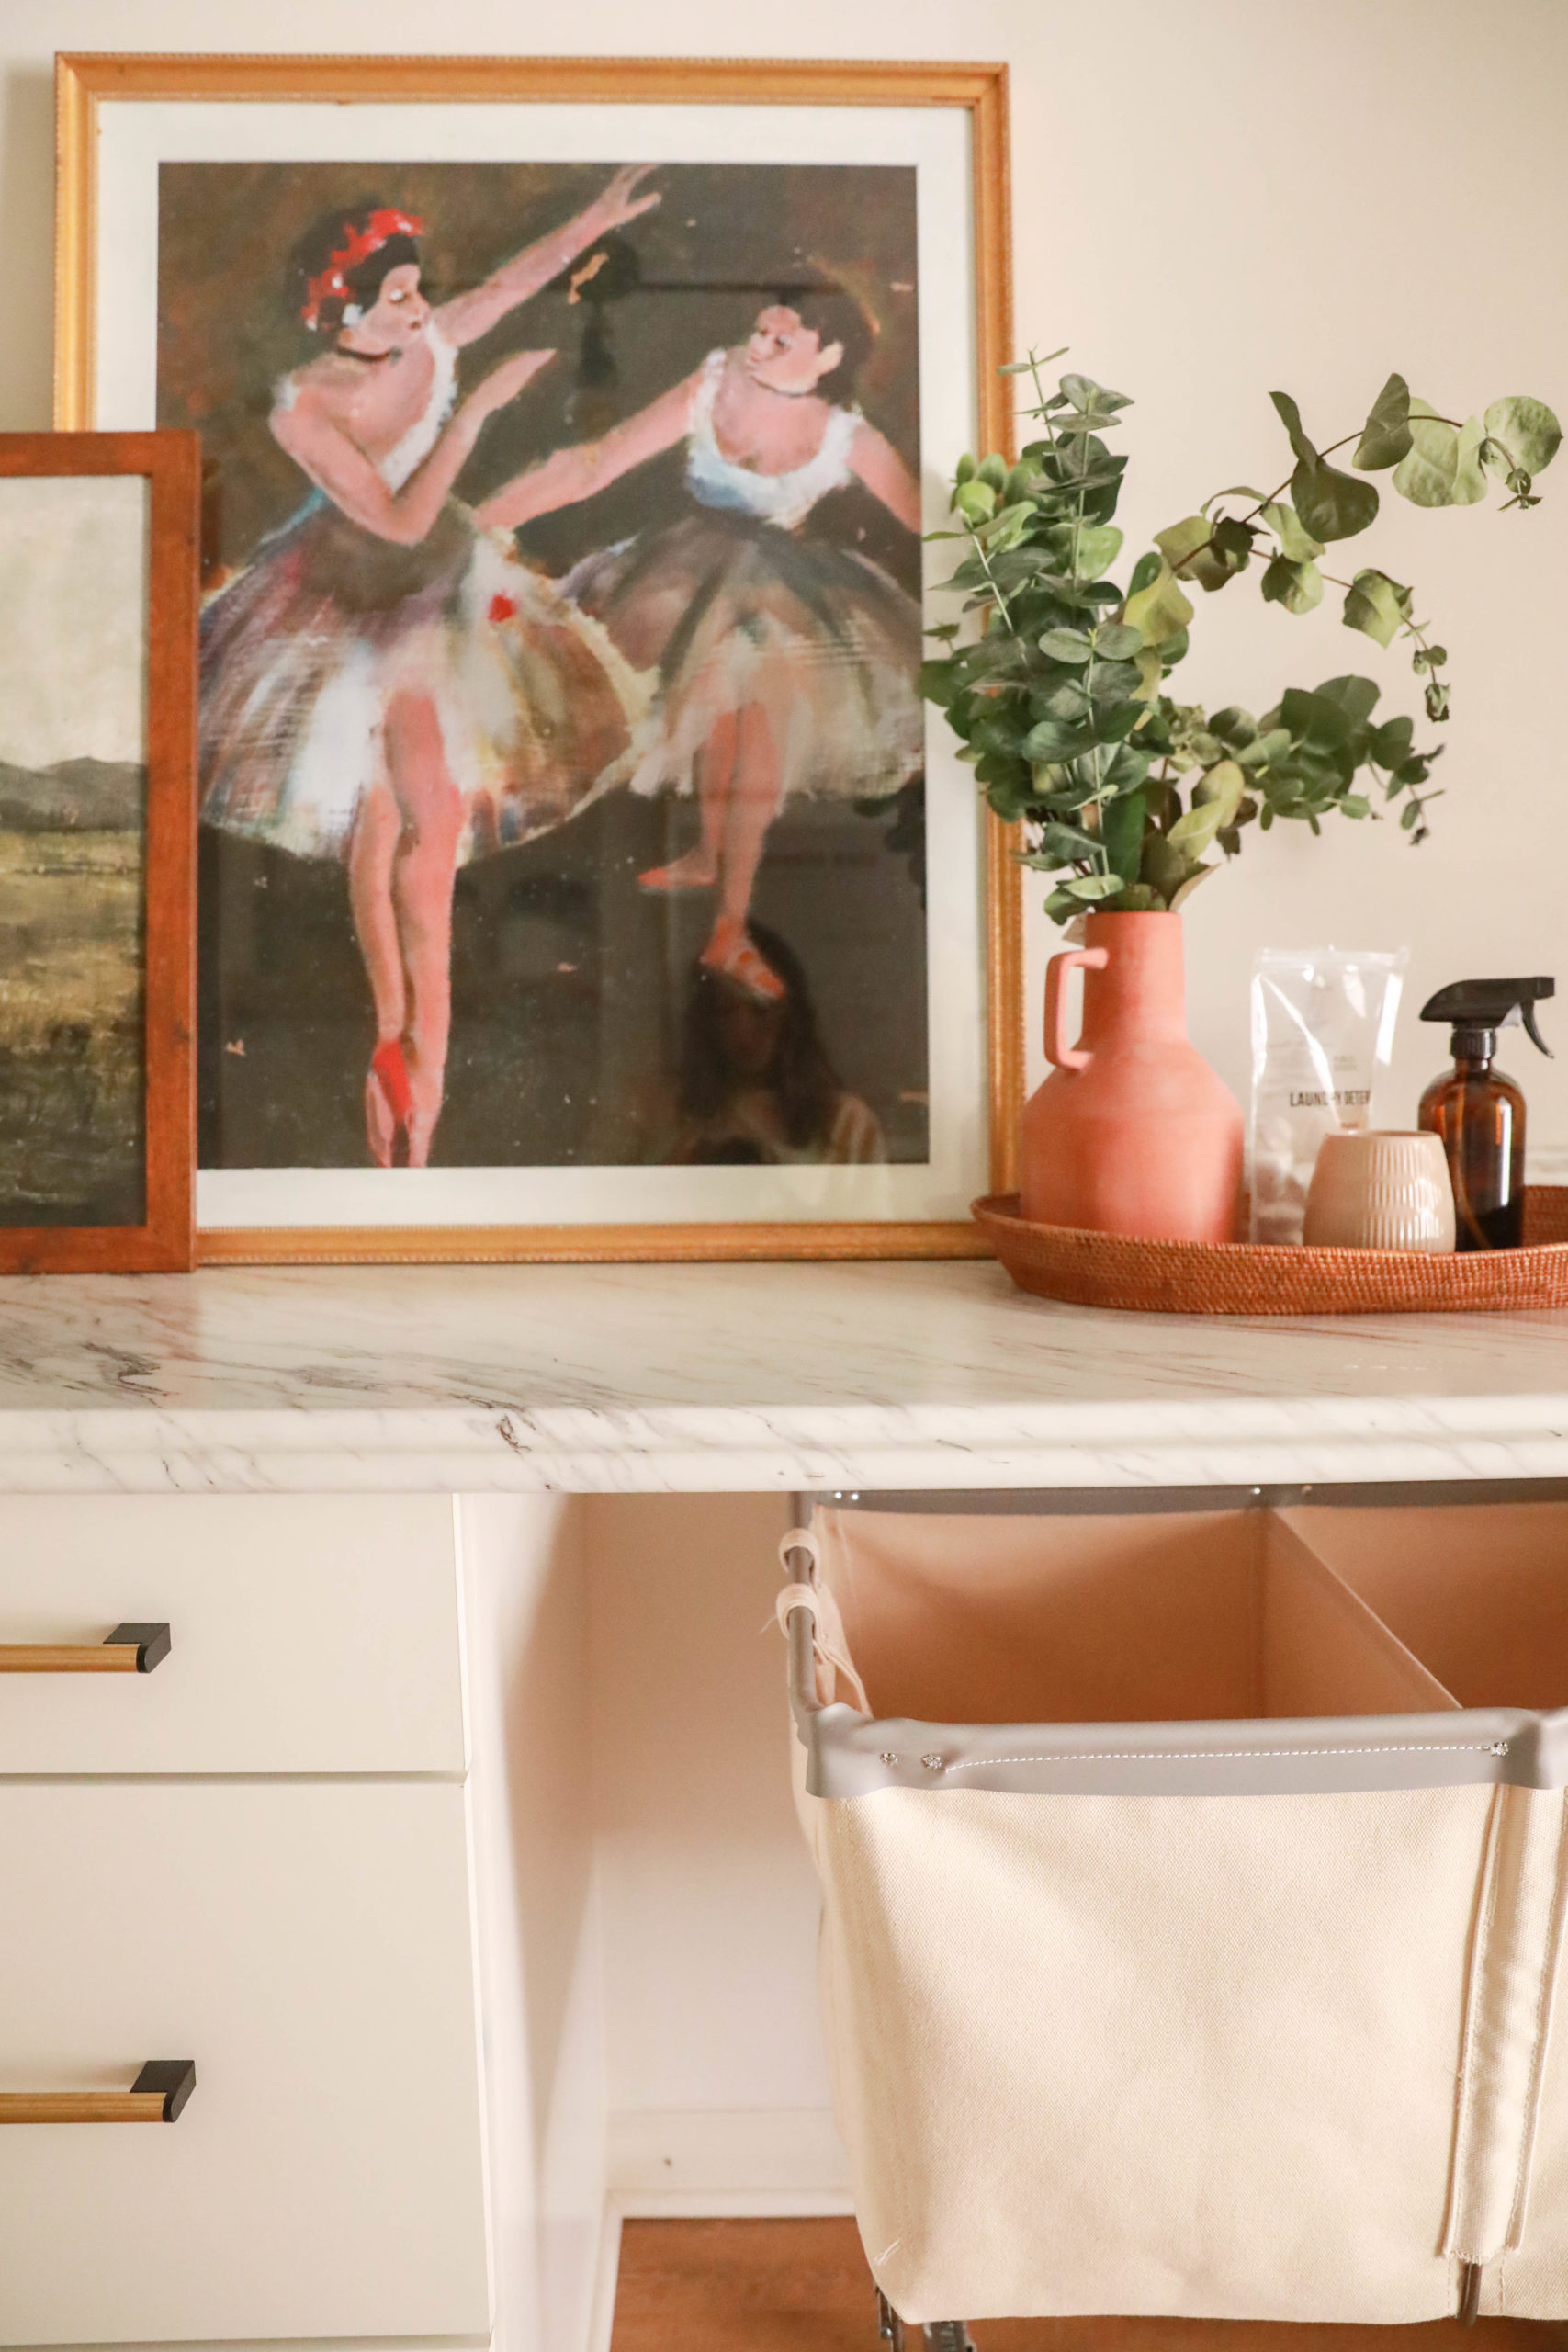
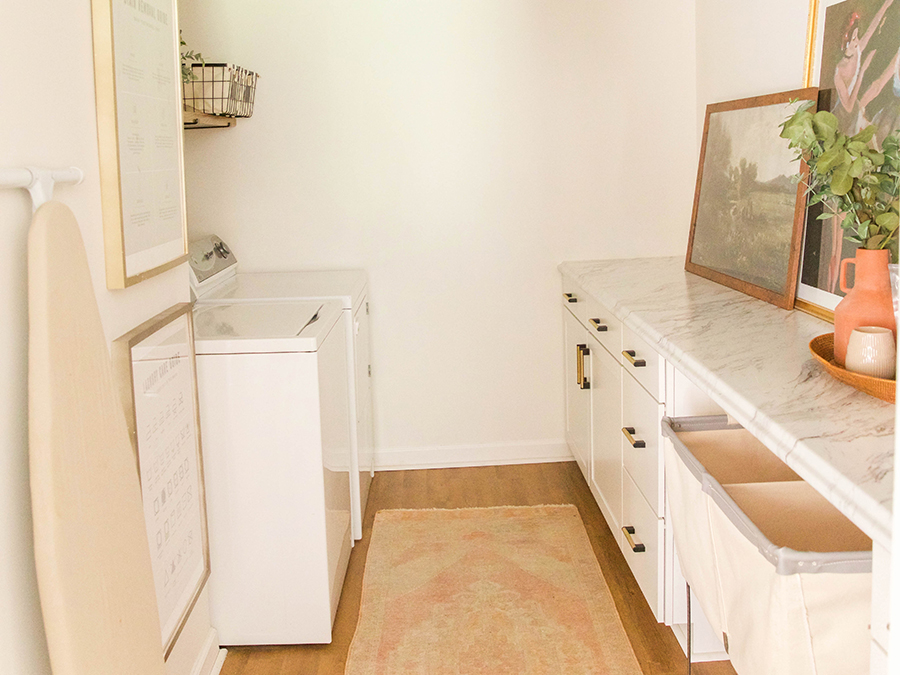
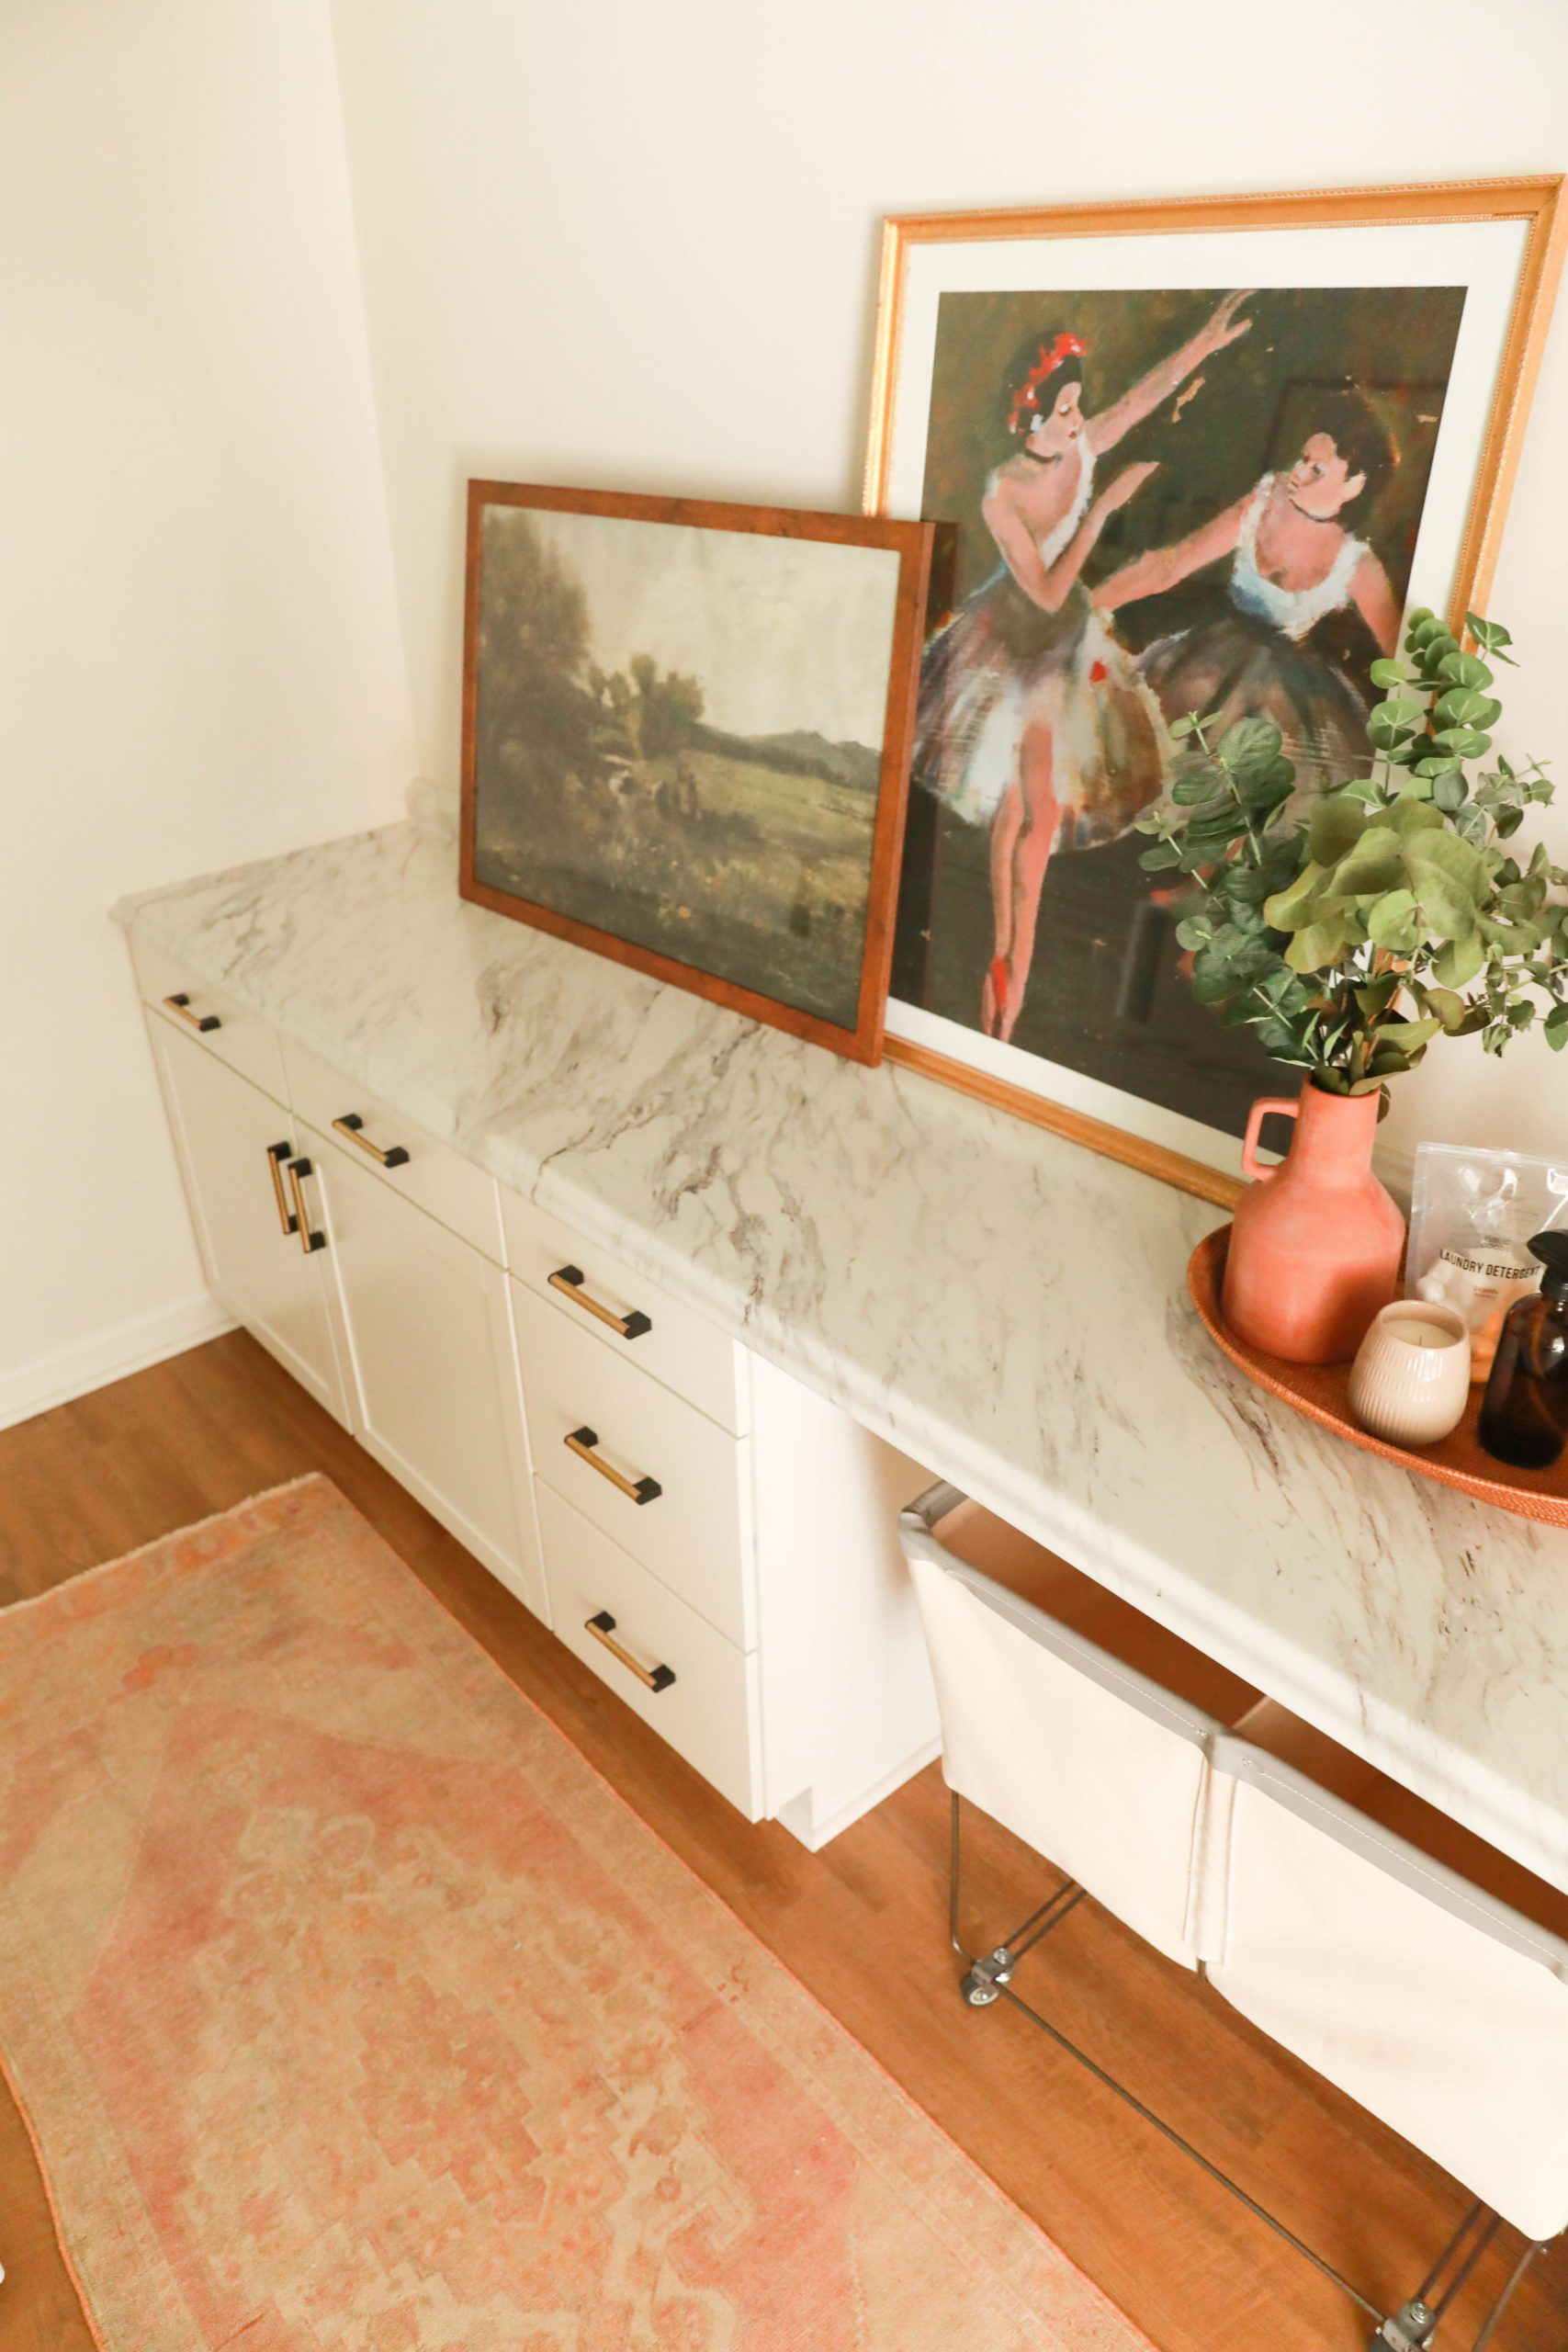
For some context, this room is right of the middle studio room of our basement. We already had the flooring installed with the rest of the basement which is a commercial grade waterproof wood flooring. If we were sticking around I would have wallpapered or painted this room, but I knew it would be best to leave a blank slate. Nothing large art and a vintage rug runner can’t temporarily jazz up though!
I am up to about 10 loads of laundry per week (my little ones seem to go through extra clothes in the summer?!), so I we have a few systems now that help things flow. My older ones fold and put away their own laundry, and I do the rest on the weekends including linens and towels. I tend to fold while watching a movie, but since we finished this space I am folding in here while listening to an audiobook or podcast:)
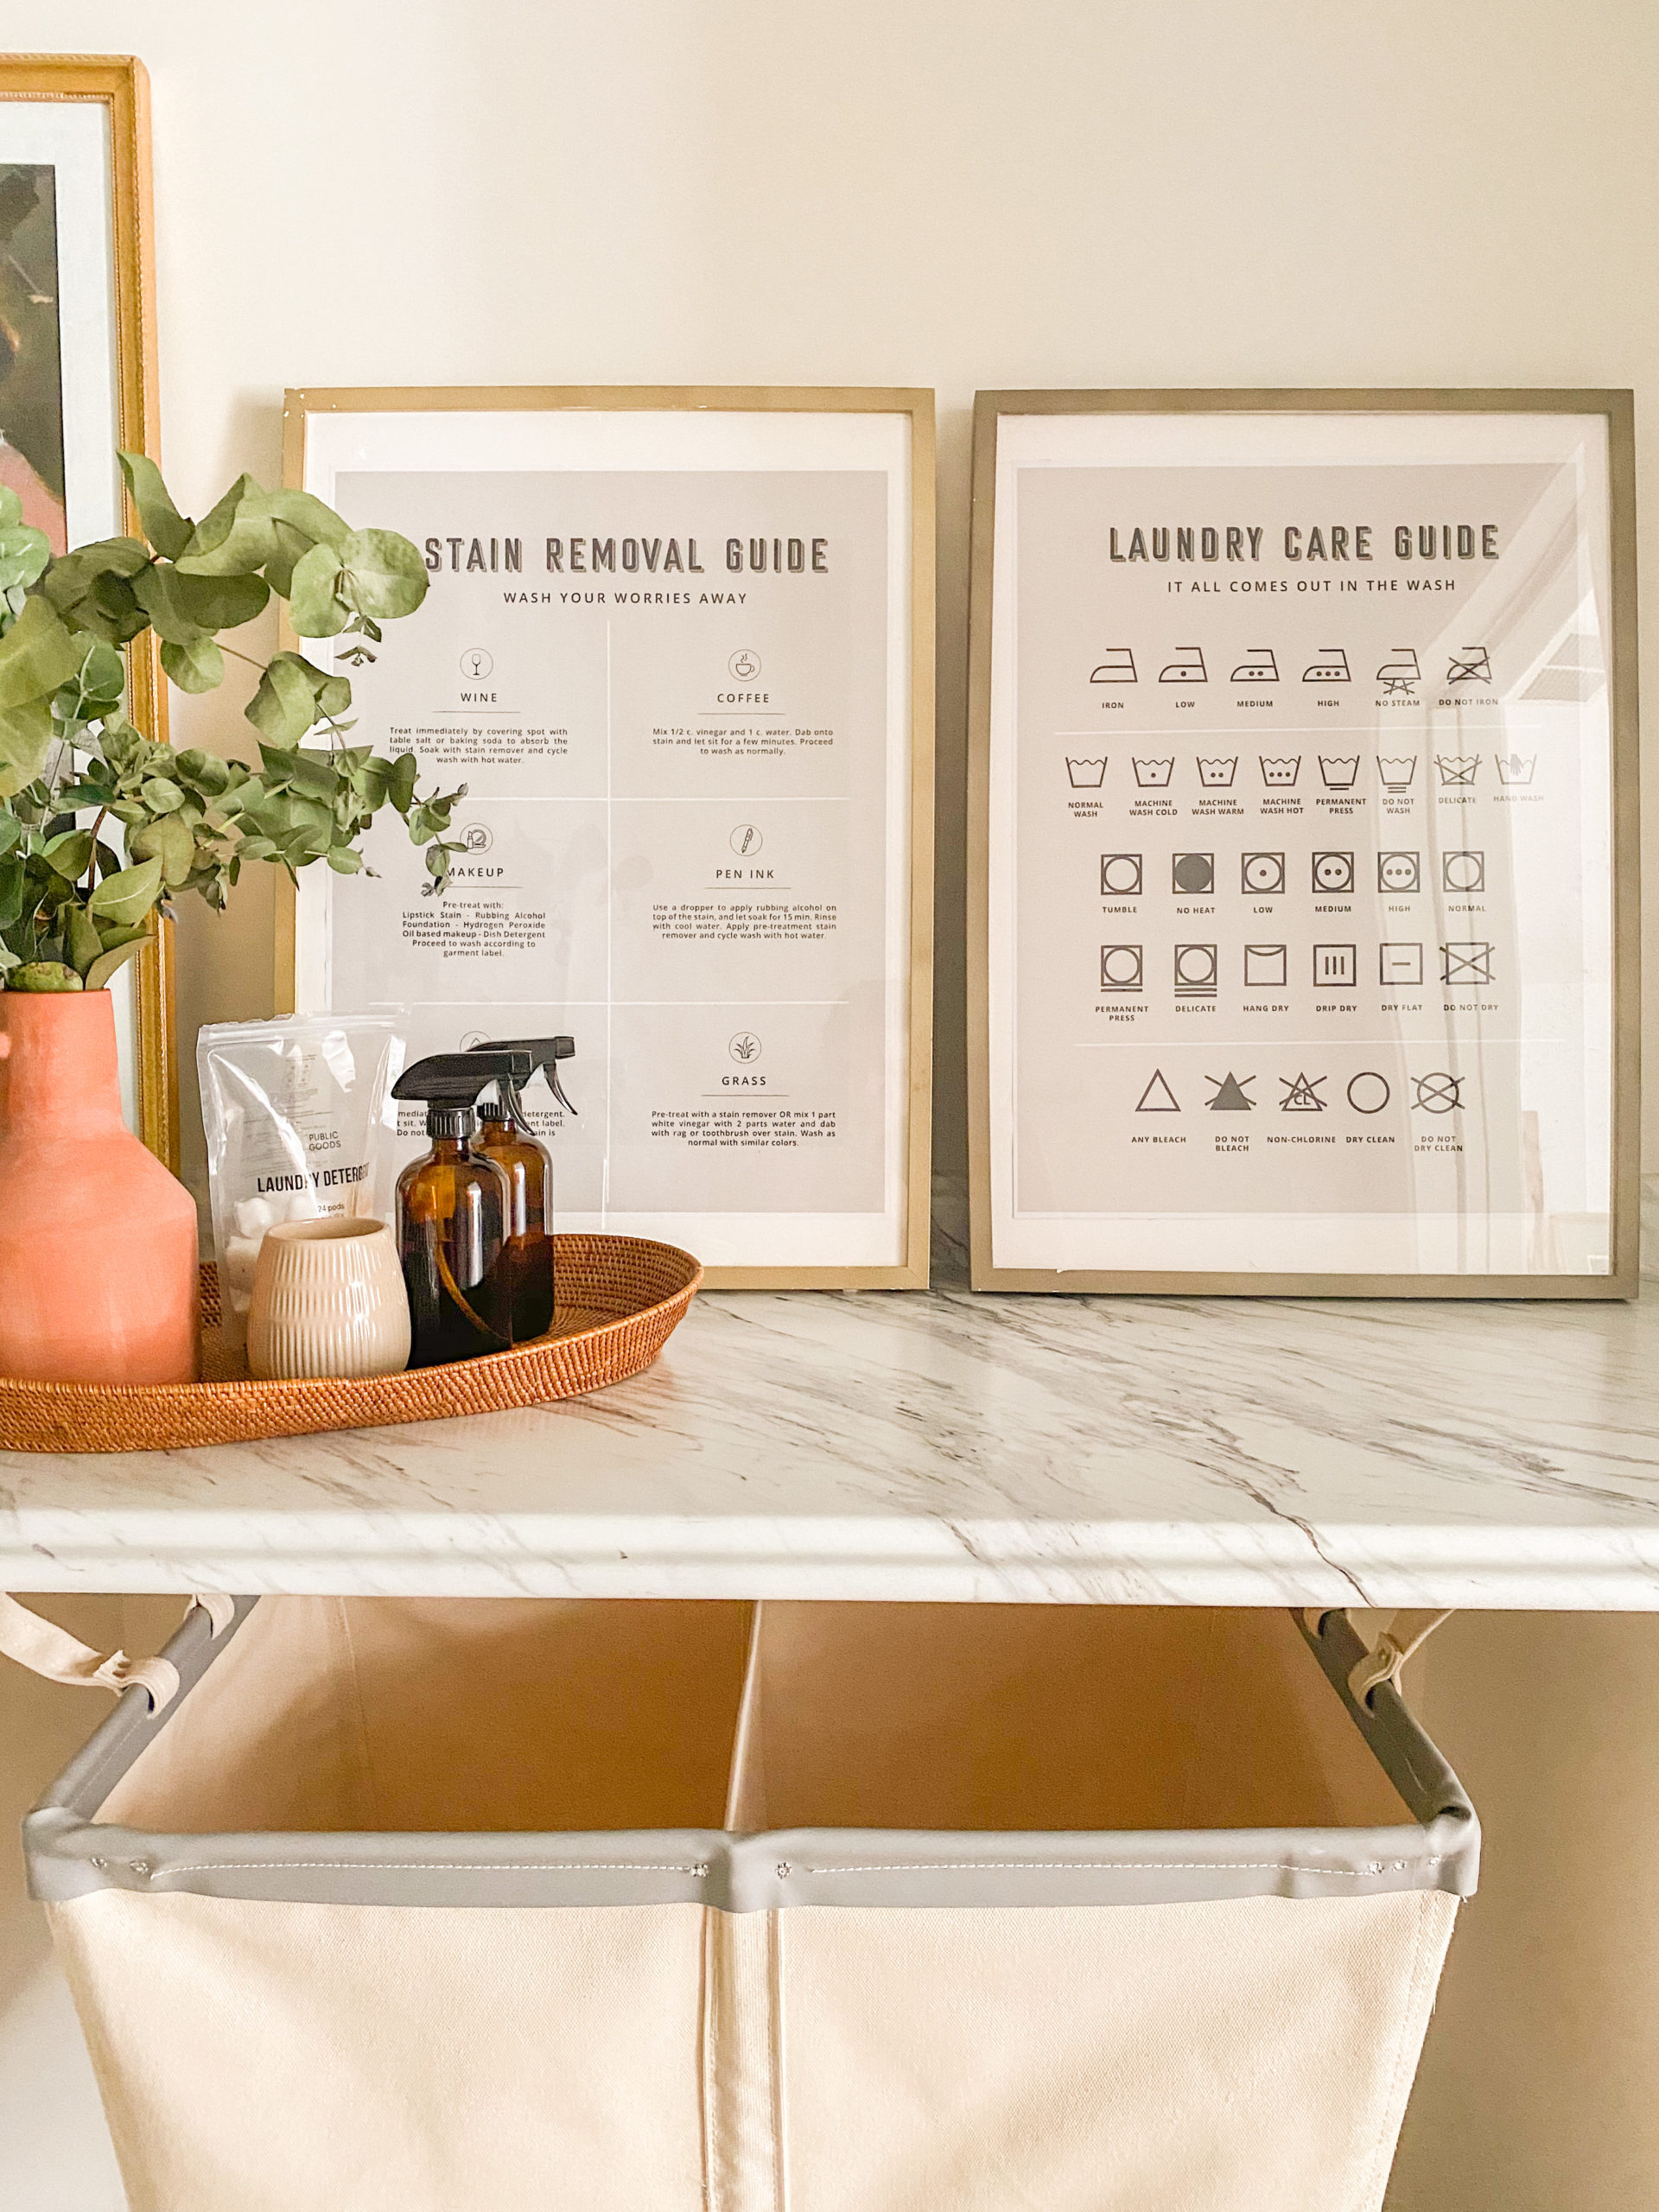
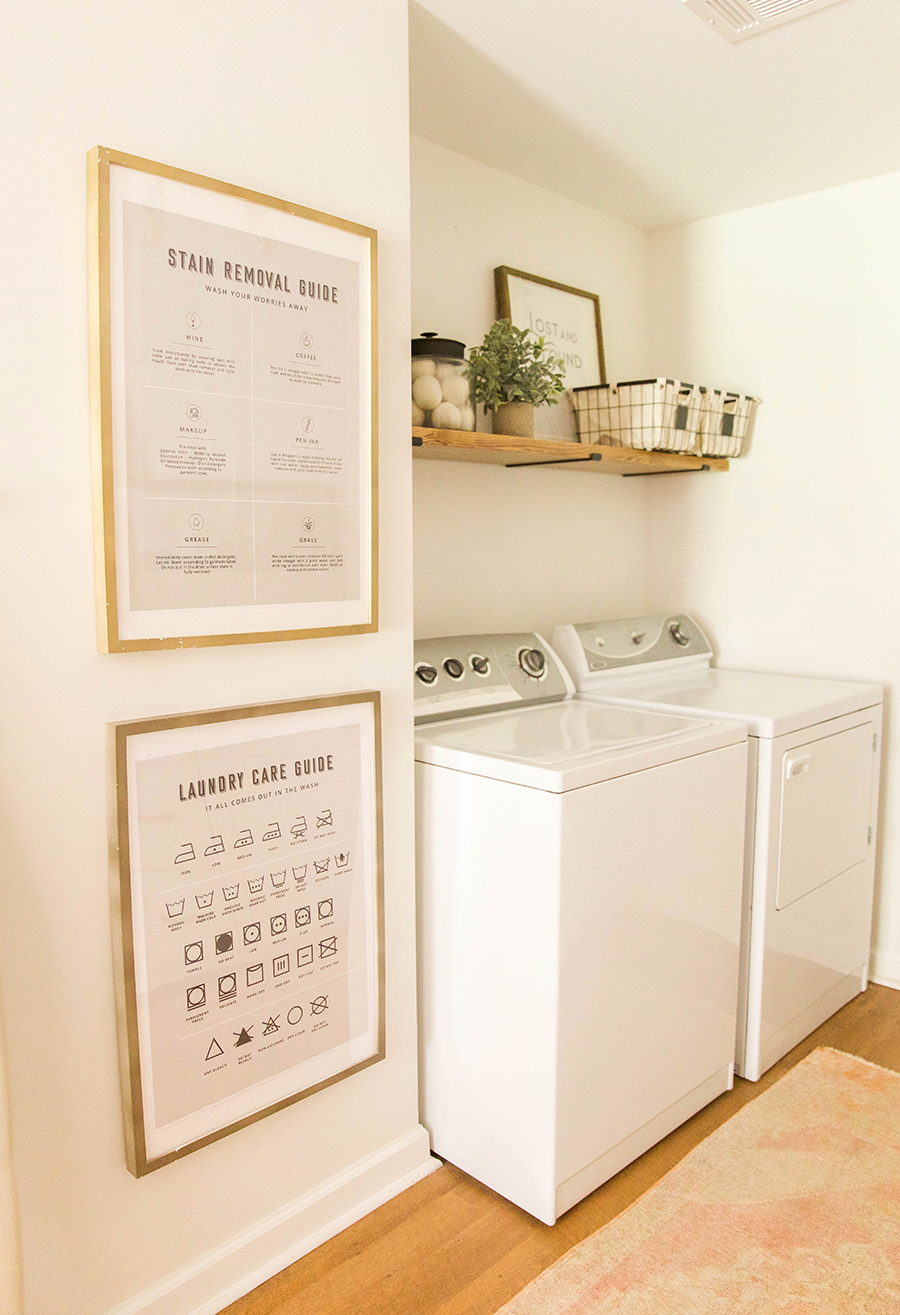
After years of facing all kinds of laundry stains, I created this Stain Removal Guide print download as a cheat sheet. They are solutions for the most common stains I tend to face. I also created a Laundry Care Guide cheat sheet with all of the laundry symbols in one place. Hopefully it can be helpful for some of you as well!
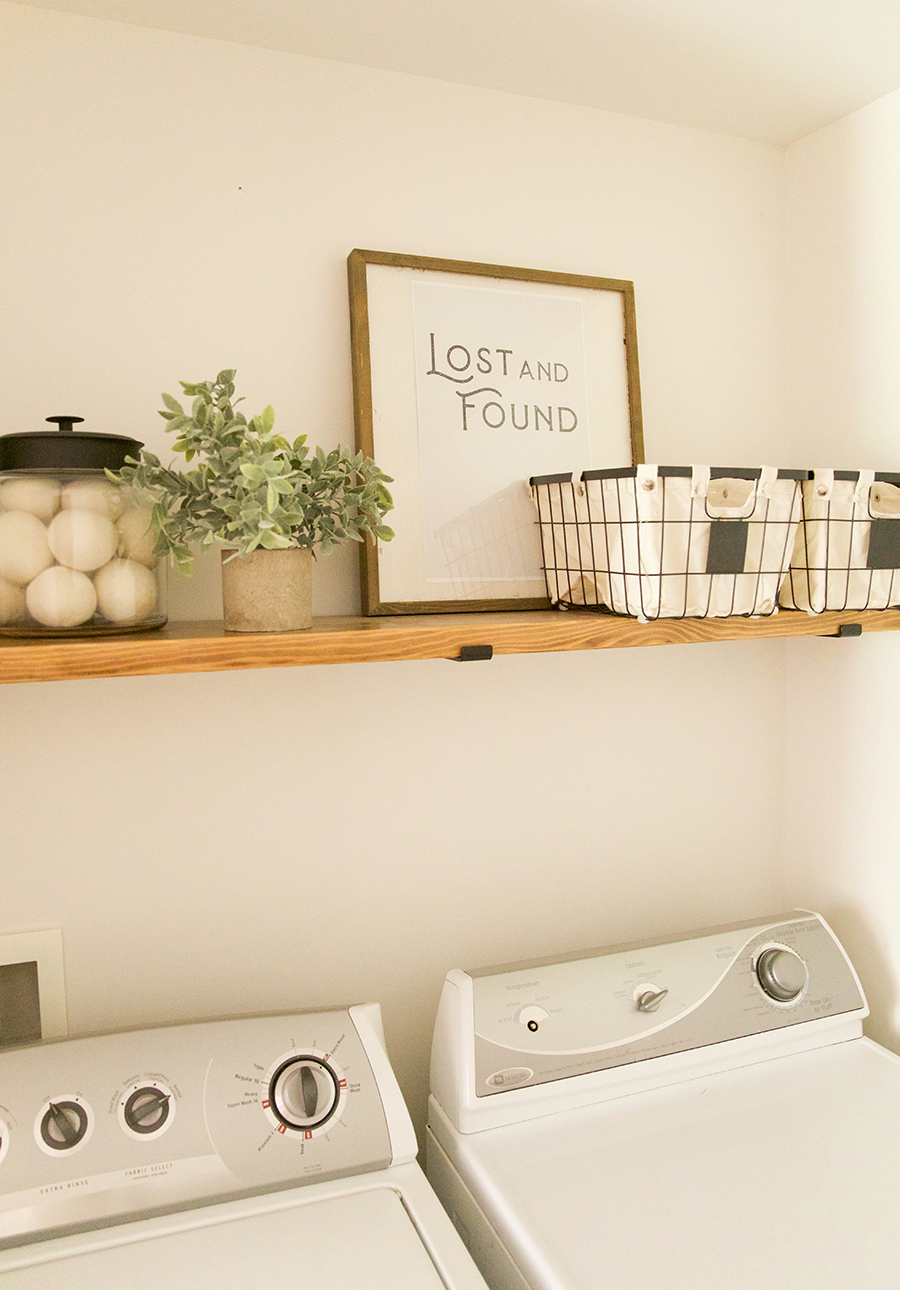
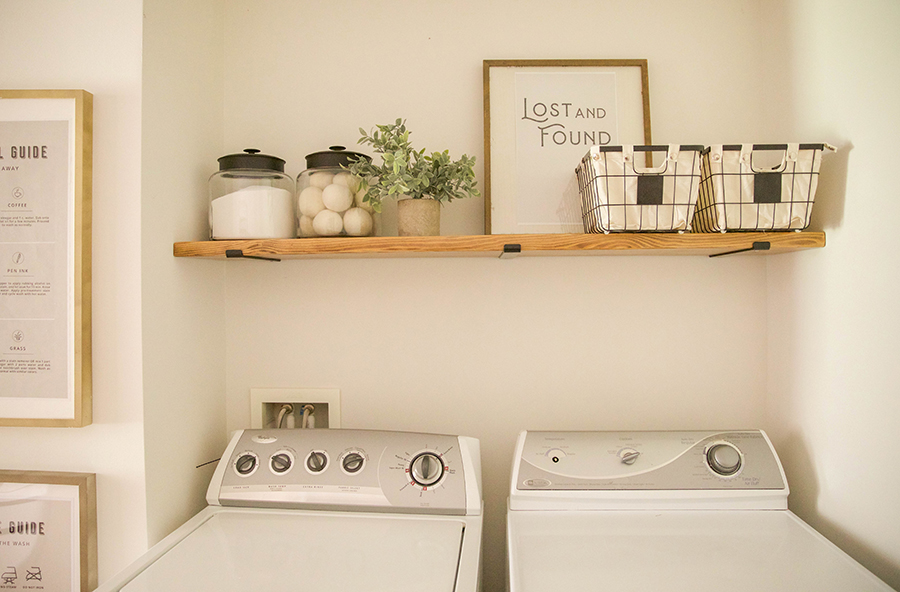
The Lost and Found baskets are for all of the items I find while emptying pockets before washing. You know….legos, coins, crayons, gum, and all kinds of things.
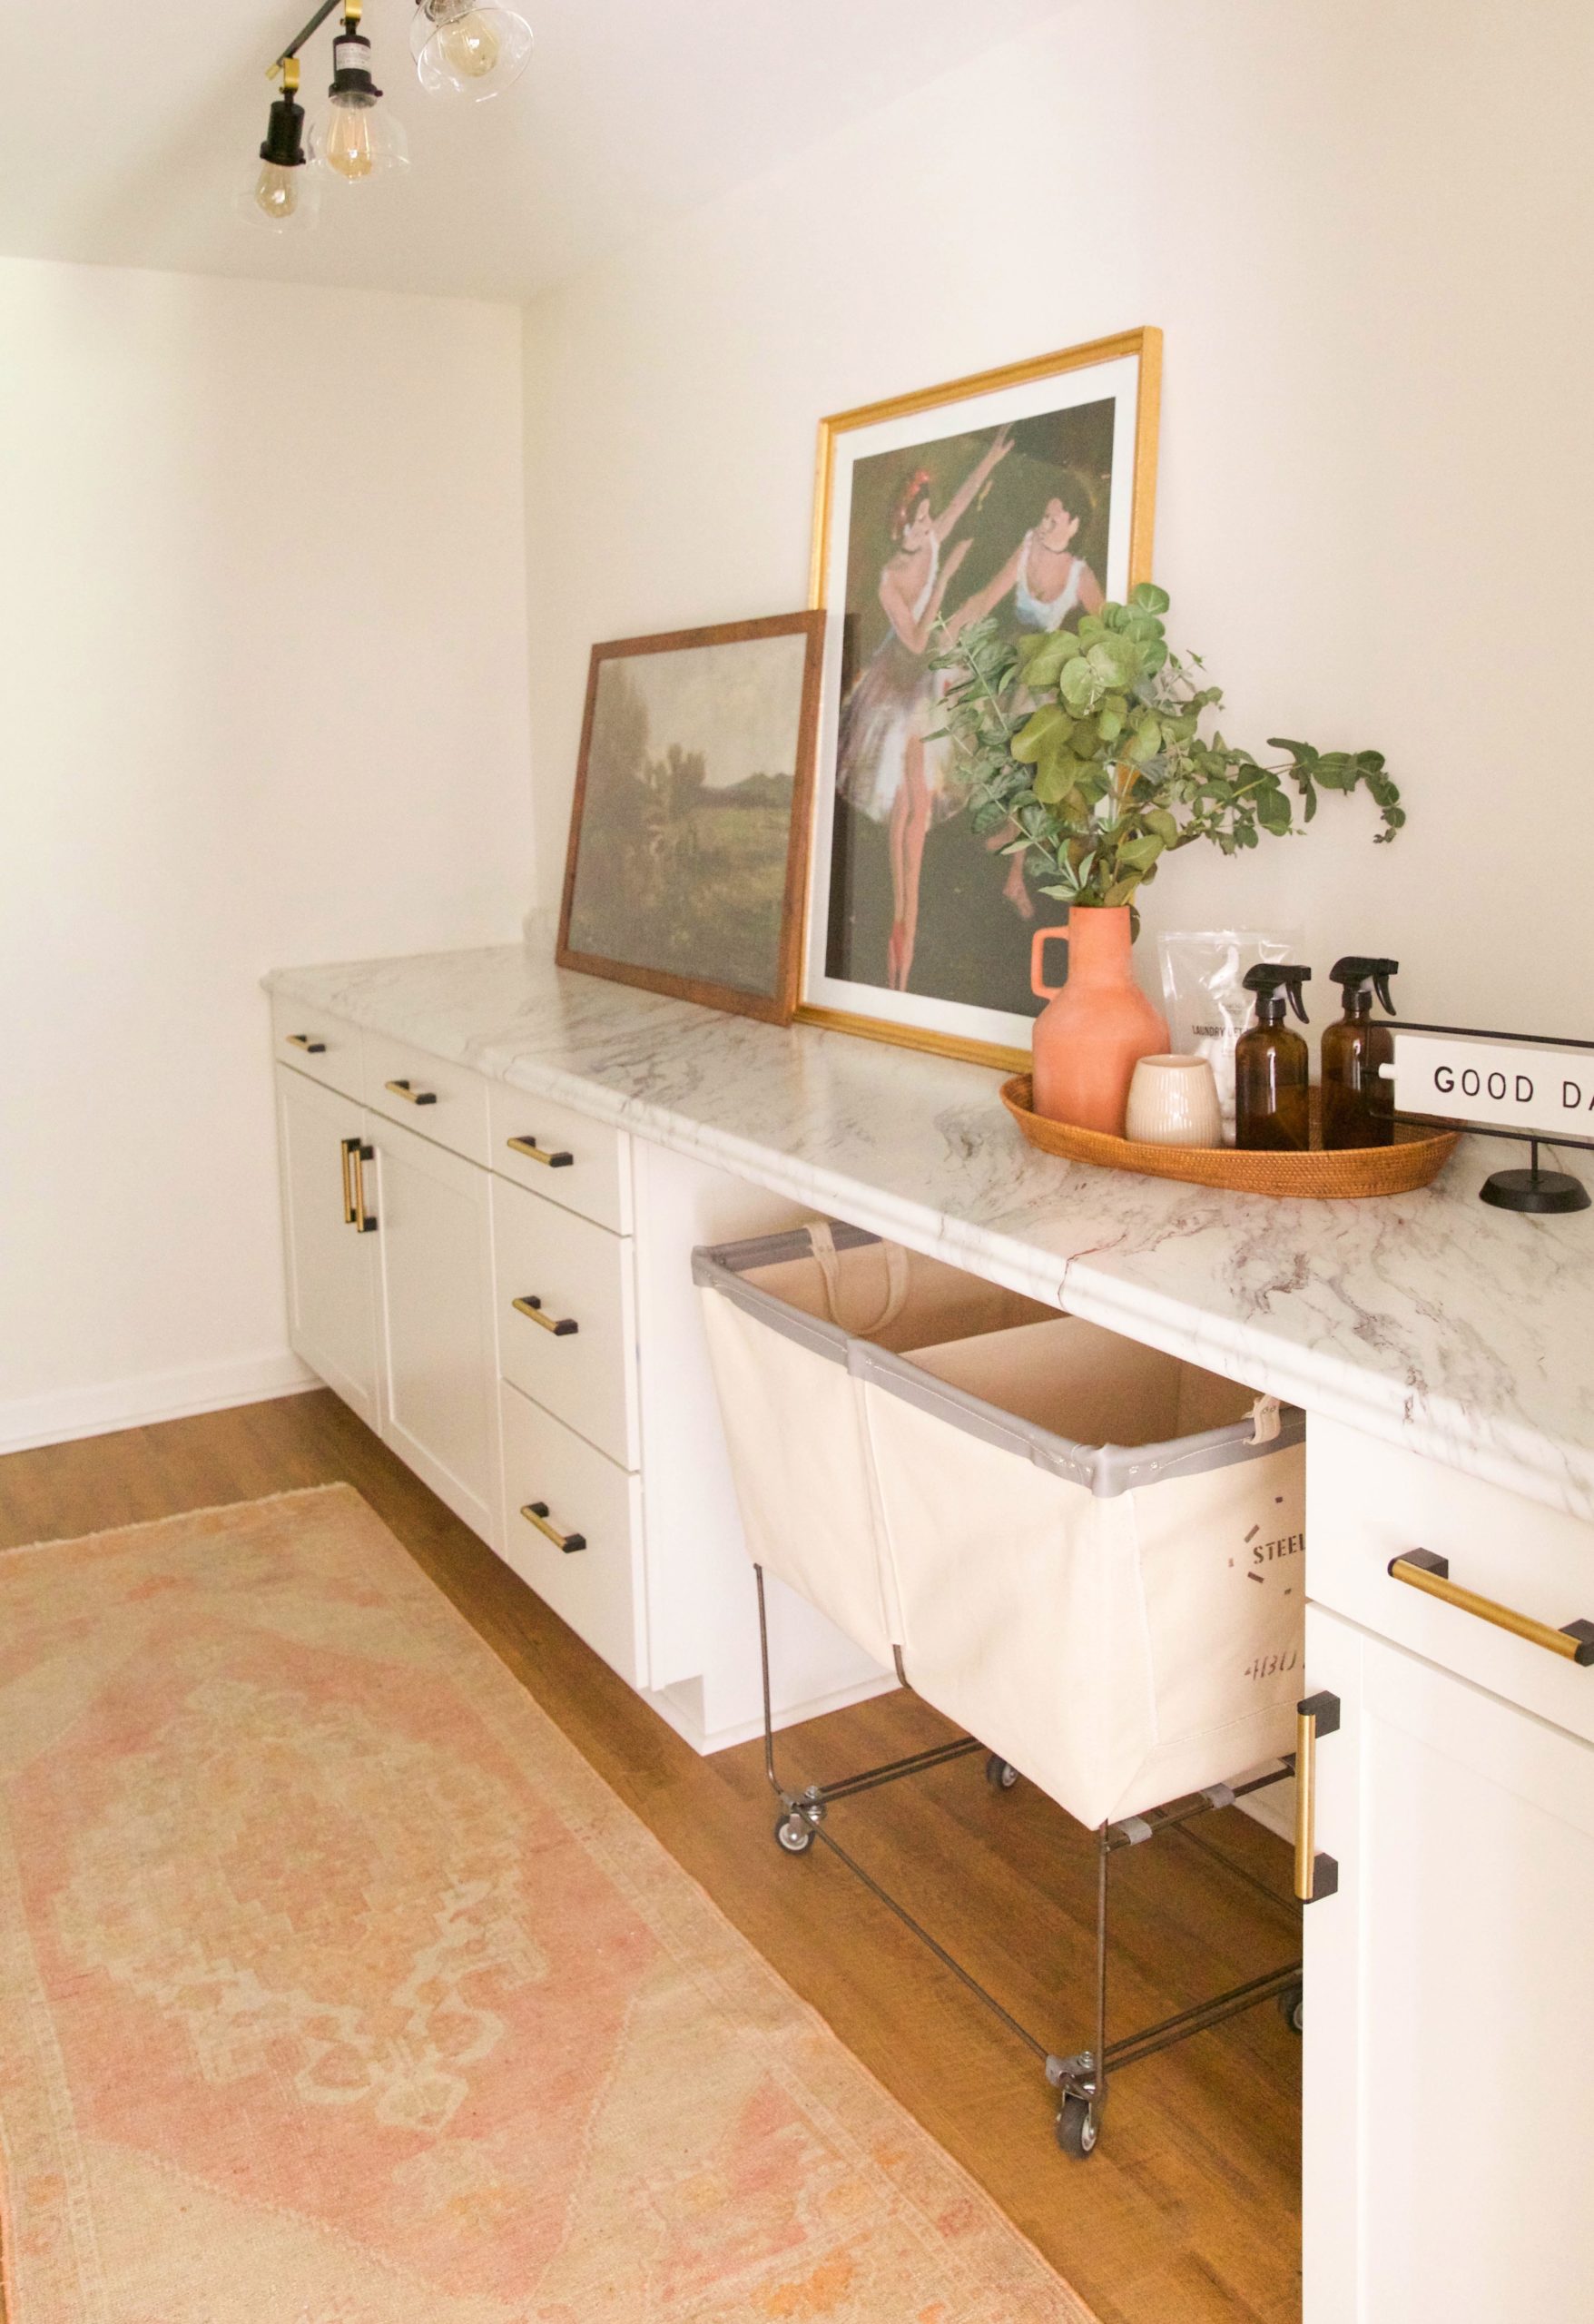
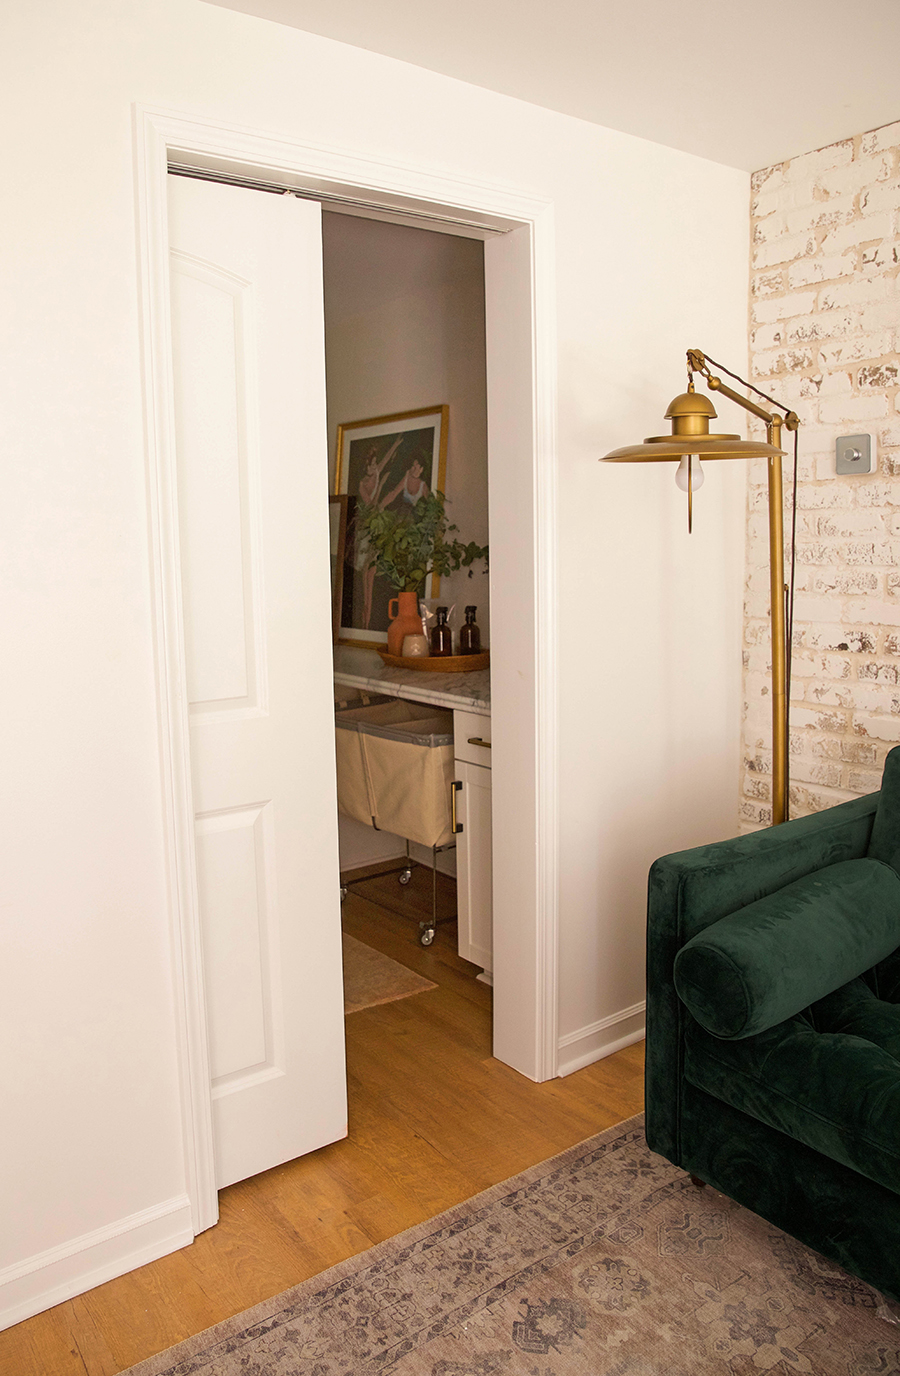
One design regret – For whatever reason I ordered a track light for the laundry room before we even started installing things. That is a big design no for me as I ALWAYS wait to select lighting until the main pieces are chosen. The light is on the smaller side for proportion in this room and I would have loved to swap it for a large double hanging pendant!
I think we would have sold the house with or without this project being finished, but grateful we had the opportunity to try something new and see this space come to life as it was originally intended. If you have any questions about this whole process, please let us know!
Cabinetry Supplies:
Countertop – We found the countertop at a lumber supply overstock yard in Gainesville, GA and cut it to size.
The cabinets are from Lowe’s and we purchased them back when they had a 15% off sale.
Diamond Now 18in 3 drawer base cabinet
Diamond Now 15in base cabinet
Diamond Now 24in base cabinet
Diamond Now Toe Kick
Diamond Now Cabinet Fill Strip
Shoe Moulding
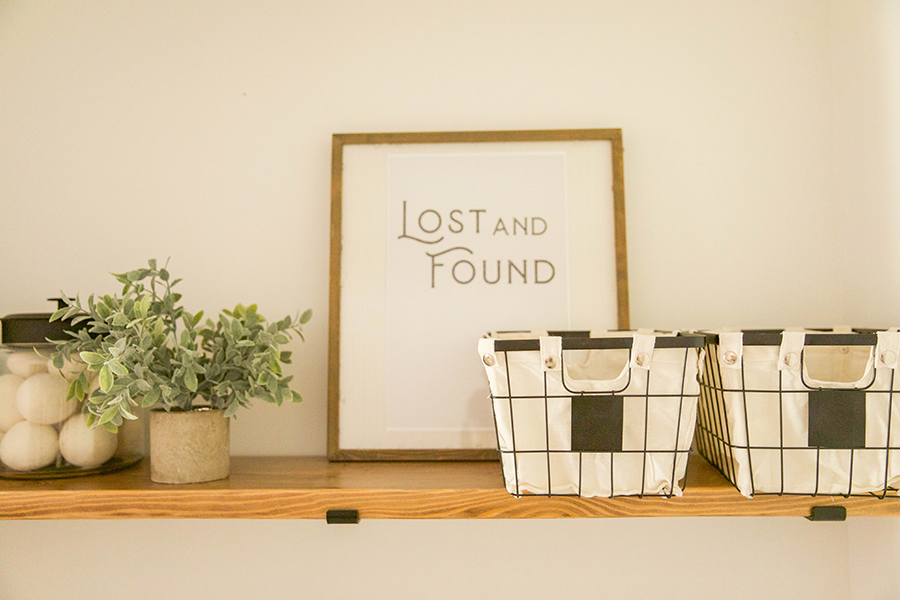
Wood Bracket Shelf: Gabe created the wood shelf by cutting a 2 in. x 12 in. x 8 ft. pine board to length, sanding smooth, and finished with two coats OSMO Polyx Hard Wax Oil tinted brown with OSMO Polyx Color Oil and one coat of un-tinted OSMO Polyx Hard Wax Oil. He used these heavy duty steel shelf brackets to mount.
Details:
Vintage Rug
Rolling Laundry Hamper
Cabinet Handles
Brackets
Wire Baskets
Gallon Jars
Vase
Amber Glass Bottles
Art Downloads:
Laundry Care Guide
Stain Removal Guide
Frames – Michaels and Framebridge


