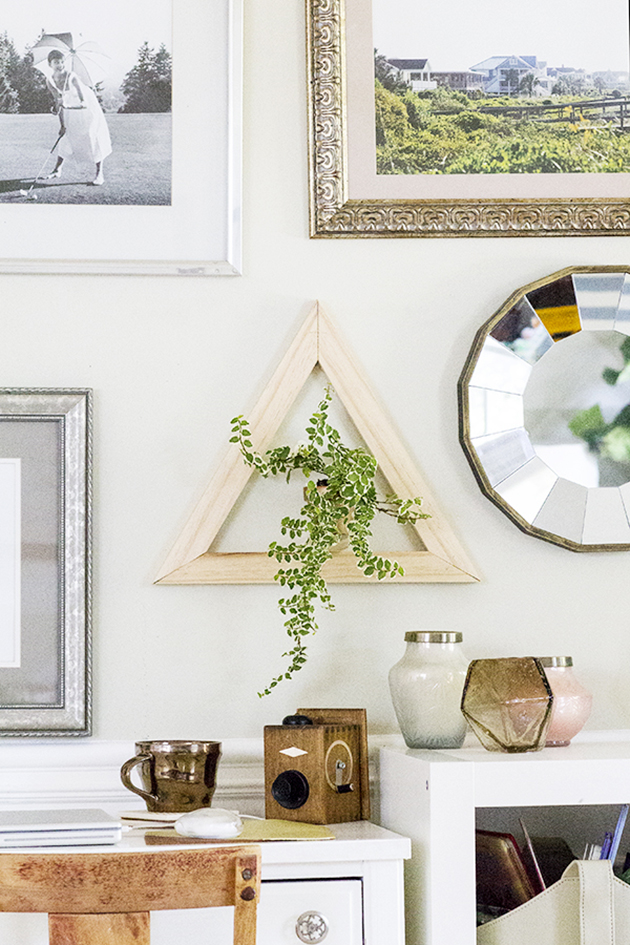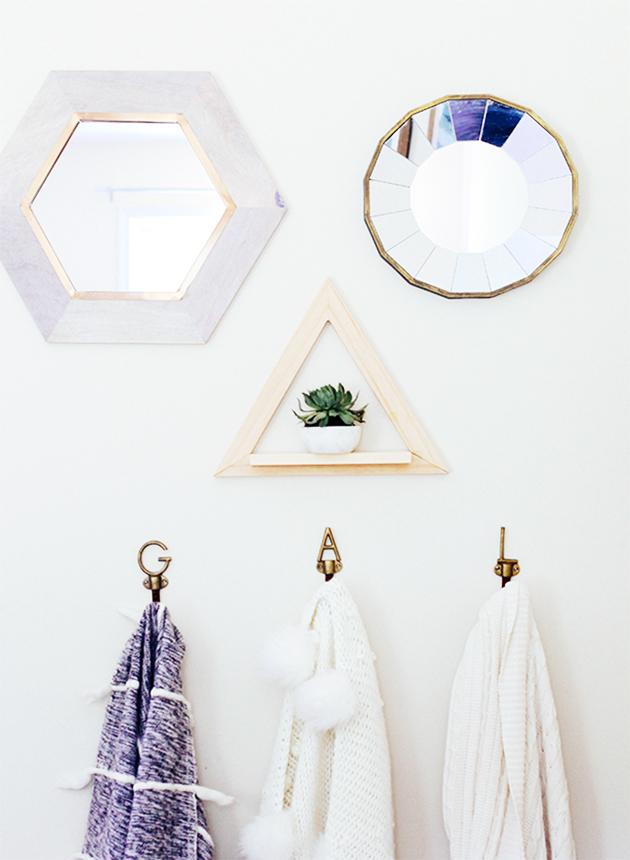
We have tried out a few versions of this DIY Triangle Wall Planter, and Gabe is sharing the instructions below for the latest version we love. Make a few of these to jazz up your gallery wall space and bring some easy greenery to your room. Read on for full directions!
DIY Triangle Wall Planter
Supplies:
Wood Glue
3 – 1×2 boards cut to desired length for sides of the triangle (mine are 16in) (I highly recommend
using a “premium” cut of wood.)
1 – 1×2 cut to 107/8
3 – Screws at least 1in in length but not longer than 2in (A biscuit jointer may be used instead of
screws.)
3 – Mending plates (or flat corner braces) no longer than 2in in length and screws no longer than
5/8in in length. (A biscuit jointer with size 0 biscuits may be used instead of the mending
plates/flat corner braces.)
Saw
Drill/screw driver
Protractor
Straight edge
2 – Clamps (Not required, but makes attaching the shelf much easier.)

Instructions:
- With your a 16in 1×2 laid out horizontally in front of you, measure out and mark 27/8in from the top corner of each end of your board. Using the straight edge, draw a line from the mark to the near side bottom corner on each end of your wood. Use the protractor to ensure that this line forms a 30 degree angle with the bottom of the board.
- If your angle is correct carefully cut each end of your board along the 30 degree line and repeat on each end of the remaining two boards.
- Using the mending plates or flat corner braces glue and fasten the triangle together.
- Once the triangle is strong/sturdy after proper construction, lay the triangle in front of you with one tip of the triangle pointing away from you. Take the 107/8in board and line it up with the inside of your triangle. (The inside of your triangle should also be roughly 107/8in long). Once in place, clamp the board and the triangle together.
- Once the board is securely clamped to the triangle, flip it over and use screws to attach the shelf from the back. (If you happen to have a biscuit jointer, this may be used instead of screws.)
- Remove the clamps. You can leave unstained, or paint in the color you prefer.
Be sure to show us what you come up with, we’d love to see. If you have any questions feel free to leave them in the comment section below. More DIYs for the home, in our home gallery.
Items Featured + Similar Items:


