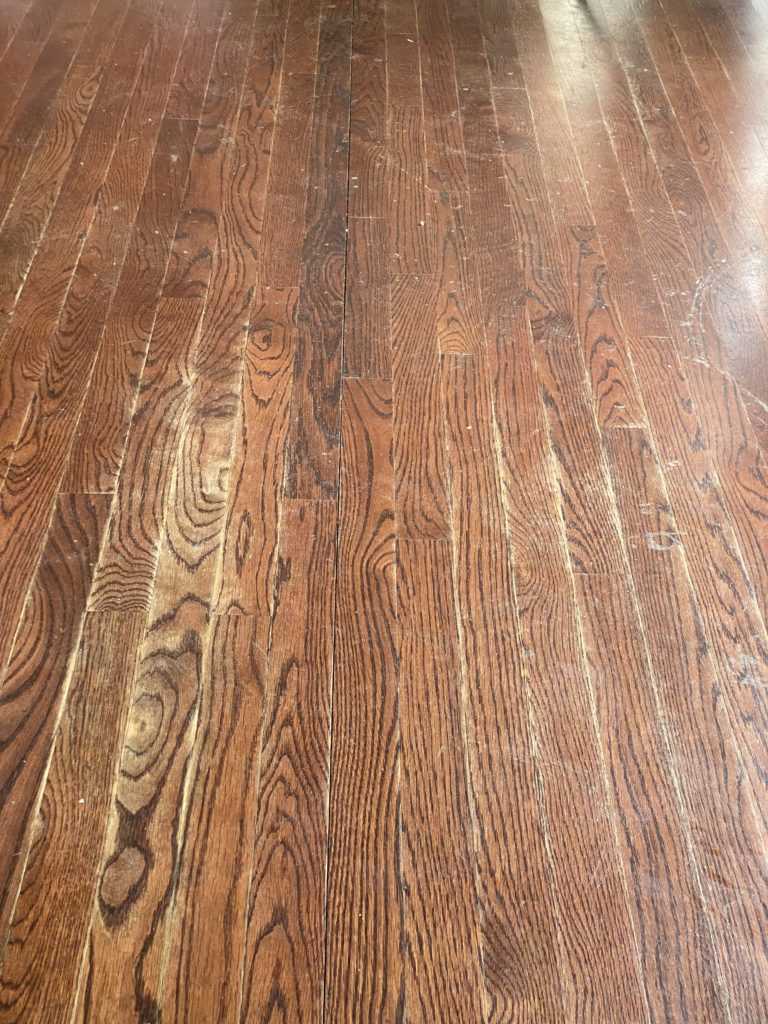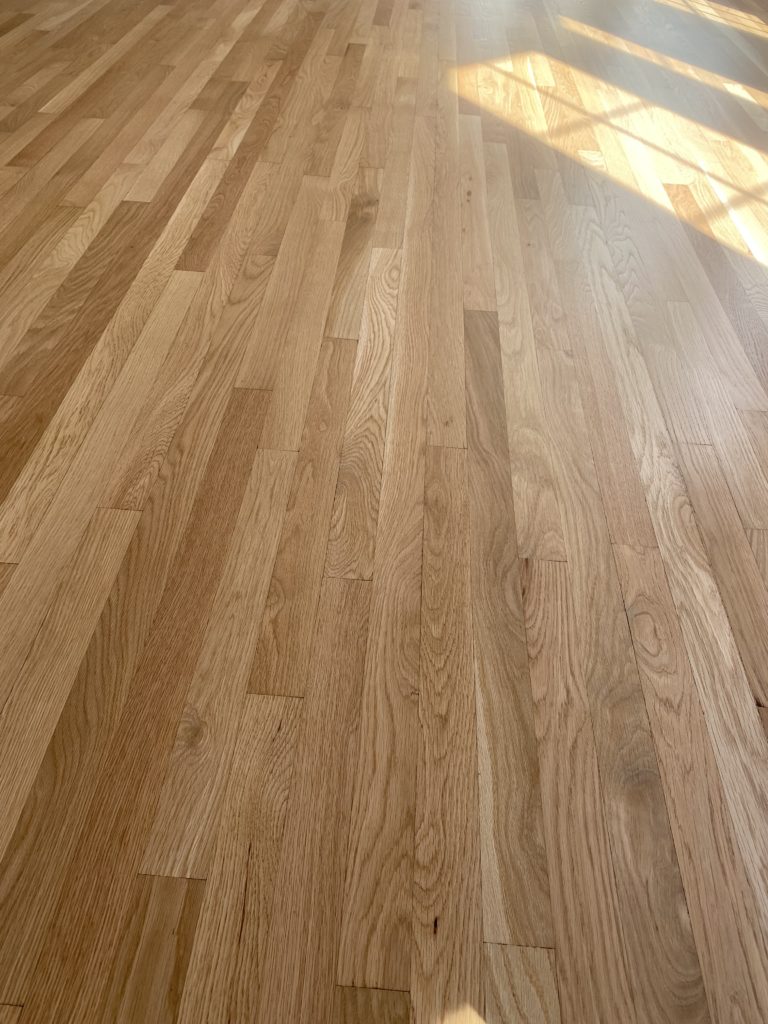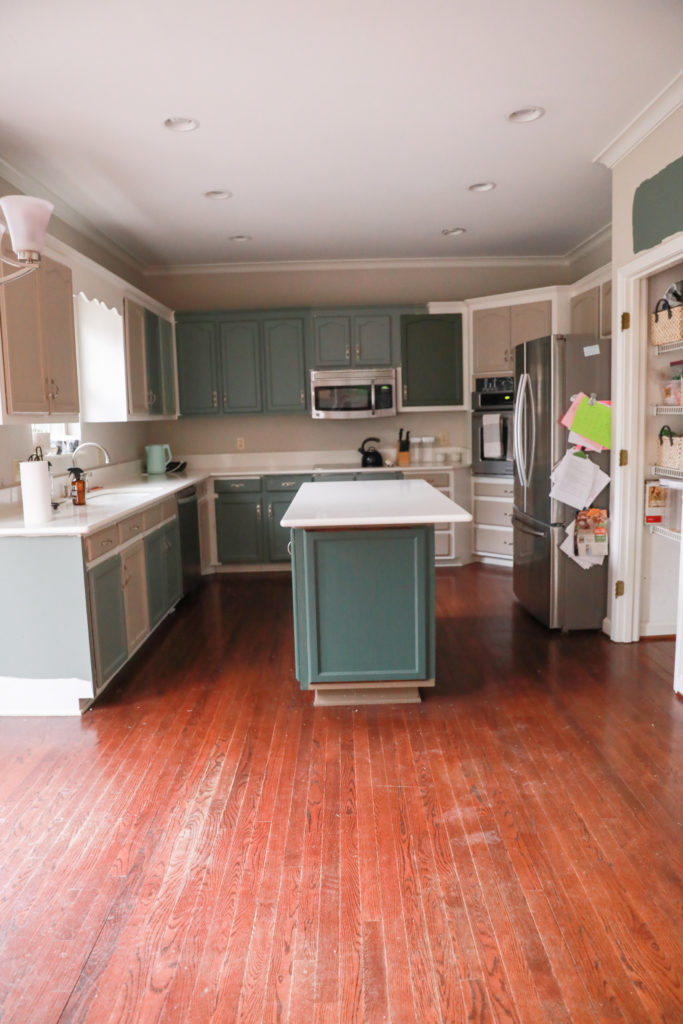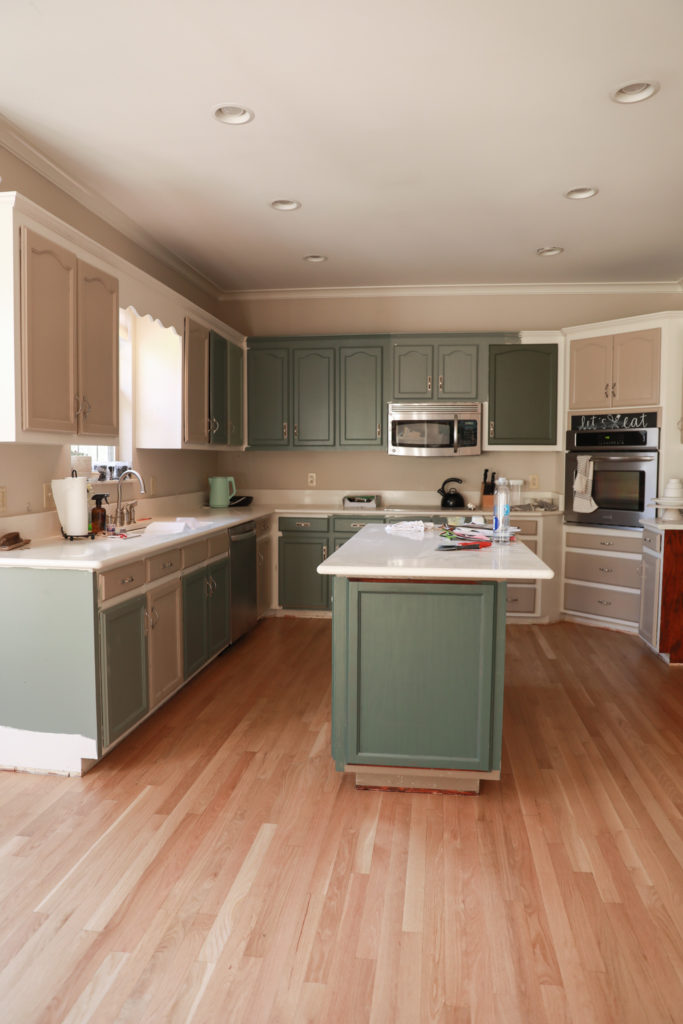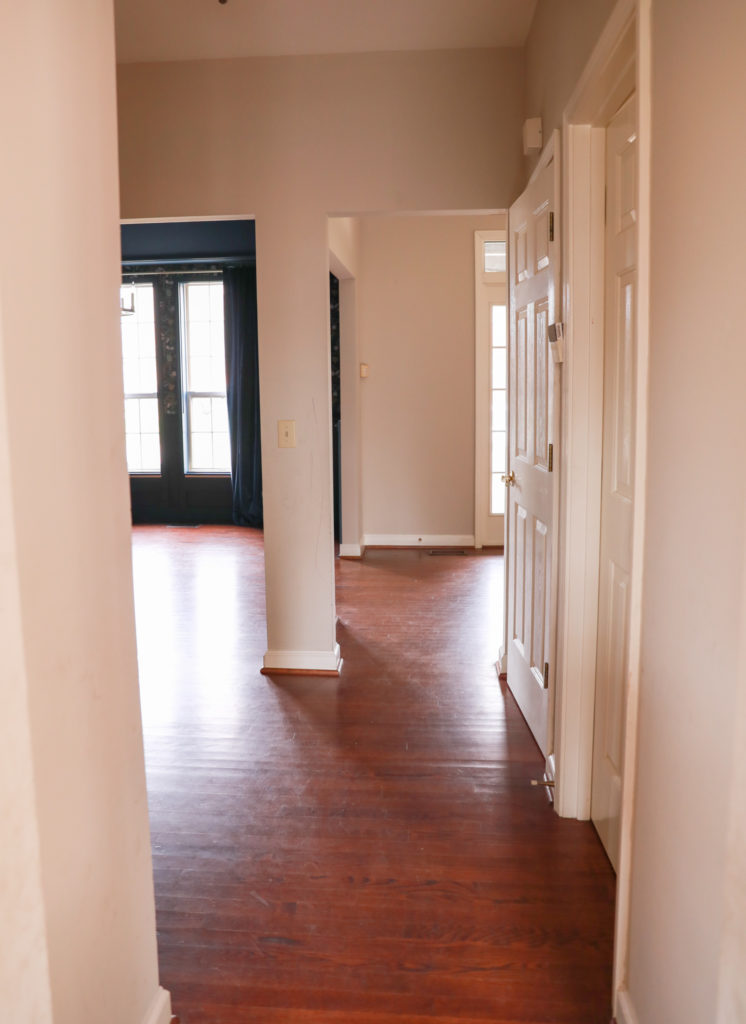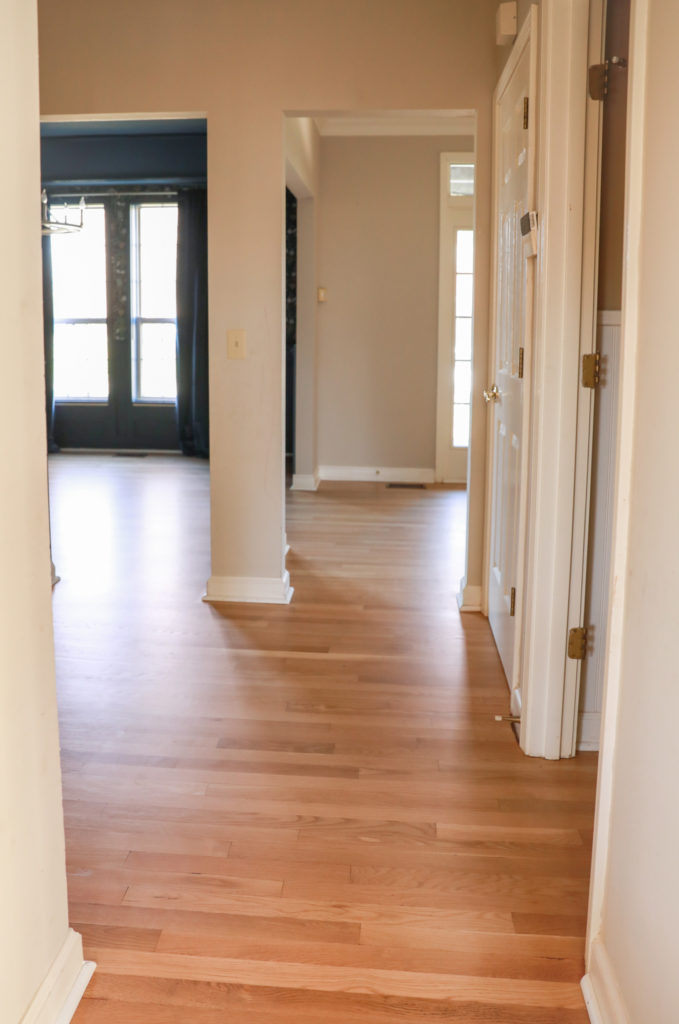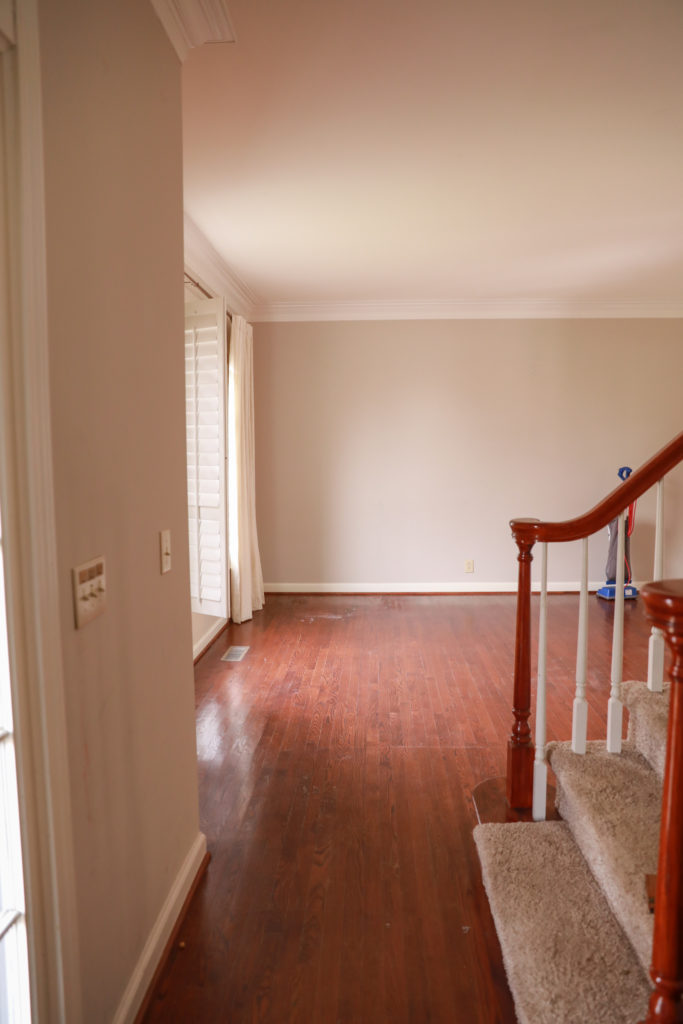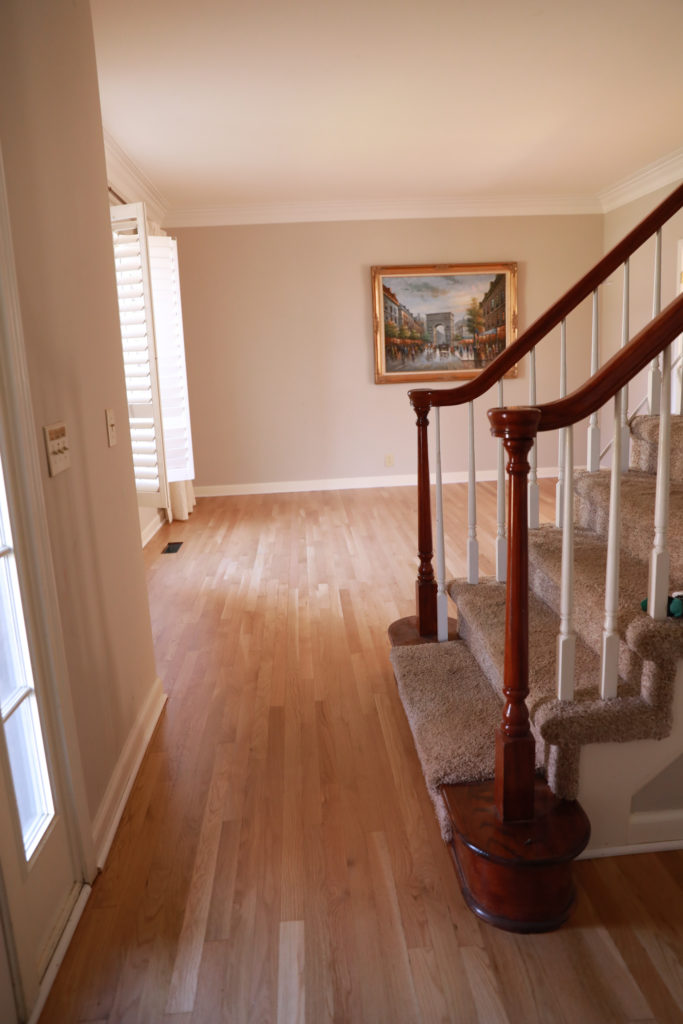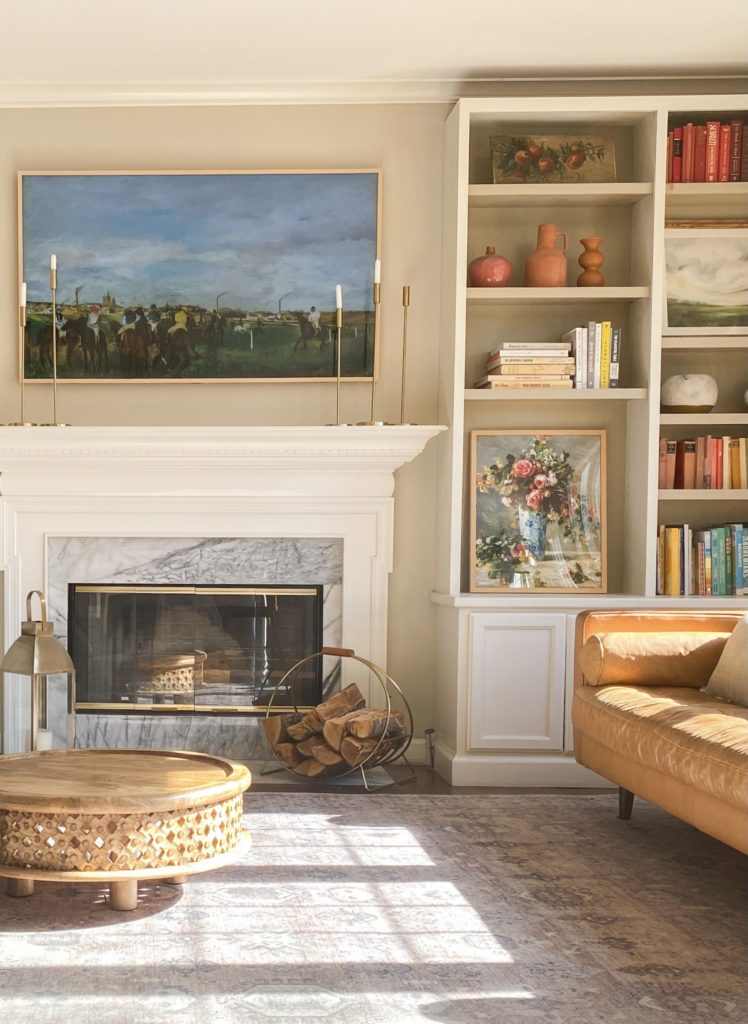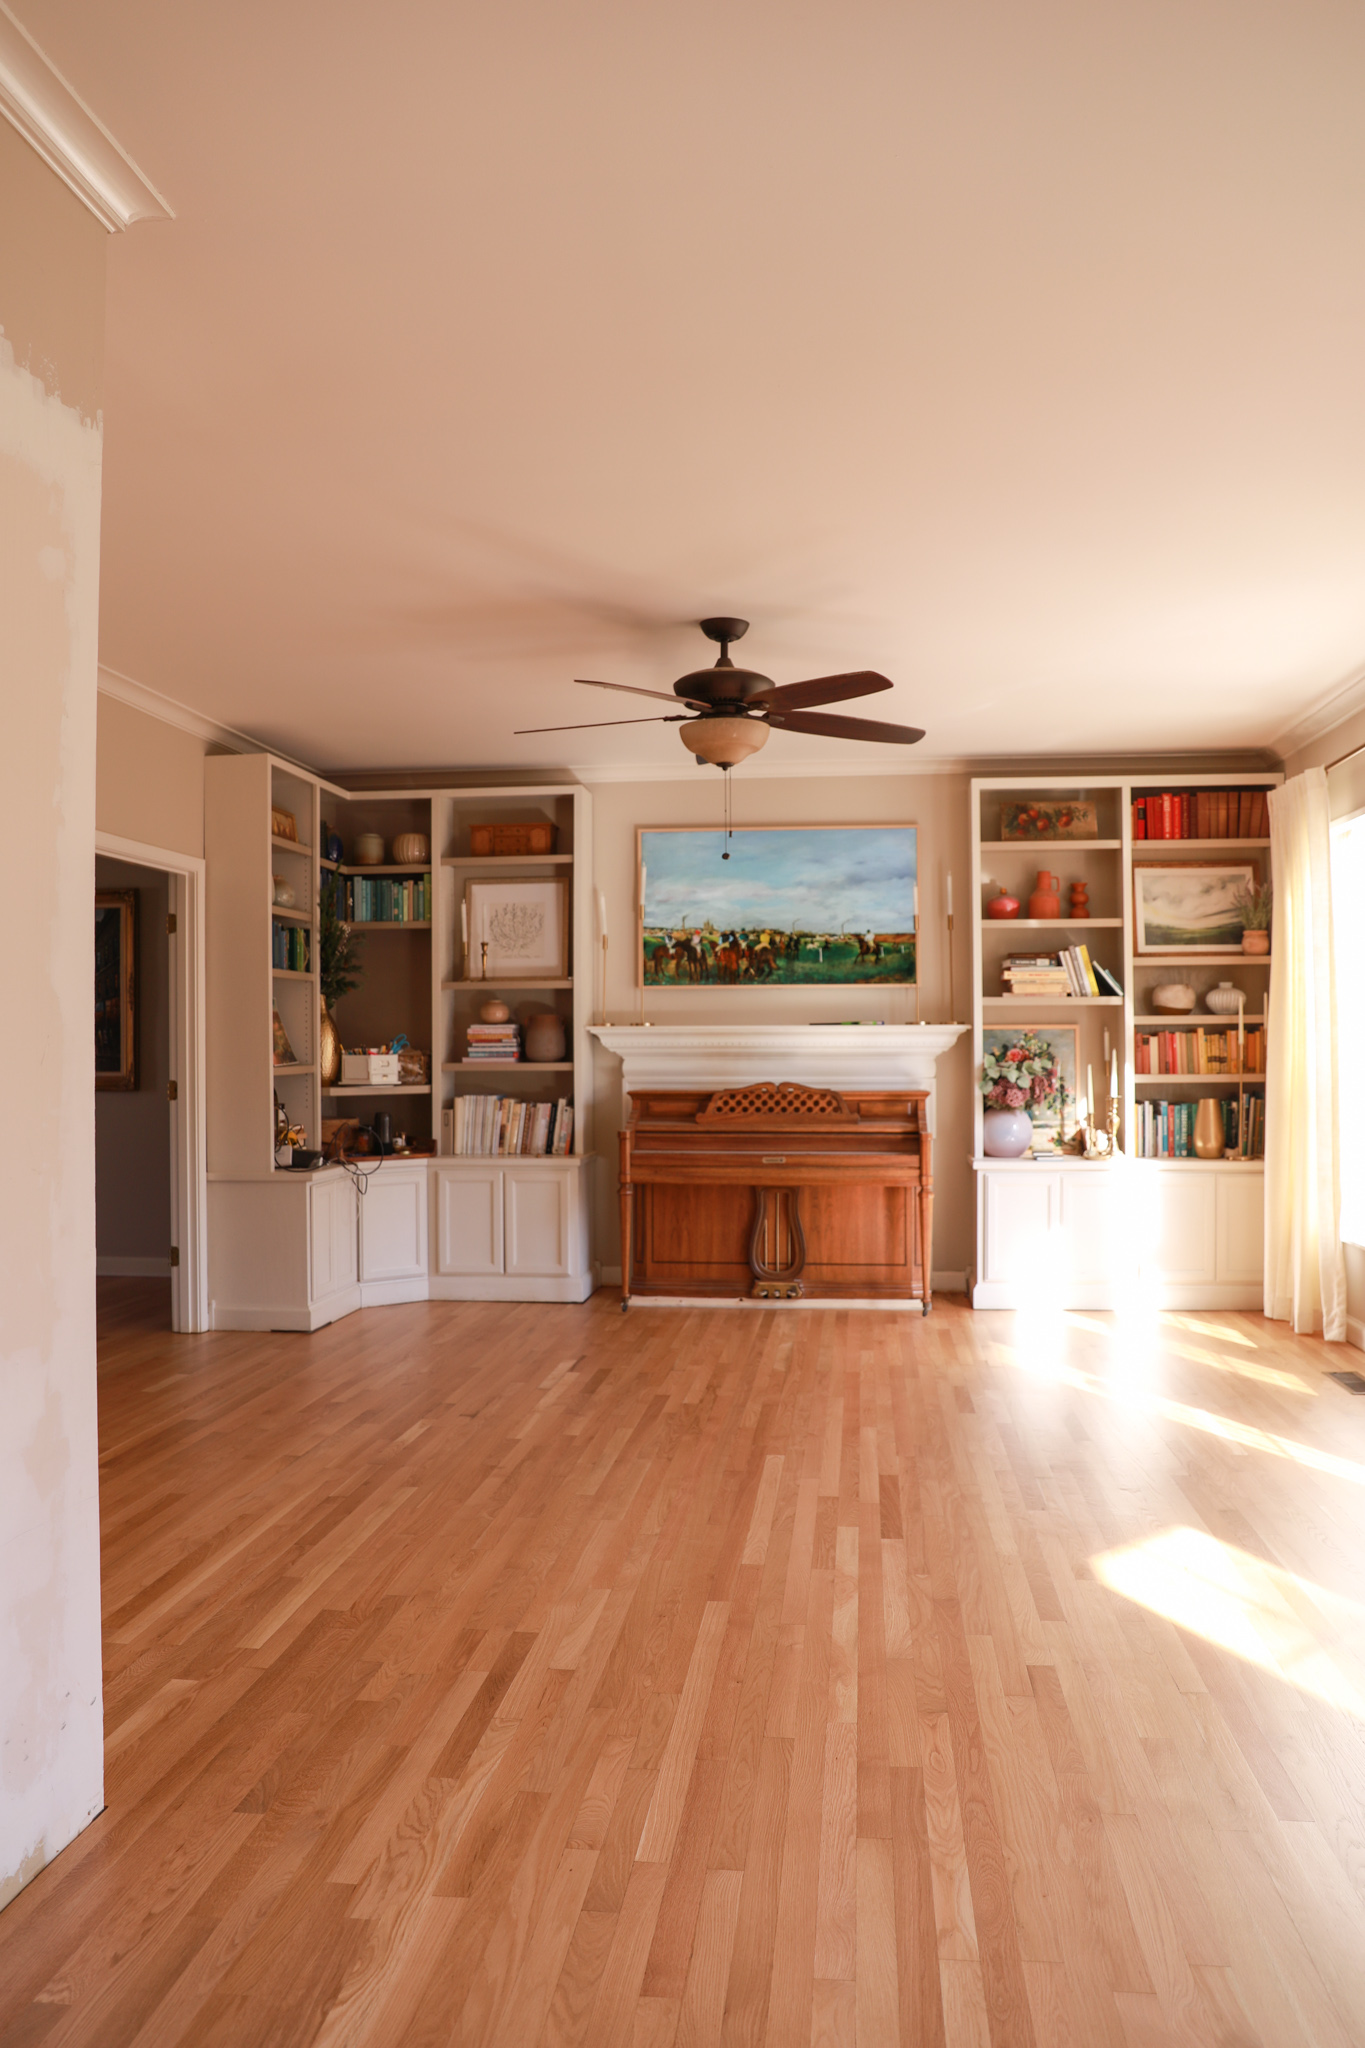
One of the bigger projects we had planned for in this home renovation is resurfacing the first floor hardwoods! The floors are over 20 years old so there was some warping, fading, and peeling. We got a few estimates from flooring contractors based on referrals (always get a first hand experience rec!), and was able to find a good quote for what we were looking for. This post details the process, pricing, and materials we used as well as what we used to install similar hardwoods in the upstairs bedroom.
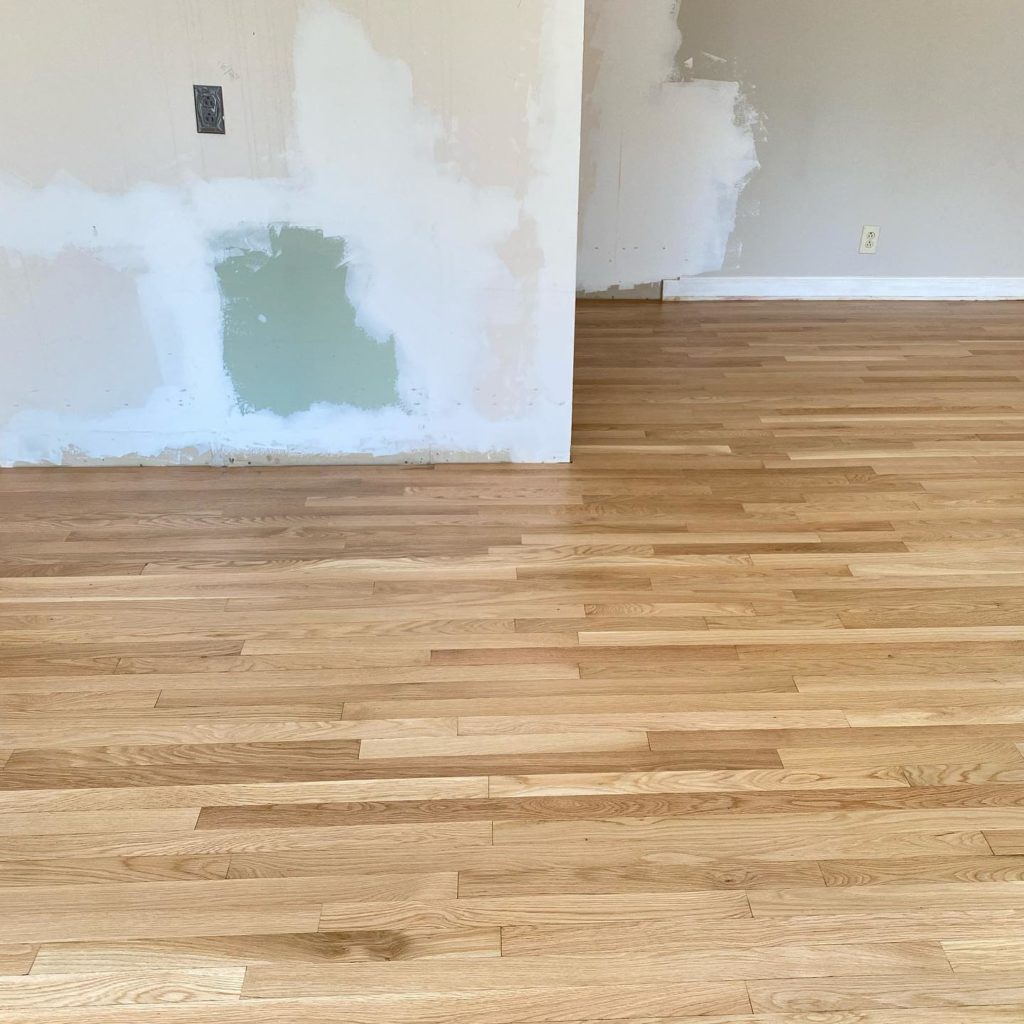
Hardwood floor repair results!
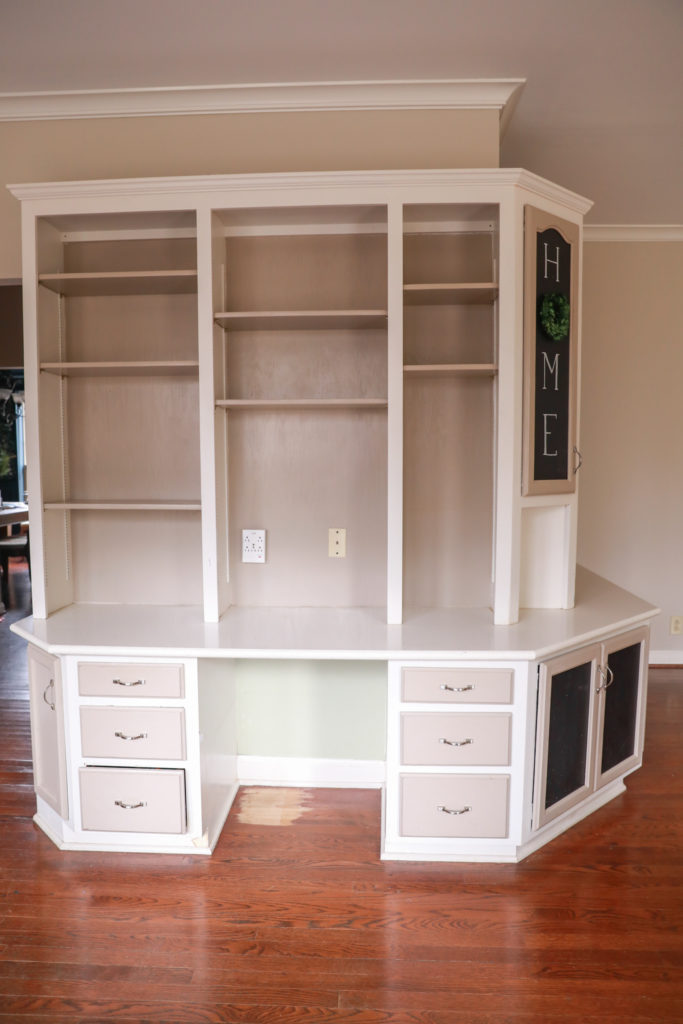
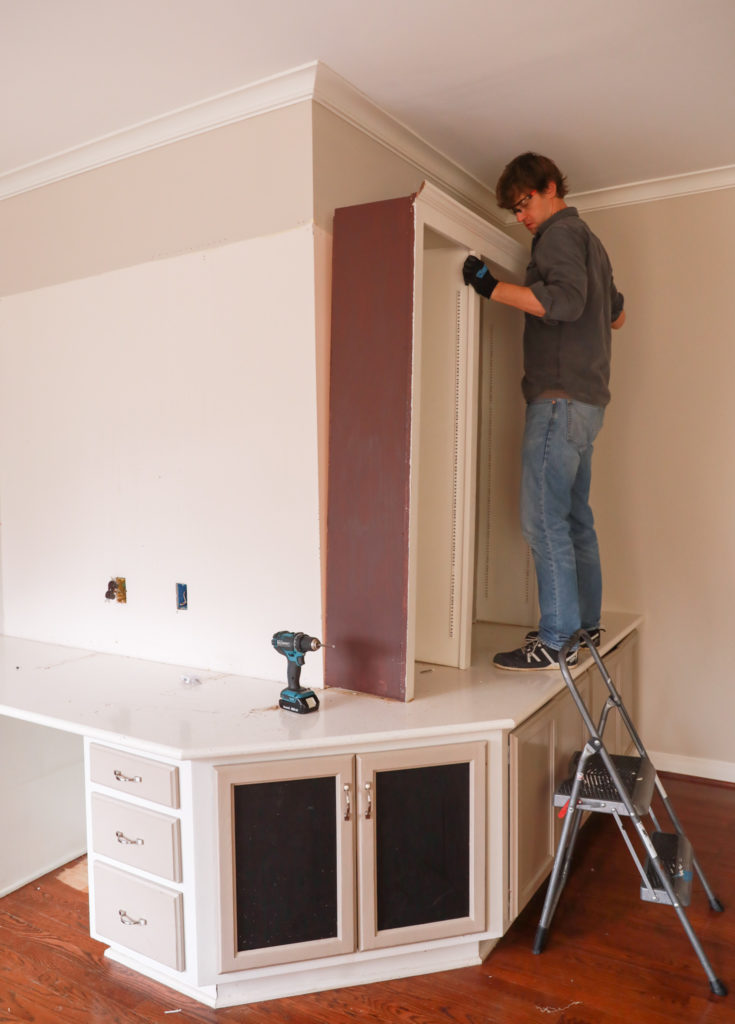
Removing Built-Ins
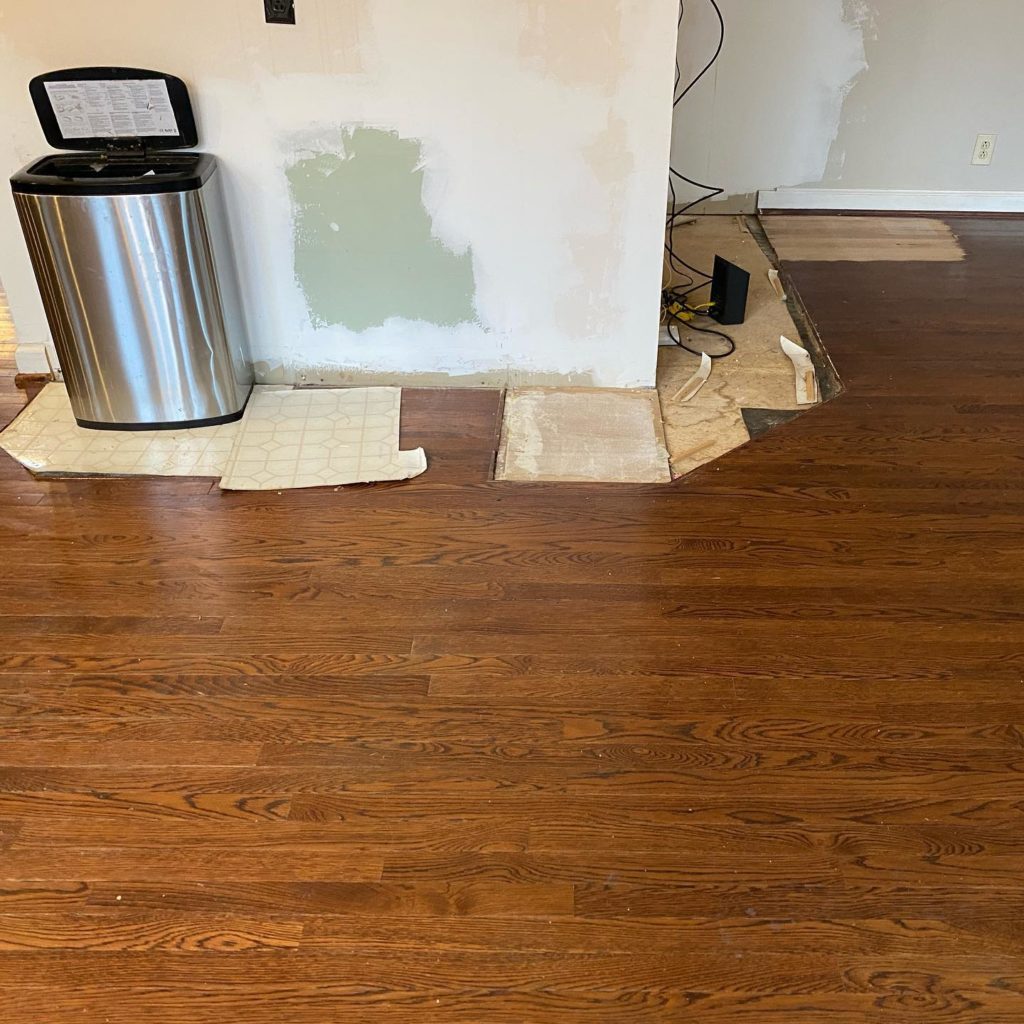
Before we could get the floors re-surfaced, we needed to remove the built ins where our future pantry will be. We got lucky with this process, and were able to remove them in whole pieces! This allowed for us to find a new owner to re-purpose them. Since the built ins were installed over sub-flooring (and linoleum?!) we had to have our contractor patch these areas by installing new boards. We also had to repair boards where there was warping due to water damage near the fridge, toilet, and previous owner’s pet area. In order to prevent future warping we had to install a de-humidifier in the crawl space of our home. (Houses are money pits I tell ya!)
We installed the same white oak flooring in the nursery which was carpeted previously.
Type of Wood
Our floors were really dark which I loved, but super tough to keep up with cleaning wise. Kids eat one meal….time to sweep. With lighter floors every crumb isn’t visible and so you can ignore the messes a little longer;) We sanded down a test area to see what type of wood was underneath the dark stain. We guessed red oak. To our surprise, the flooring ended up being white oak! The best scenario for us since the color we were hoping for was exactly what we uncovered.
Fading, scratches, and warping all repaired!
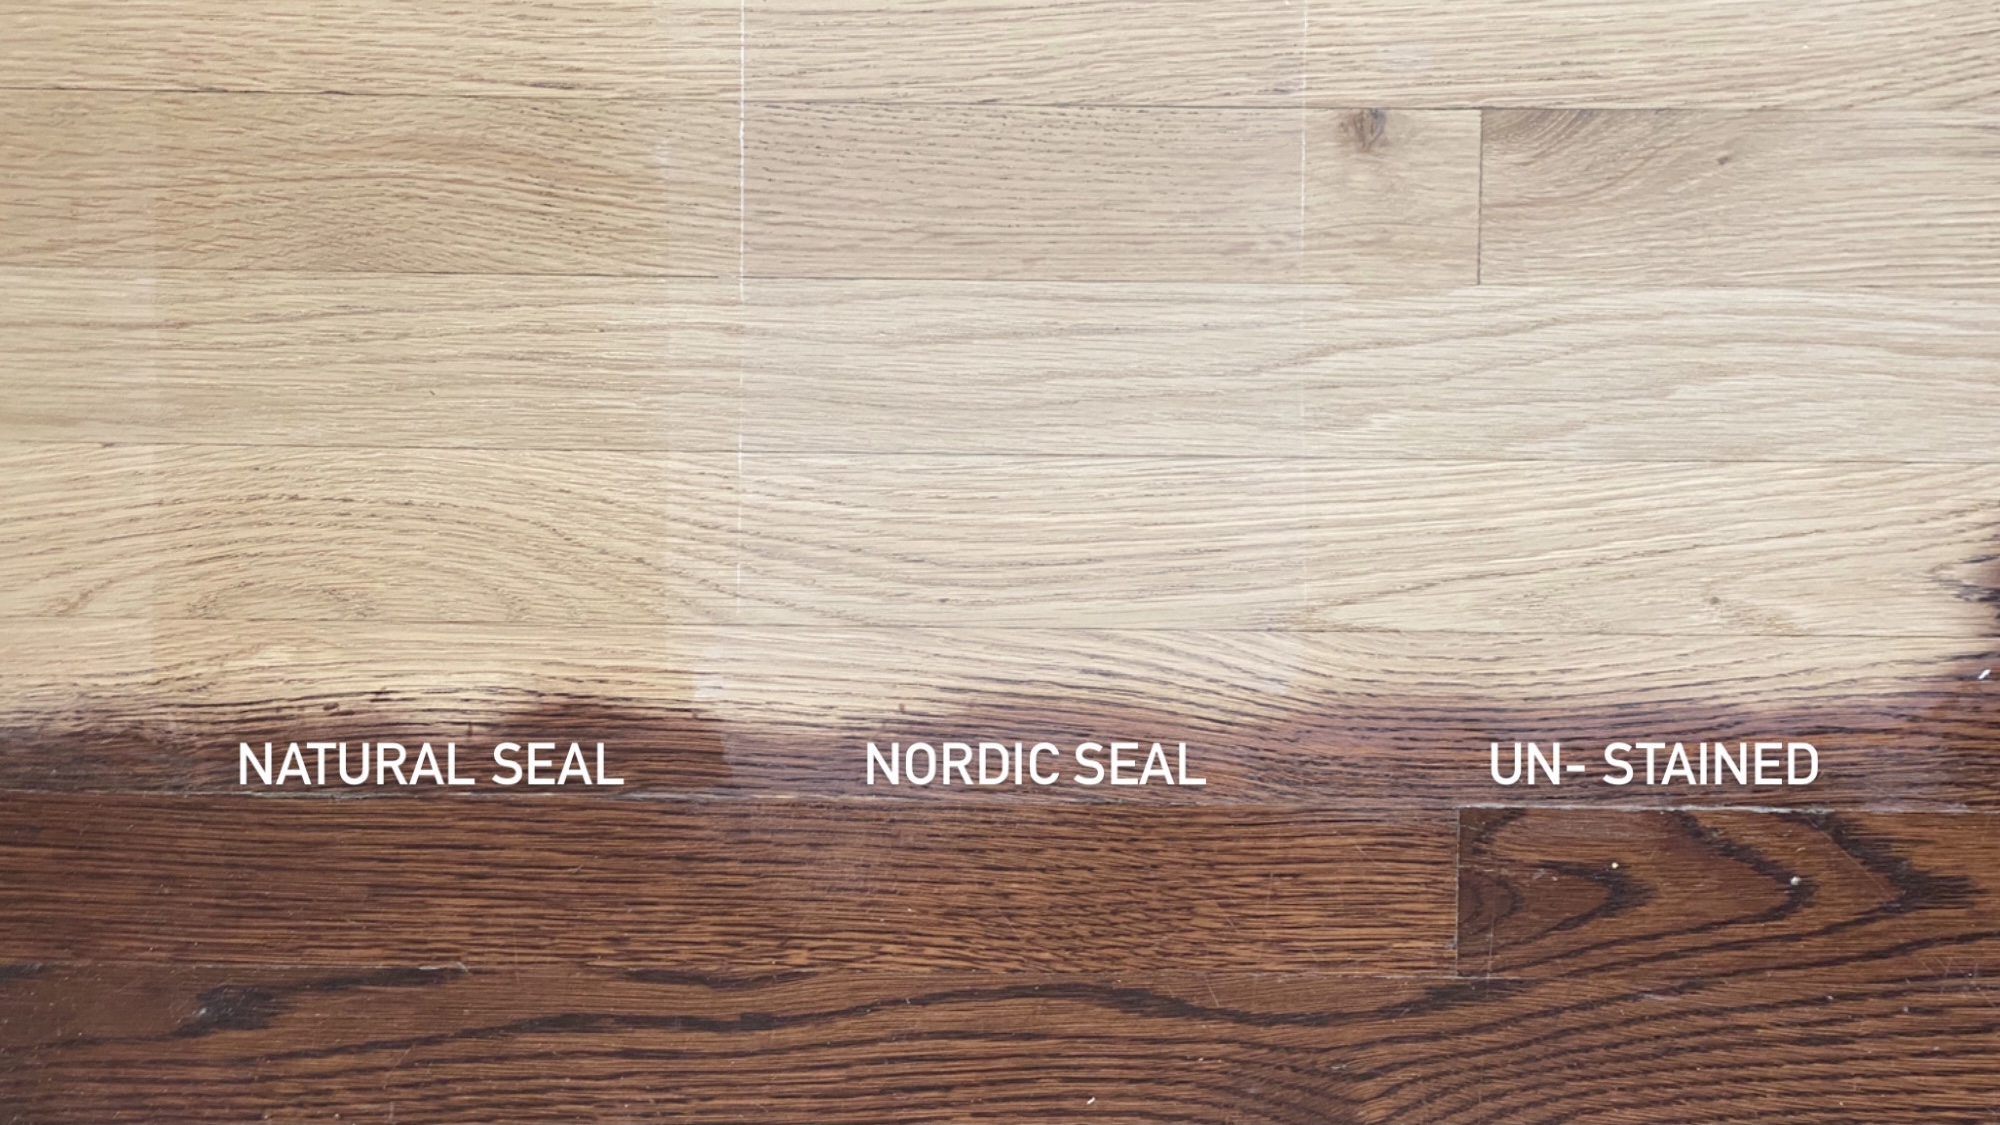
The Floor Stain + Seal Combo We Used
We knew the natural white oak wood would really brighten up the rooms, so we wanted to keep it close to the true wood color as possible. With the thinner planks there is already some variation in tone, so a natural stain would work well. After testing Bona Natural Seal, Bona Nordic (a little whitewash effect), and a custom mix, we decided on Bona Natural Seal. We went with Bona products after researching which would be best for a natural look, and wear best over time. What we used:
One coat Bona Natural Seal – A very slight natural stain similar to the white oak color of our floors.
Two coats of Bona Traffic HD Commercial Matte – This is a higher cost process, since it is a top of the line water based poly that prevents yellowing over time. You can most likely find both of these products for a better price with a local supplier.
Pricing
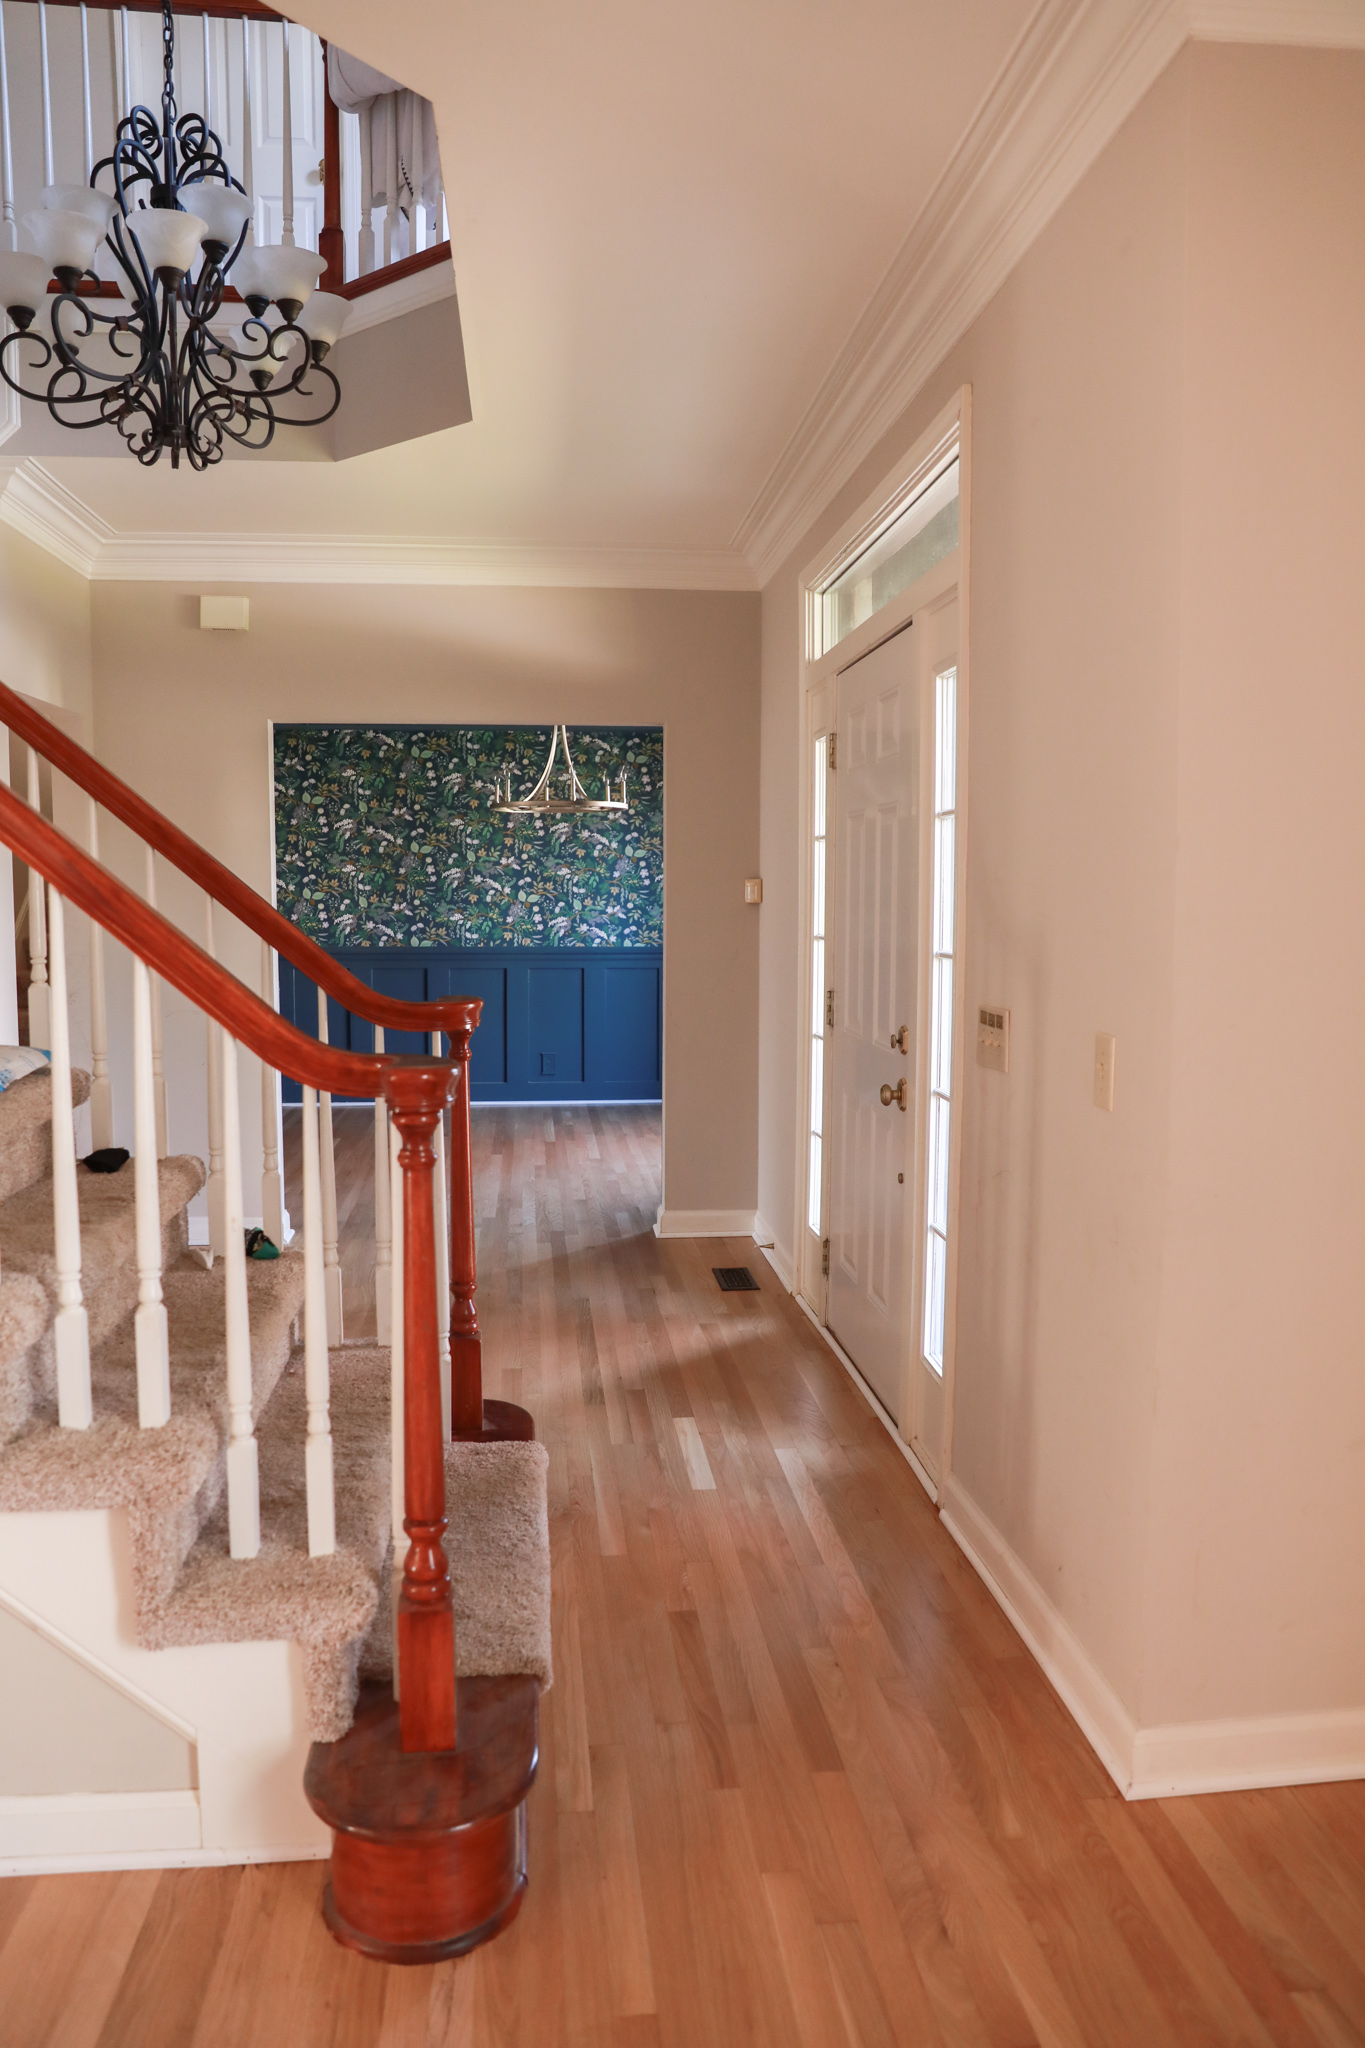
Our first floor is about 1200 sq. feet. and the total cost to resurface these floors was $5000.
This included the following:
– Sanding floor and filling cracks. FYI – A dark to light stain is actually harder to do and requires more time. This may increase your total cost.
– Repaired damaged floor boards.
– Installed new boards in place of removed built-ins.
– Stained 1 coat of the Bona Natural Seal
– Applied 2 coats of the Bona traffic HD
Total Time
The total time it took our contractors at Nickason (two people) was 6 days. They did an incredible job, and were very efficient. They were able to complete the project in the original amount of days guesstimated.
After spending spring break with my parents we came home to the finished outcome. I honestly felt like I was walking into a new home. It felt so much brighter, and the floors looked like they were newly installed! The Nickason Flooring crew did such a thorough, well done job. I wanted to give them a shout out in case you are also local to the Nashville area, and need a trustworthy flooring contractor.
Projects to Come Next
– Painting the first floor
– Re-painting the stairwell
– Re-finishing stairwells (This will most likely be in the fall or next spring)
– Starting the kitchen demo
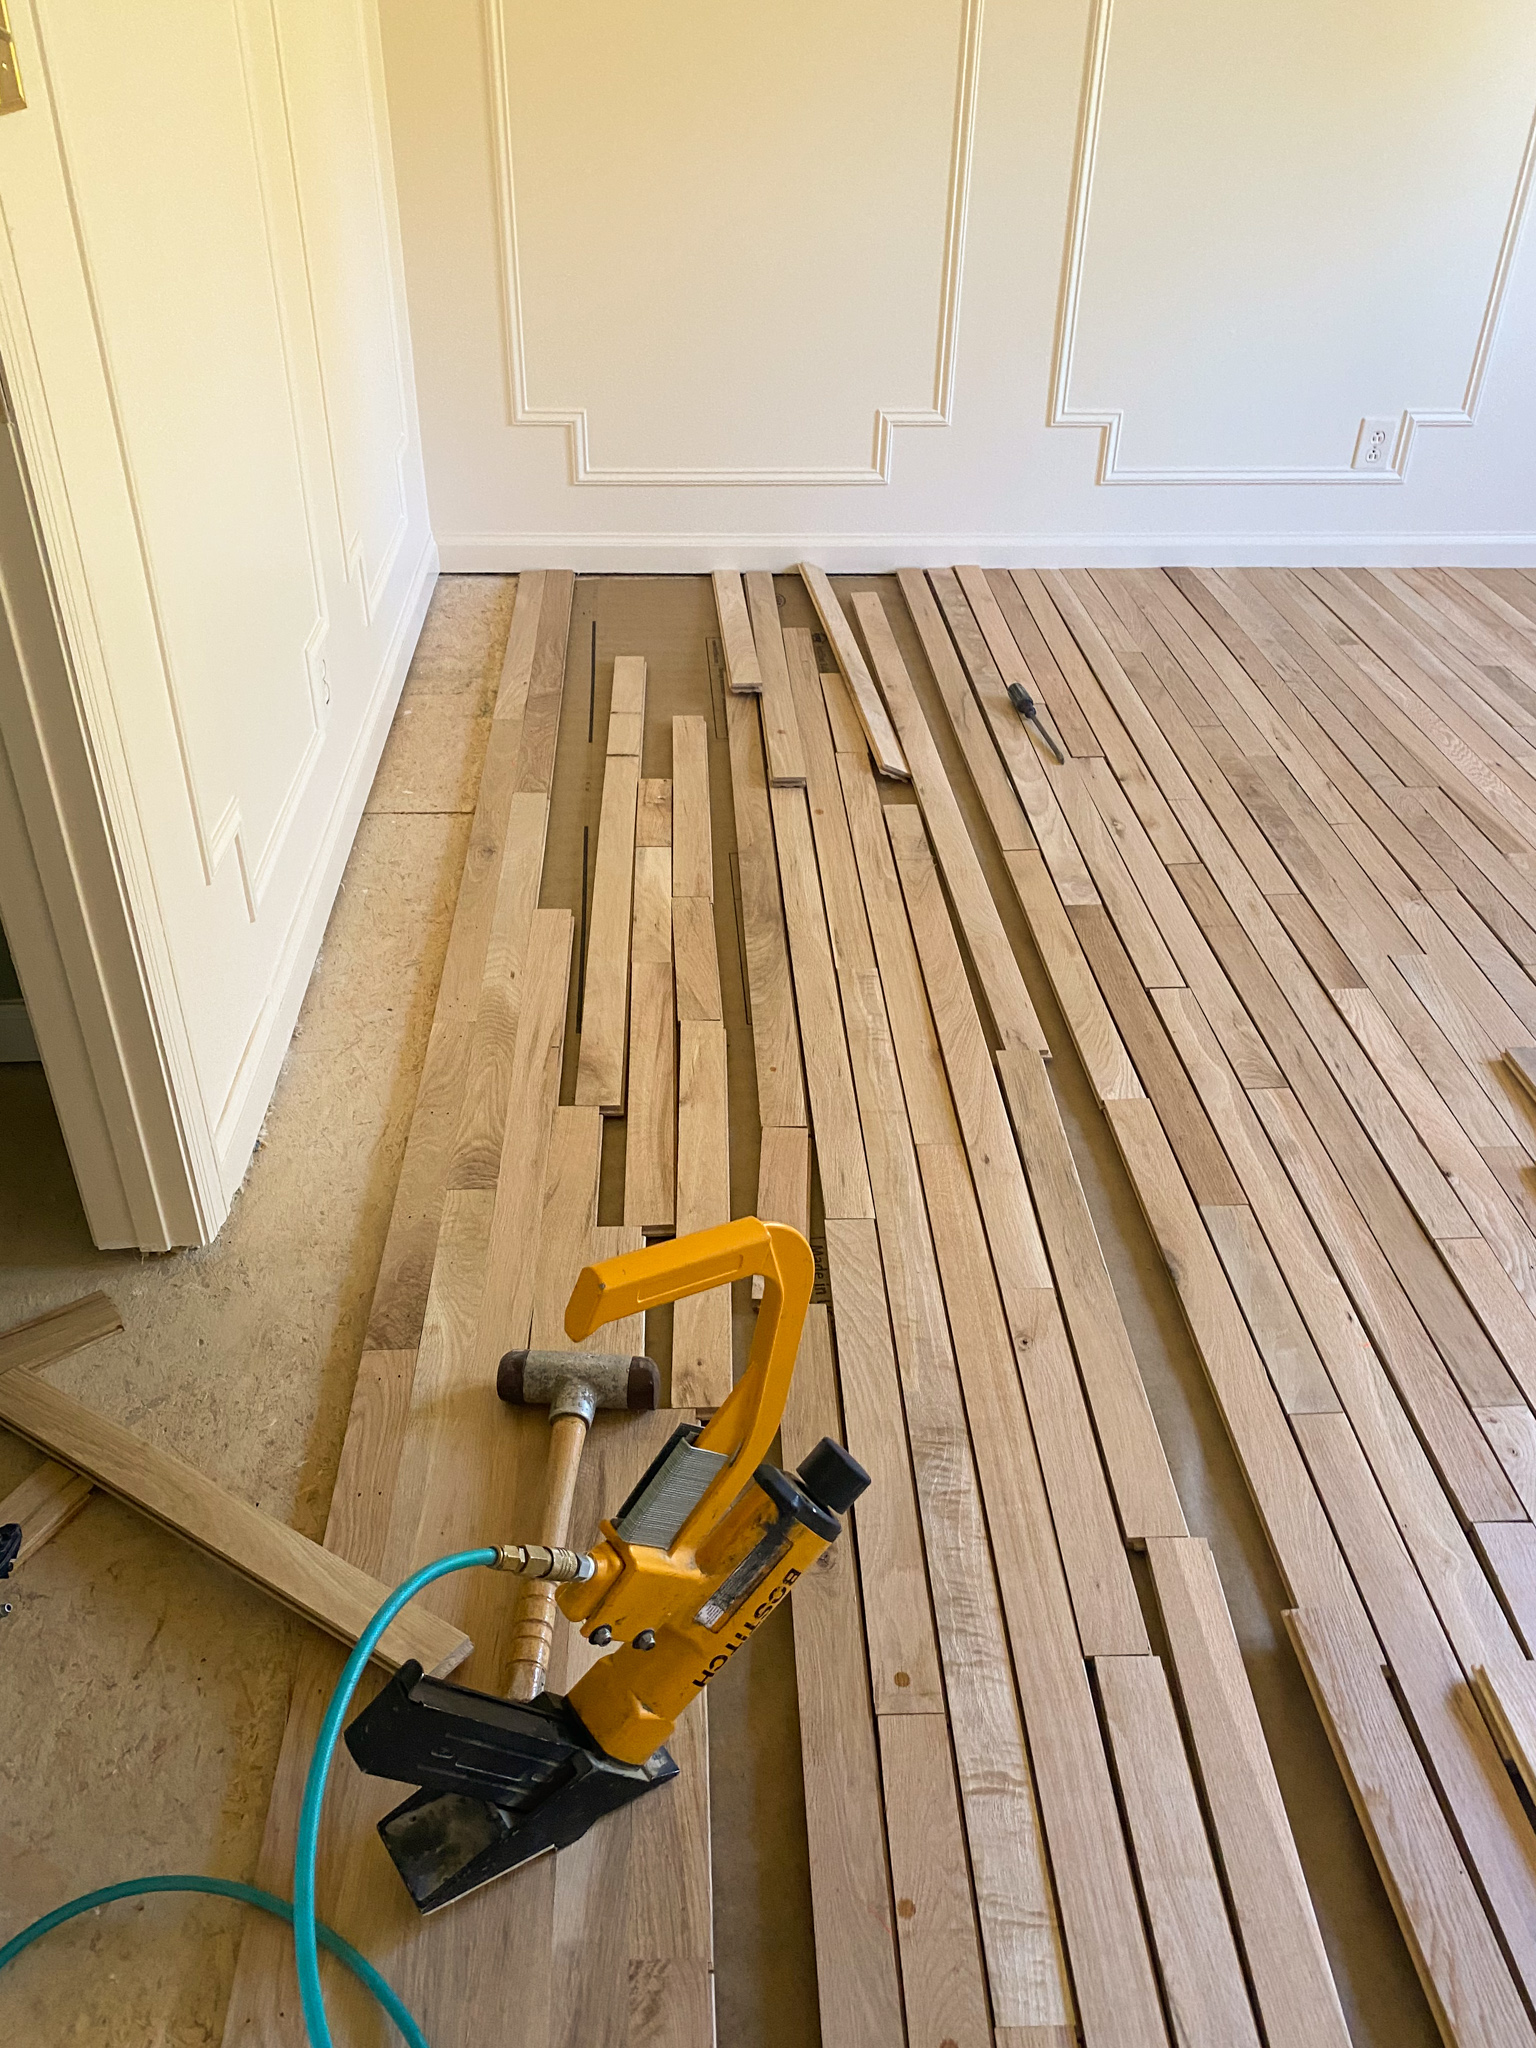
INSTALLING HARDWOODS
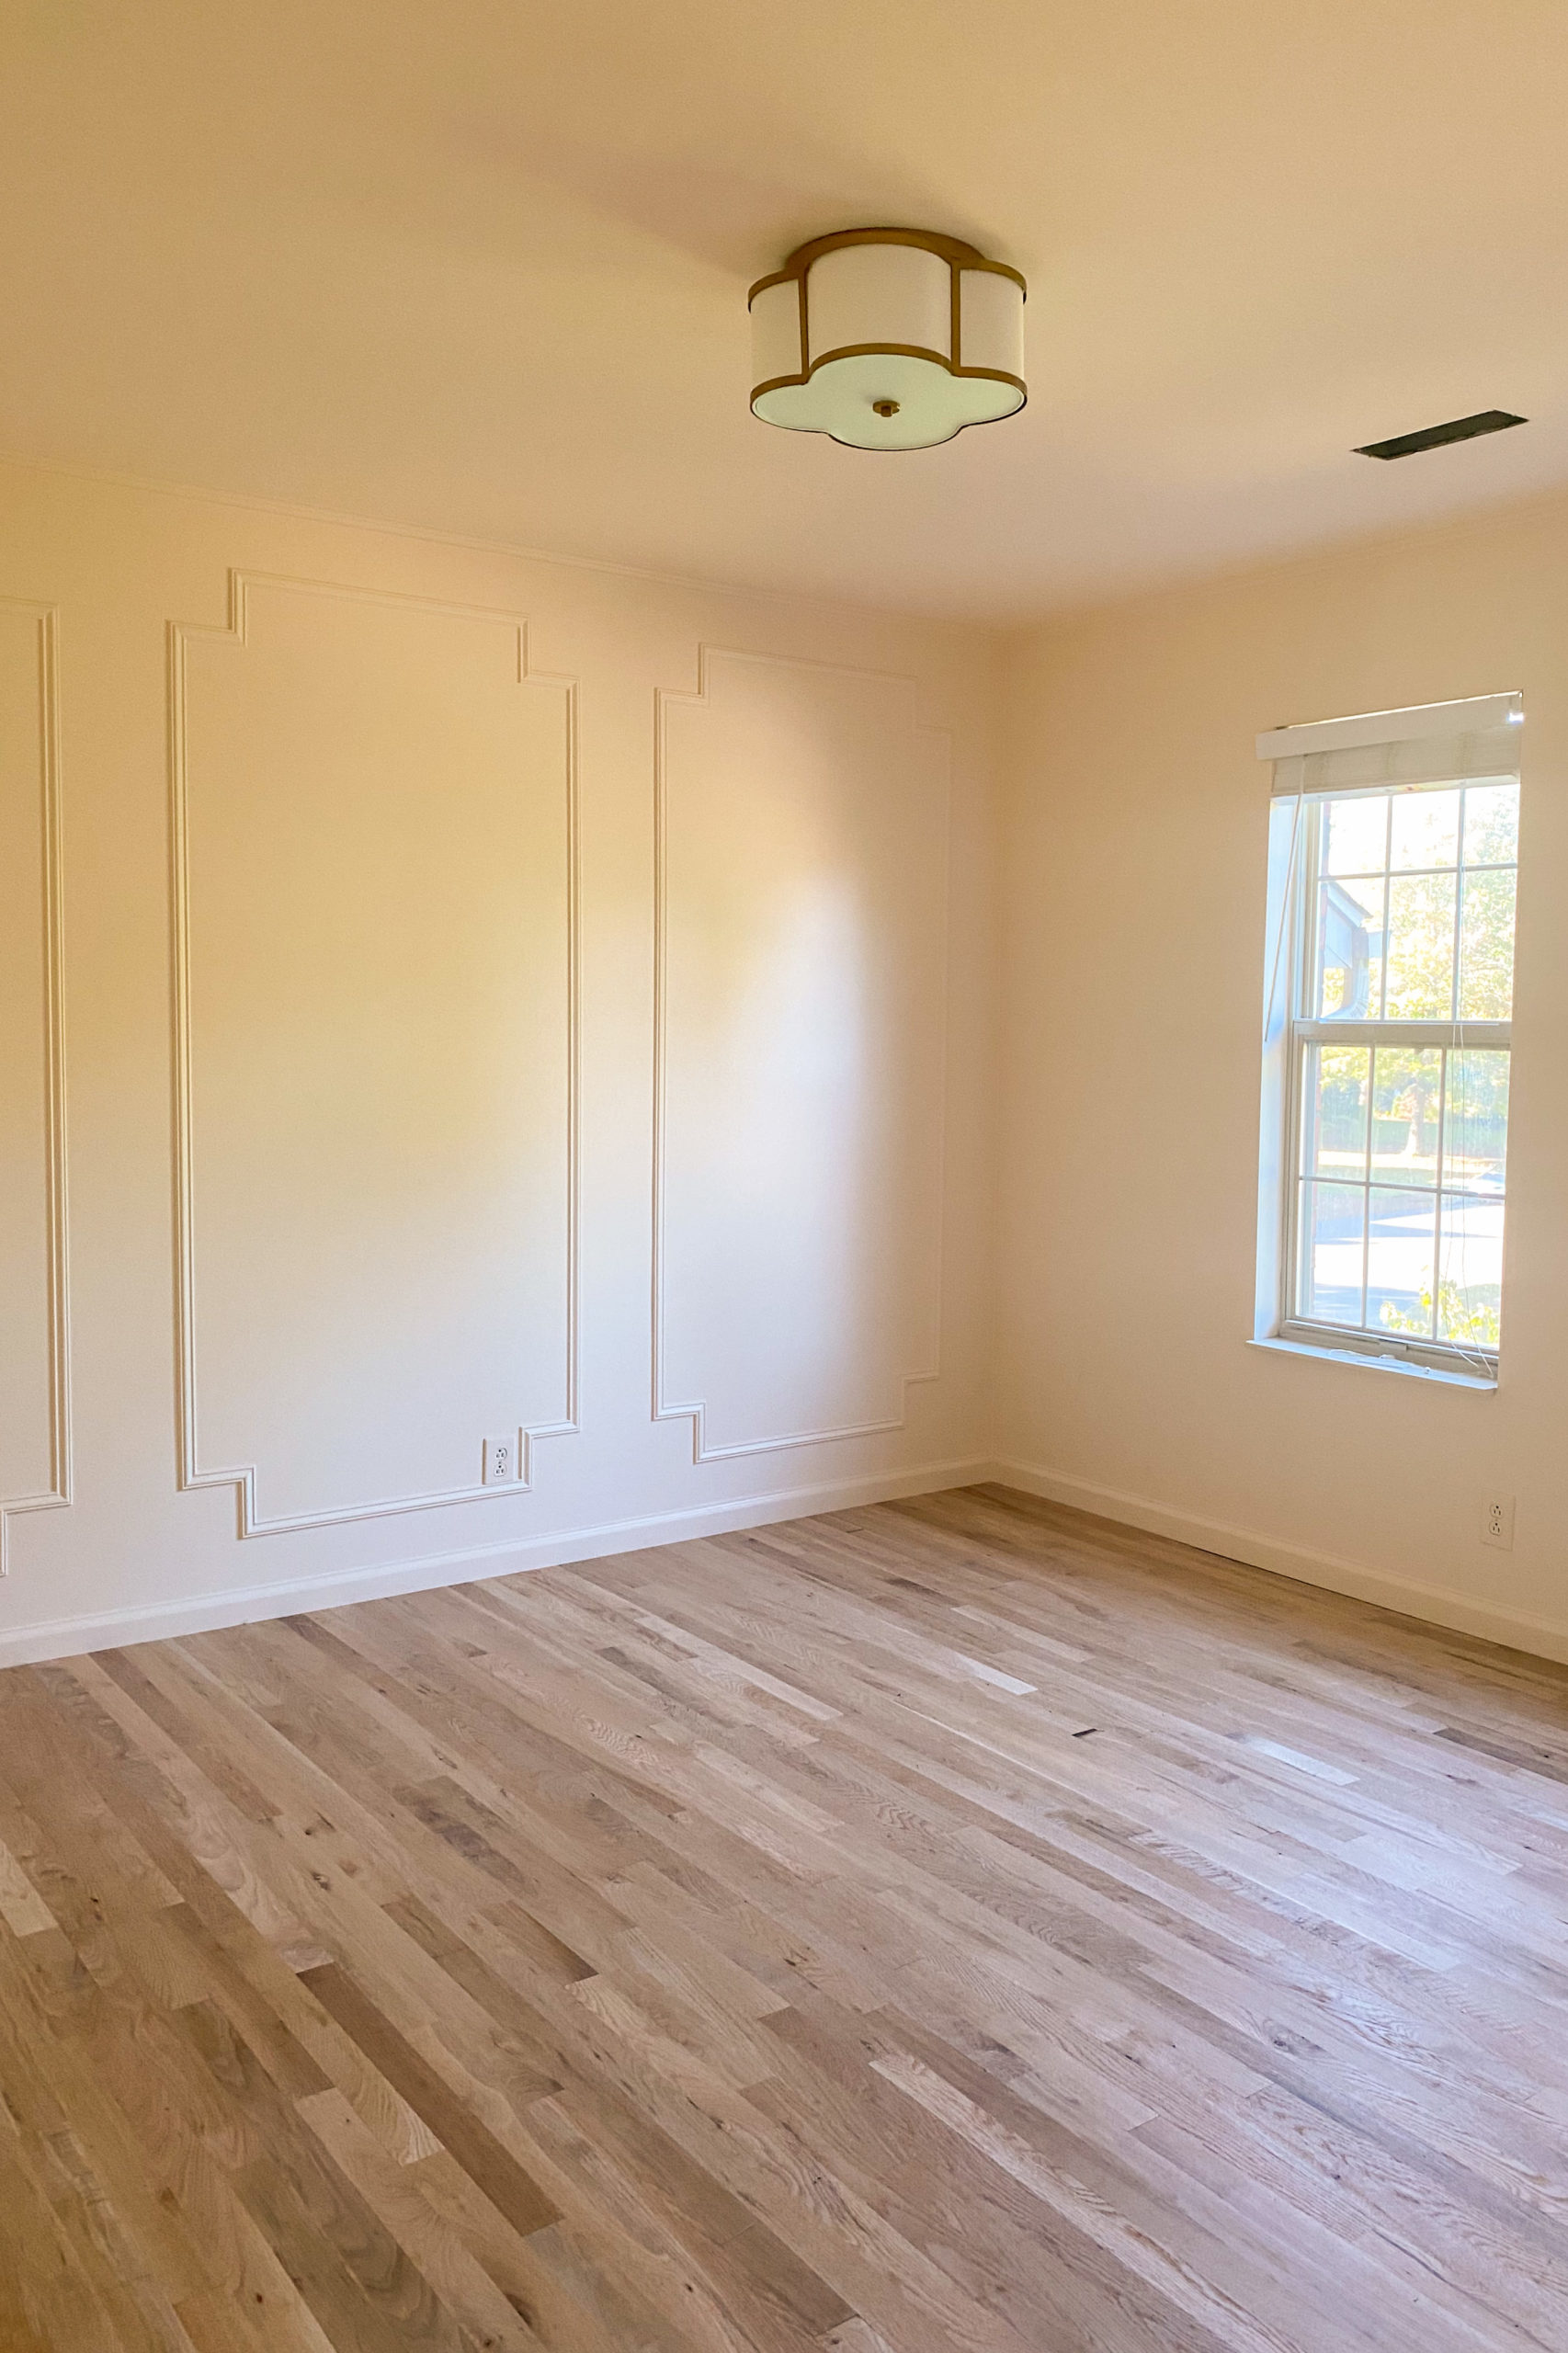
We also installed the same white oak flooring in the upstairs nursery room, and choose 2 inch width planks to keep it consistent. We ripped out the old carpet, and they were able to install, sand, and stain the hardwoods in a few days. Nickason Hardwoods also did this job for us. We received quotes from a few different companies ranging from about $1200 – $2200 for the room above. I tell ya – the cost varies from coast to coast and state to state.
Materials Used:
White Oak Flooring in Select grade
Bona Natural mixed with Bona Nordic seal
A few things to note about pricing:
You can have your contractor pick up wood planks for you at whatever lumberyard they like to work with.
-The wider the plank width the lower the cost will be for install simply because it takes less time.
– The grade of wood also effects the total cost. Select is your highest grade and will be the highest cost followed by Uncommon I, and Uncommon II. The lower the grade the more knotty or rustic it will look. (This could be the style you are looking for though!)
Did I miss anything? Let us know in the comments, and Gabe or I should be able to answer for you. It feels like a deep sigh of relief to have this done, and now we can move forward with the kitchen plans!

