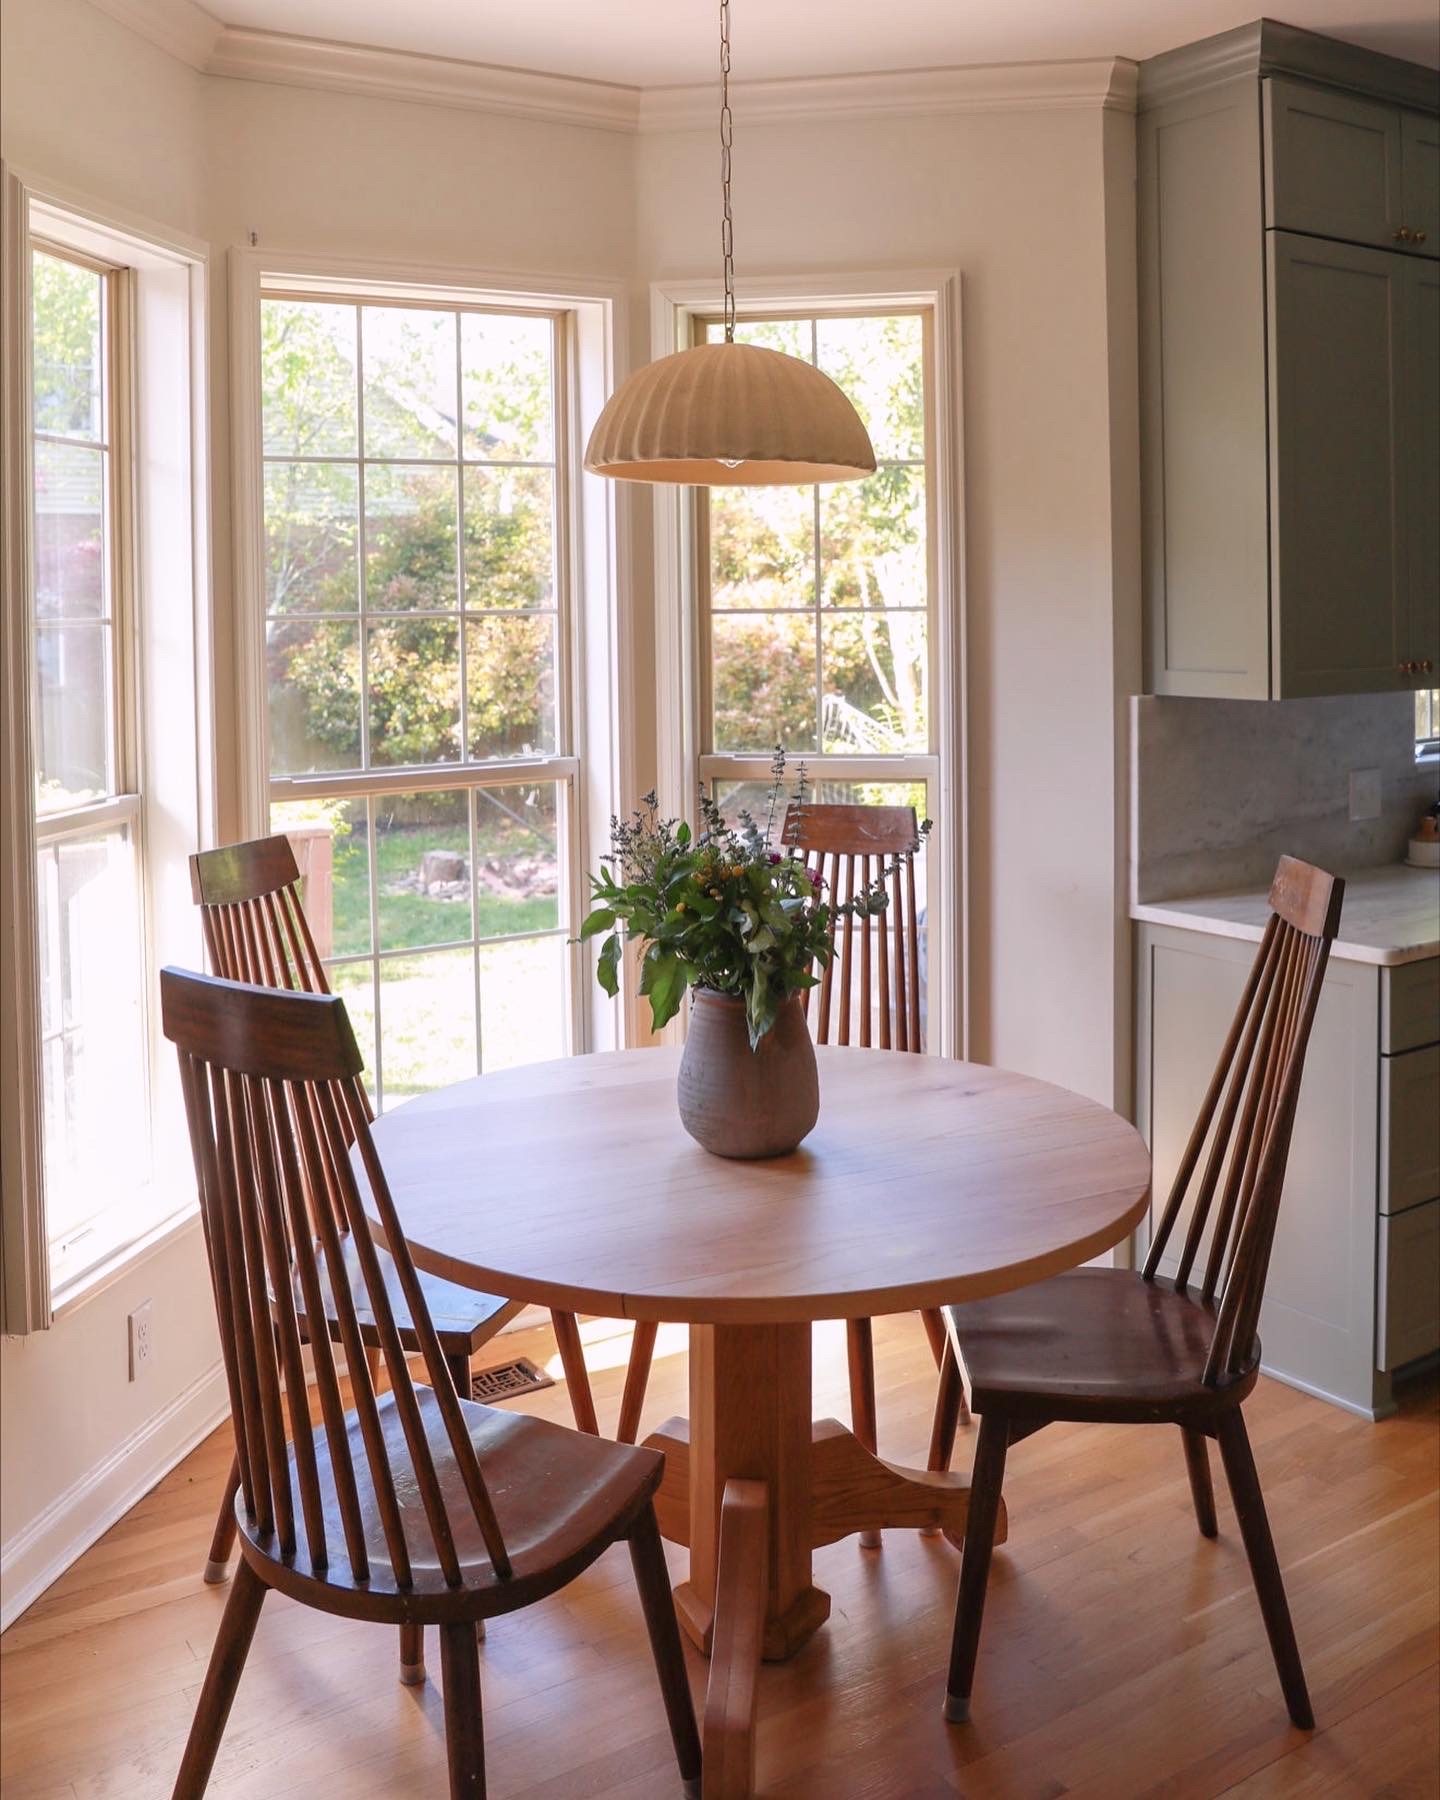
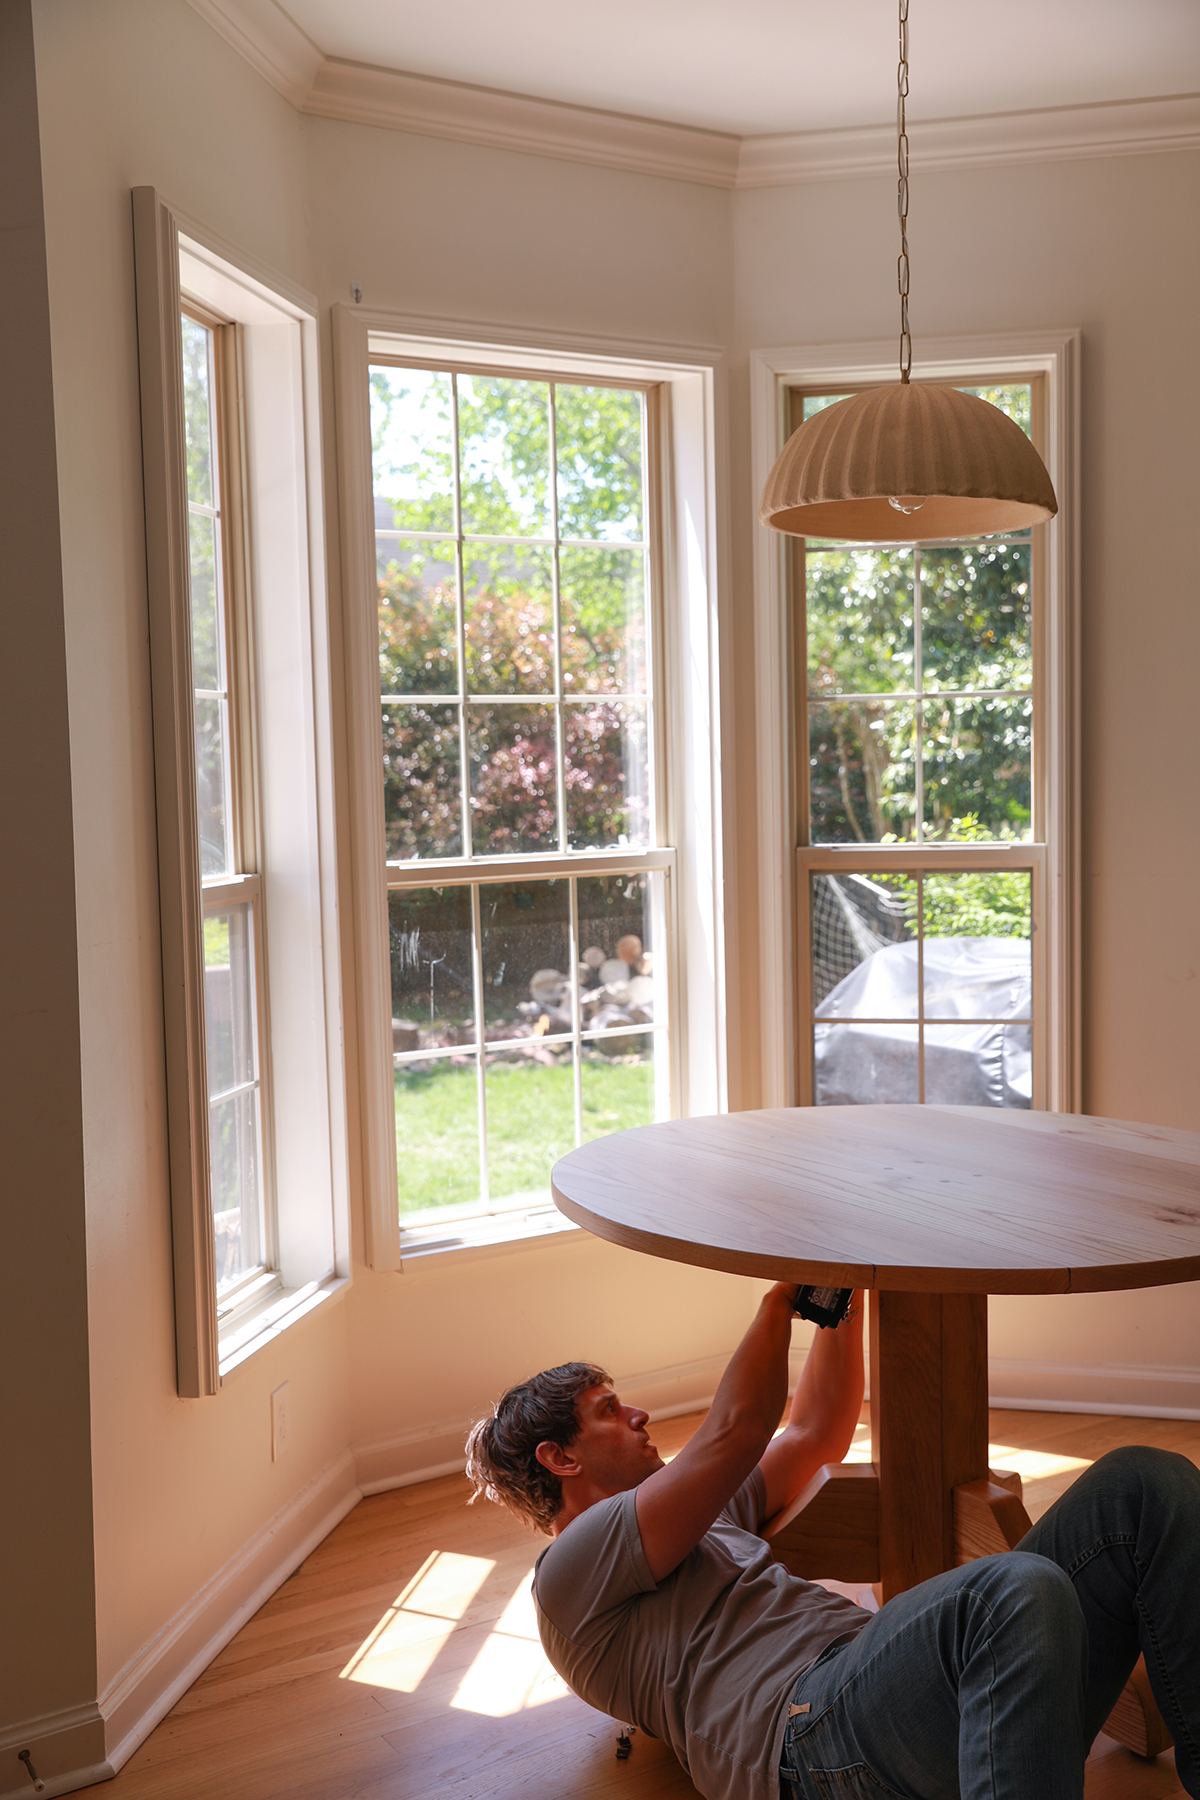
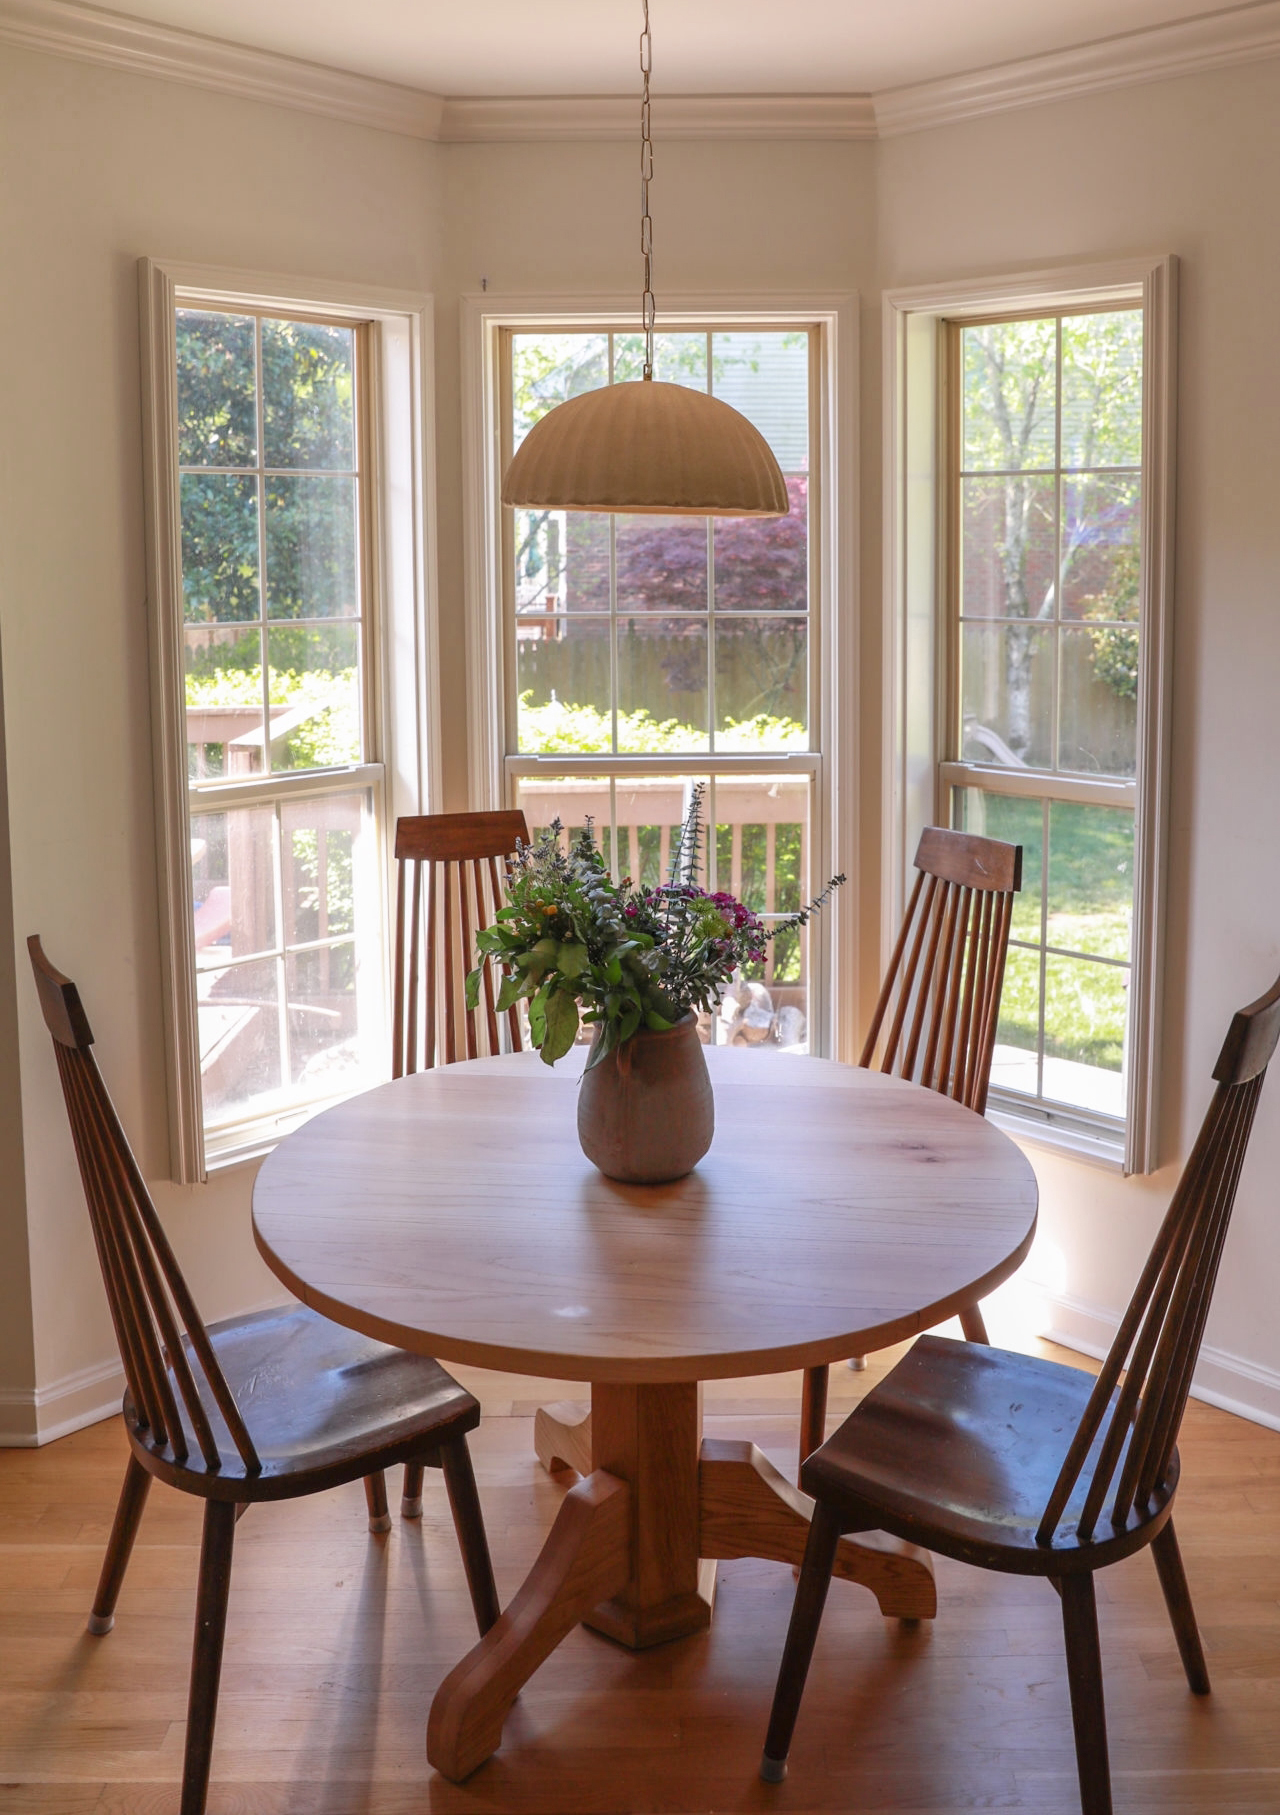
Today I’m handing the blog over to Gabe who is a very thorough teacher on all topics he is passionate about. This includes bringing old pieces of furniture back to life. I spotted this table on Facebook Marketplace for a steal, and the woman who sold it to us was so happy that another family would continue to use it. Her grandfather built the table himself! It is just what we needed for our breakfast nook…
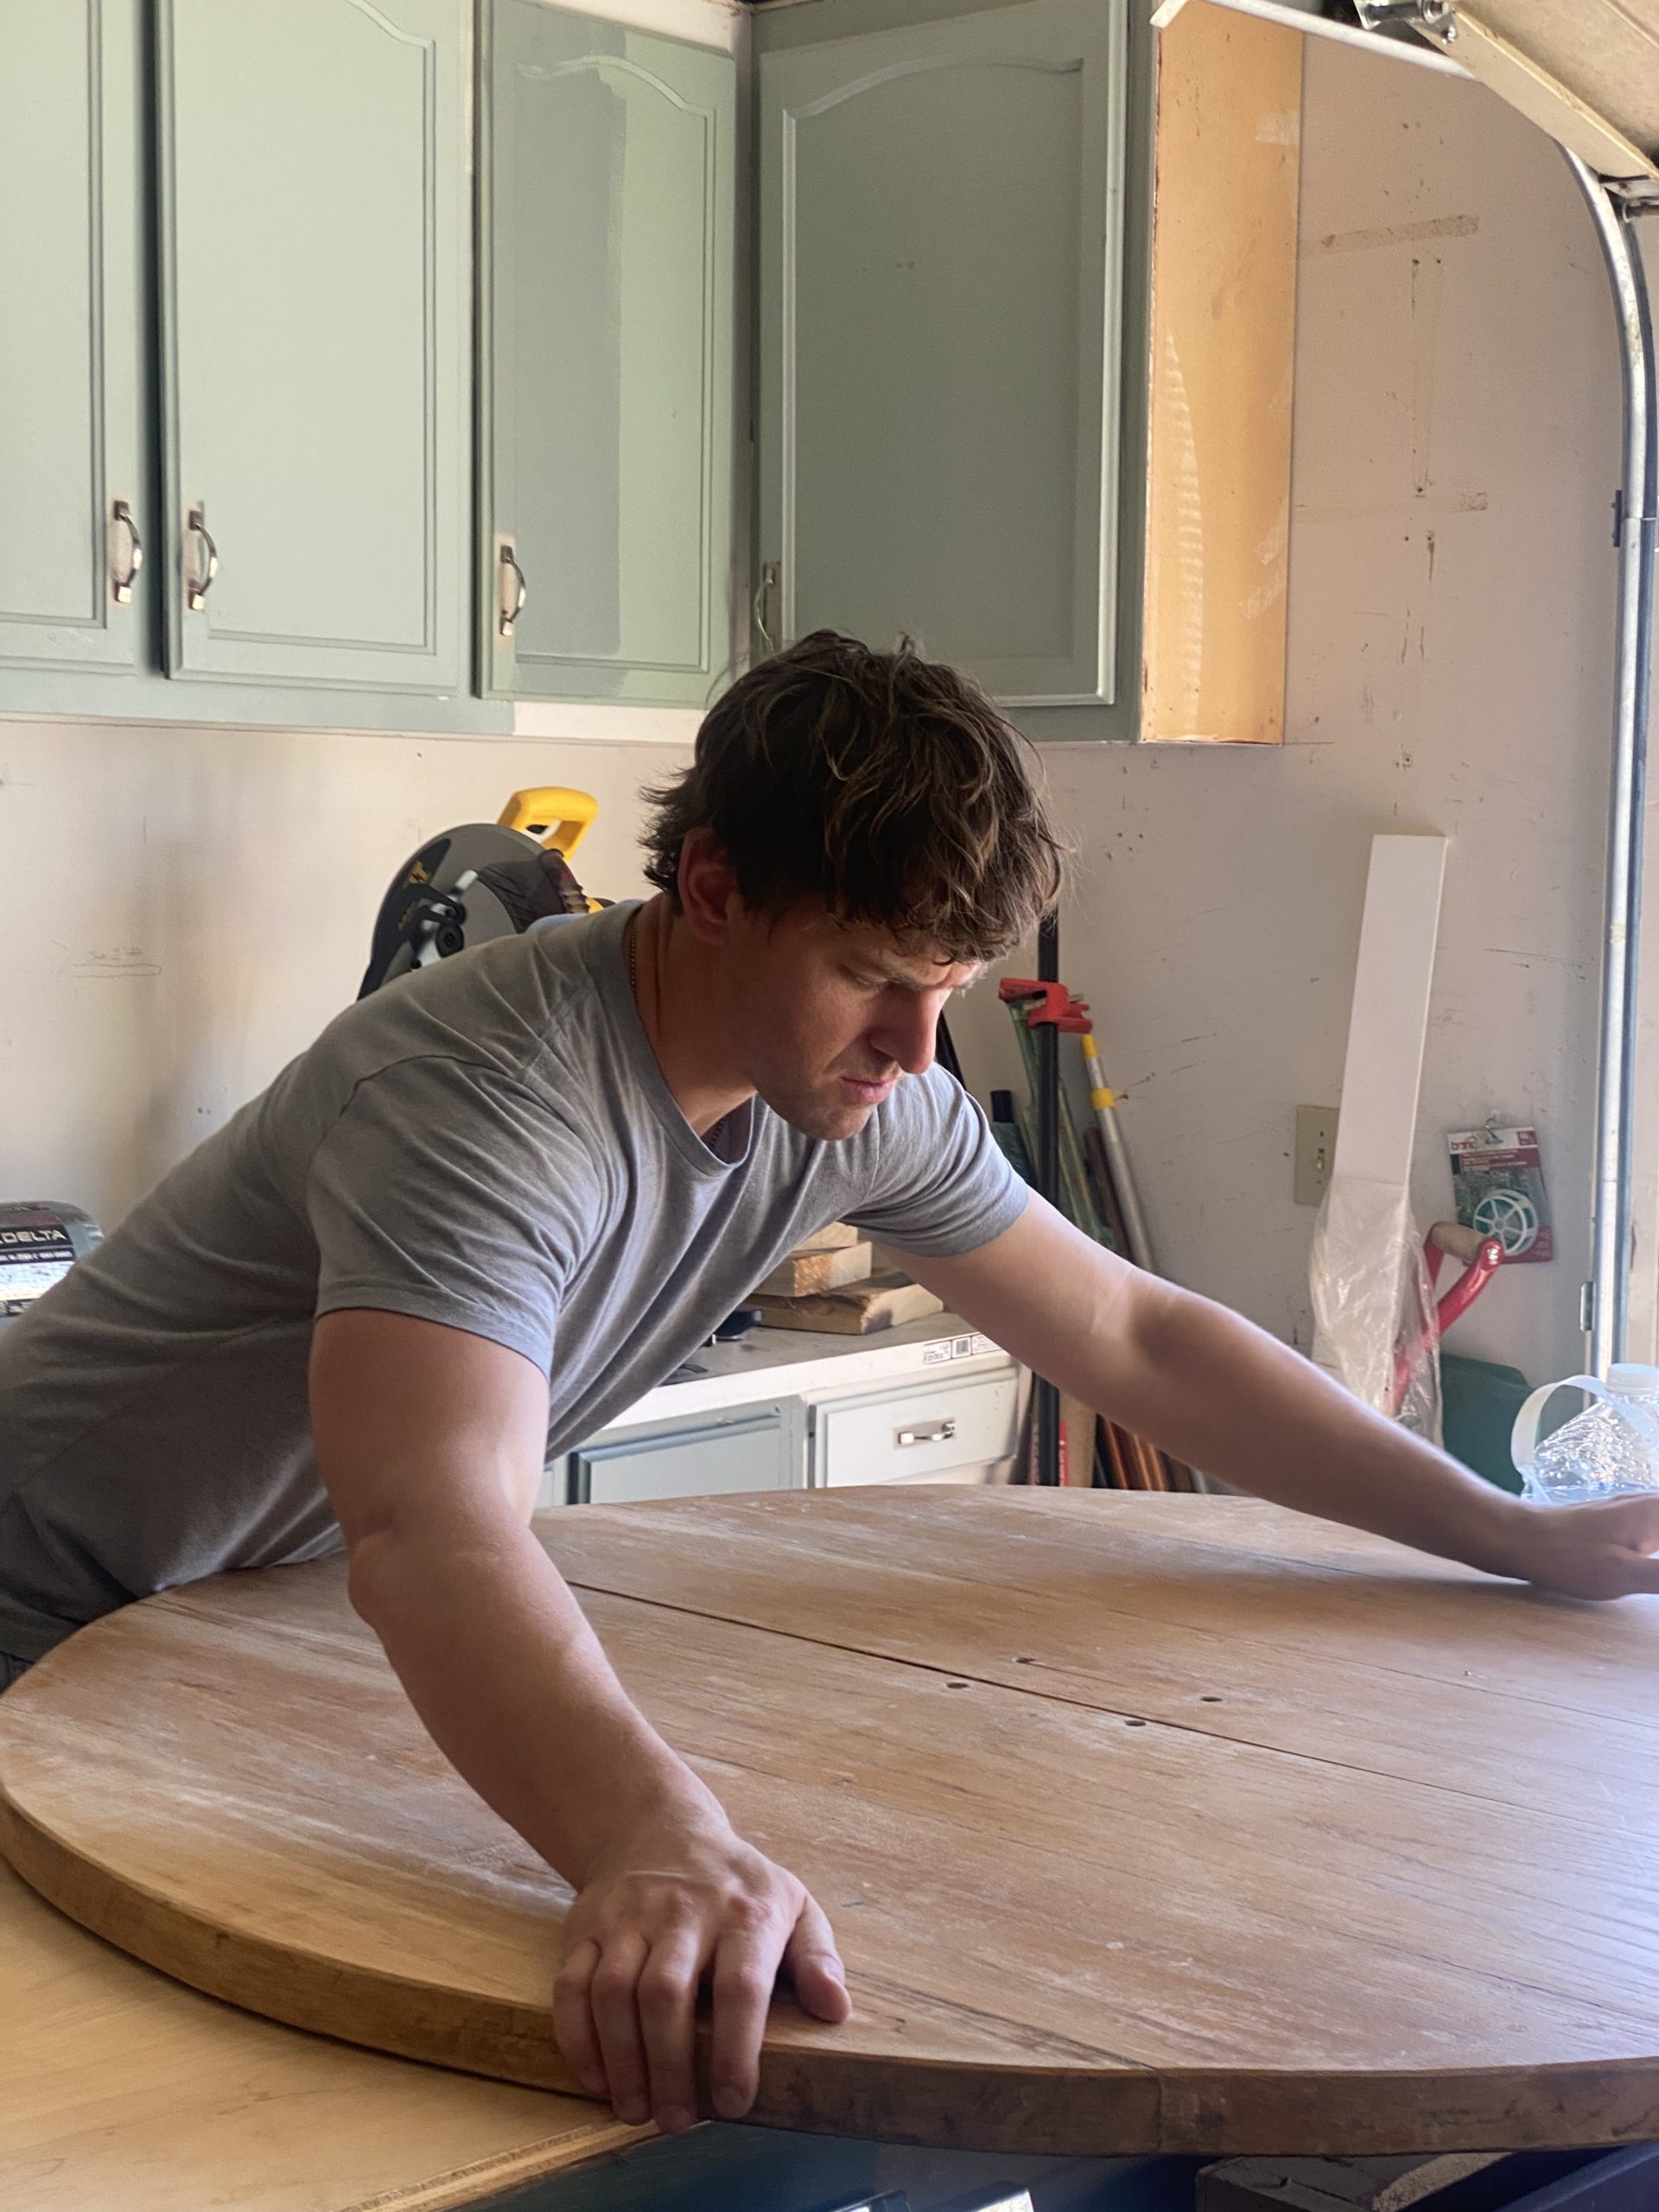
This table is a 1960’s solid white oak hand built craftsman table that had seen many years of use. It needed a little bit of TLC to bring it back to life. I will walk you through the process I took to freshen this old workhorse up. If possible remove the top from the base as it makes the process much easier.
1. Strip off the old finish
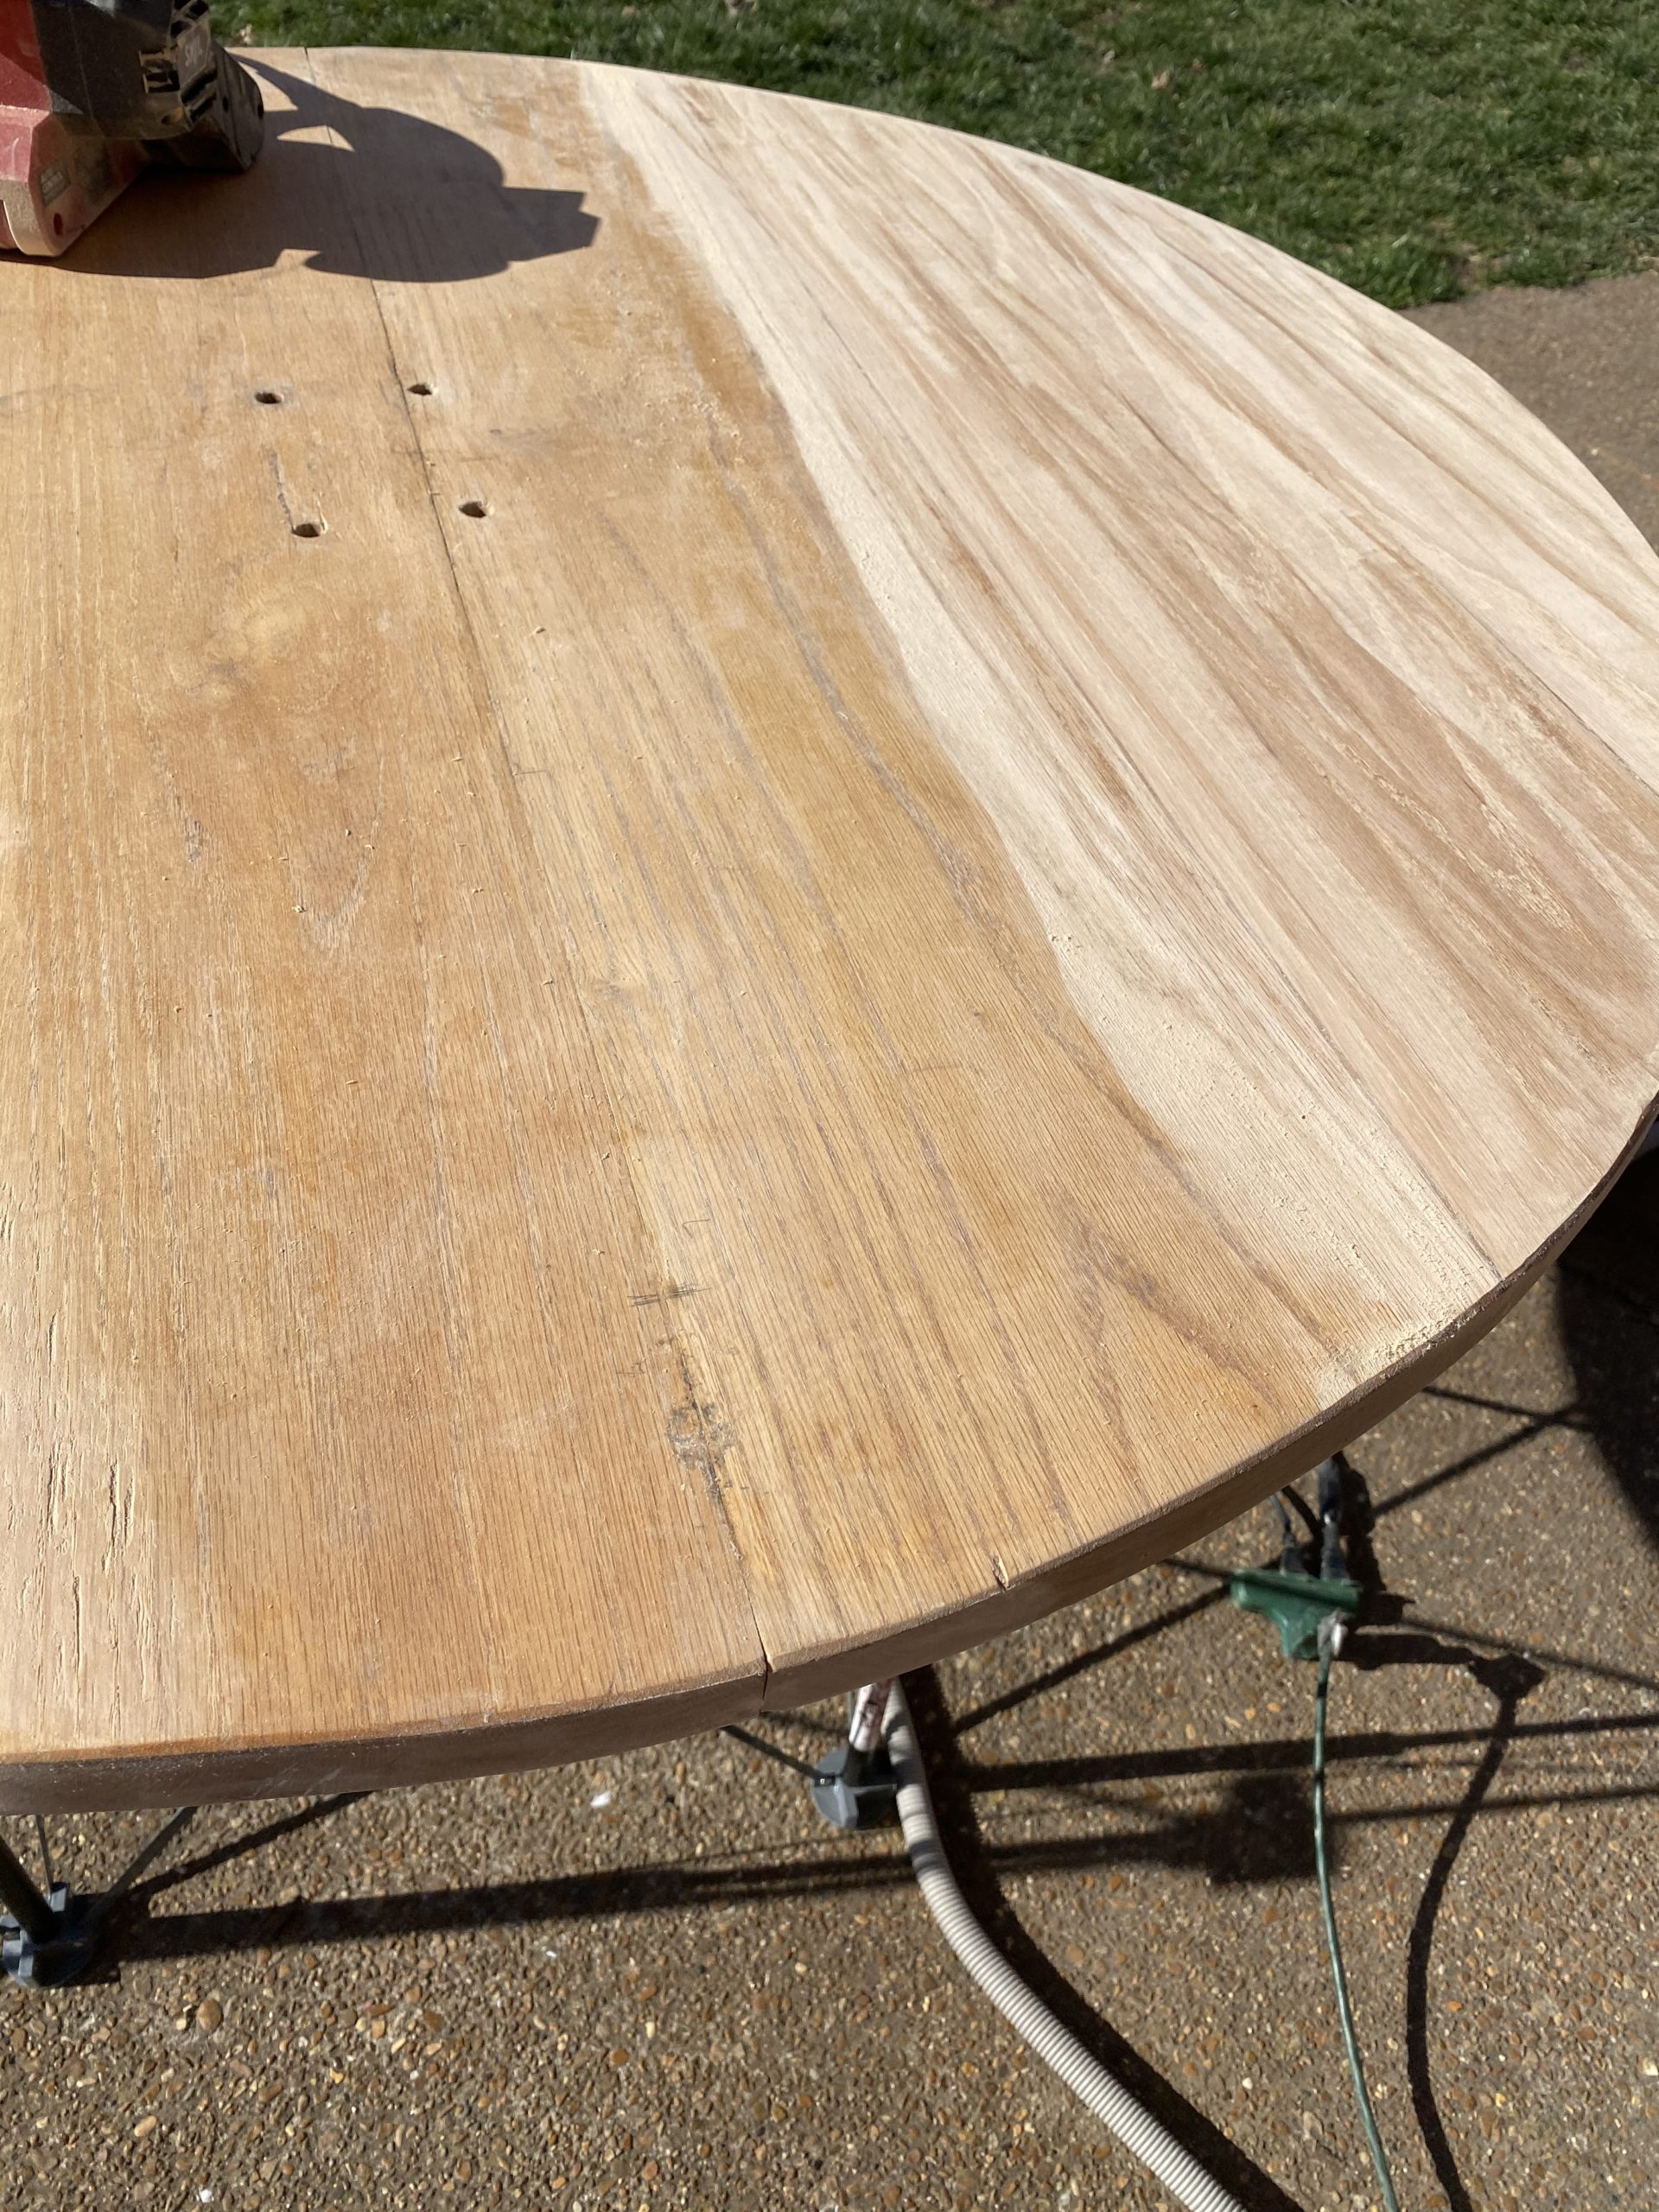
If you are working with a veneered table you will want to use a chemical stripper or solvent stripper to remove the old finish. Do not sand the old finish off of veneered furniture as it is very easy to sand too much and damage the veneer, but sanding is my preferred method for a solid wood table. If you have a solid wood table that has been stained a different color, and you want to keep the same color, use a stripper rather than a sander. Because our table is unstained solid oak I opted to sand the old polyurethane off.
For the table top I used an old belt sander with a 150 grit sanding belt to remove the finish. A belt sander removes a lot of material very quickly, so never hold it stationaryl on top of the sanding surface. Keep the sander moving with the direction of the wood grain, never against the grain. Be sure to sand both the top and the bottom of the table top.
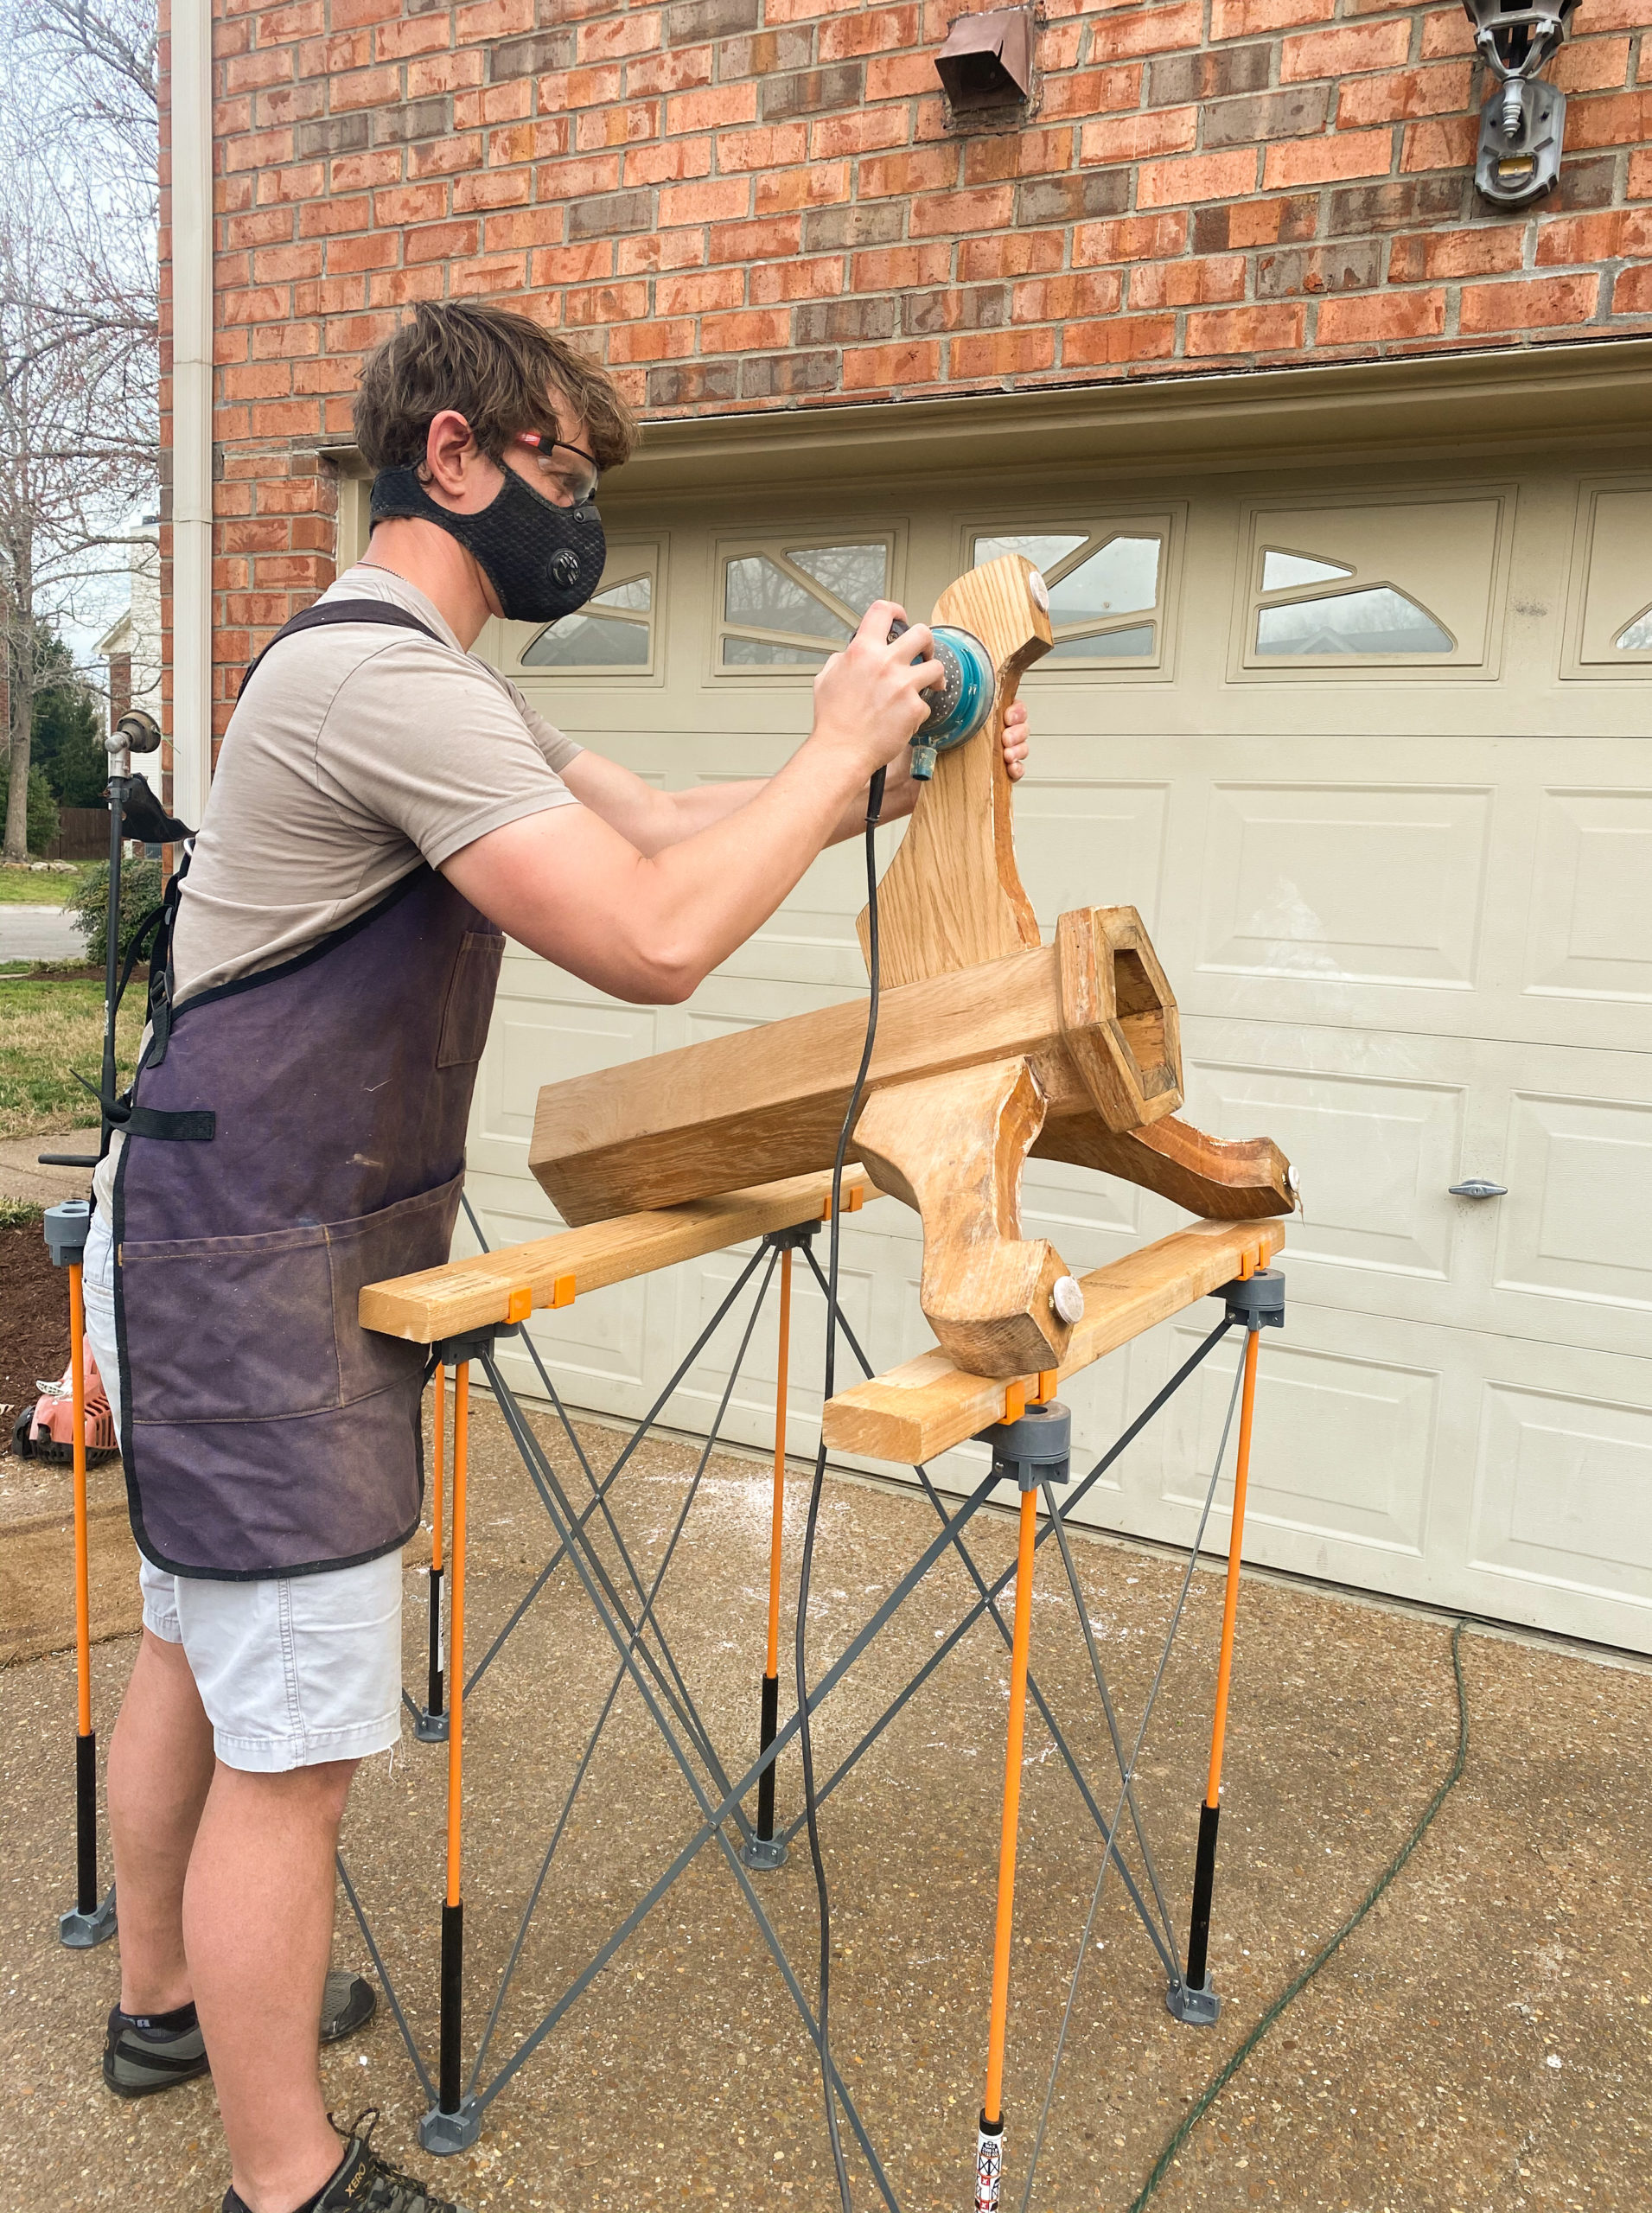
The table base was sanded with a combination of the orbital sander for the large open areas and hand sanding for the inside corners and hard to reach areas. I used 80 grit sandpaper to remove the old finish. When hand sanding always sand in the same direction as the wood grain, never across the wood grain. When sanding with an orbital sander you do not need to follow the grain direction and can move the sander freely, but be sure not to press too hard, especially when using 80 grit as it will leave swirls in the wood that may be difficult to sand out later. These sanding swirls will be very noticeable if not properly sanded out with later grits, especially if a color stain will be applied later. The sander should be doing the hard work, not the pressure you place on the sander. I hand sanded most outside corners, as my orbital sander would have removed too much material too quickly and would have damaged the corner surfaces.
Once all the finish was removed it was time to refine and prep the wood surface.
2. Preliminary surface smoothing.
At this point the wood surface was looking and feeling a little rough due to all the heavy sanding to strip the finish off, so finer sanding was necessary. Before sanding with a higher grit of sandpaper, remove the dust from the previous sanding with a shop vac or dry cloth. I prefer to use a vac as it keeps more dust from floating around in the air, and always use a soft bristled vacuum head to protect the wood surface from scratches.
I used my orbital sander and 120 grit sanding pads to smooth out the surface and remove any scratching left behind from the belt sander or the 80 grit sanding pads. When doing so try to keep an eye out for any swirls mentioned above and be sure to gently sand those out. For the hard to reach areas I hand sanded with 120 grit sandpaper. If you can’t find 120, a 150 grit sandpaper will work also.
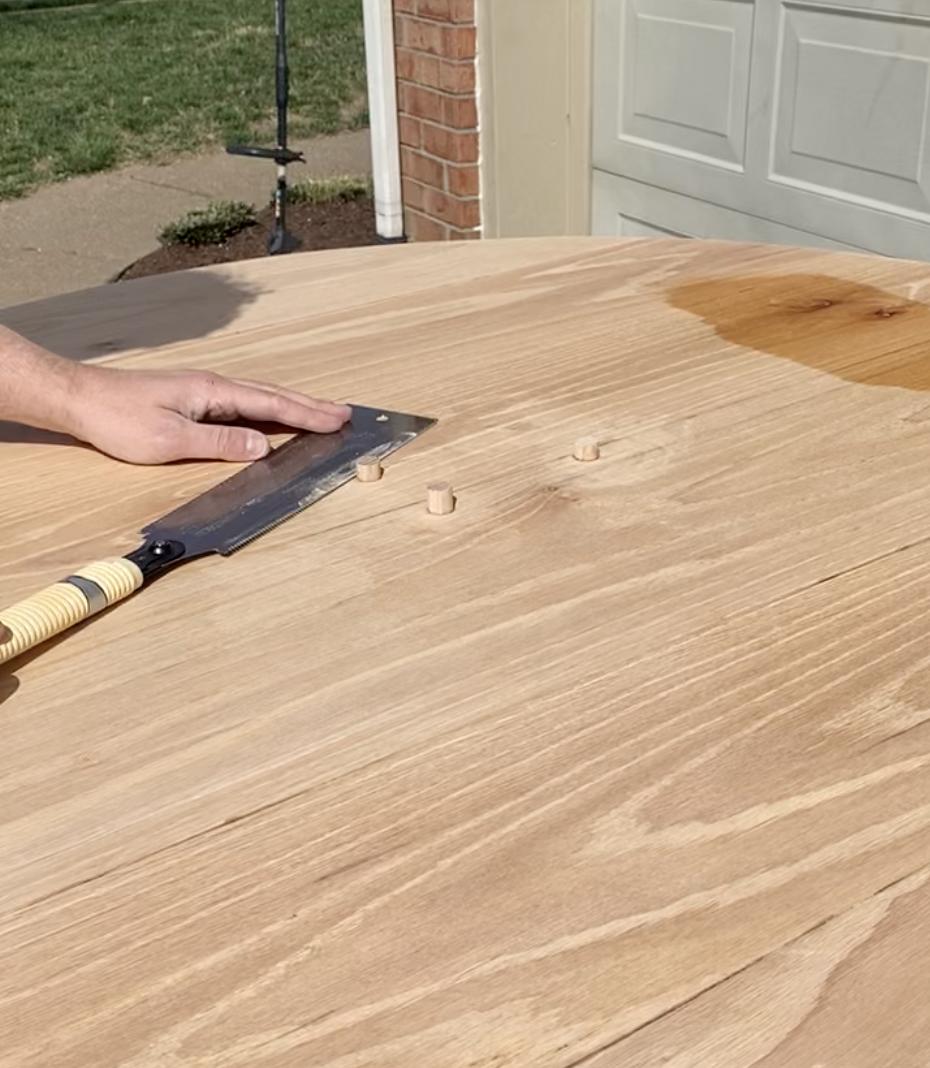
3. Fill in holes and cracks before final sand
Now that the preliminary surface smoothing was accomplished with 120 grit sanding, I checked all surfaces for holes and cracks. I used this wood filler for larger damage, like old screw holes in the base, and used Starbond CA glue with a drying accelerator for fine holes and minor cracks. When using a wood filler on an unstained surface be sure to try and match the color of the filler and the color of your wood as closely as possible. If you will be staining or painting the wood be sure to use a wood filler that is “stainable” or “paintable”. Don’t worry about applying too much filler as it will be sanded smooth in the next step.
4. Final sanding and cleaning and sealing
Once all imperfections were filled, I proceeded to finish the surface prep by sanding everything with 180 grit sandpaper. I took extra care to sand smooth all areas where filler was applied, and to smooth out any swirls left behind from previous sanding grits. Finally I thoroughly removed all the sanding dust from all surfaces. My preferred method is to vacuum everything multiple times, then thoroughly wipe everything down with a tack cloth. It is critical to remove all traces of dust as the remaining dust will cause tiny bumps, or nibs, to form once the finish is applied.
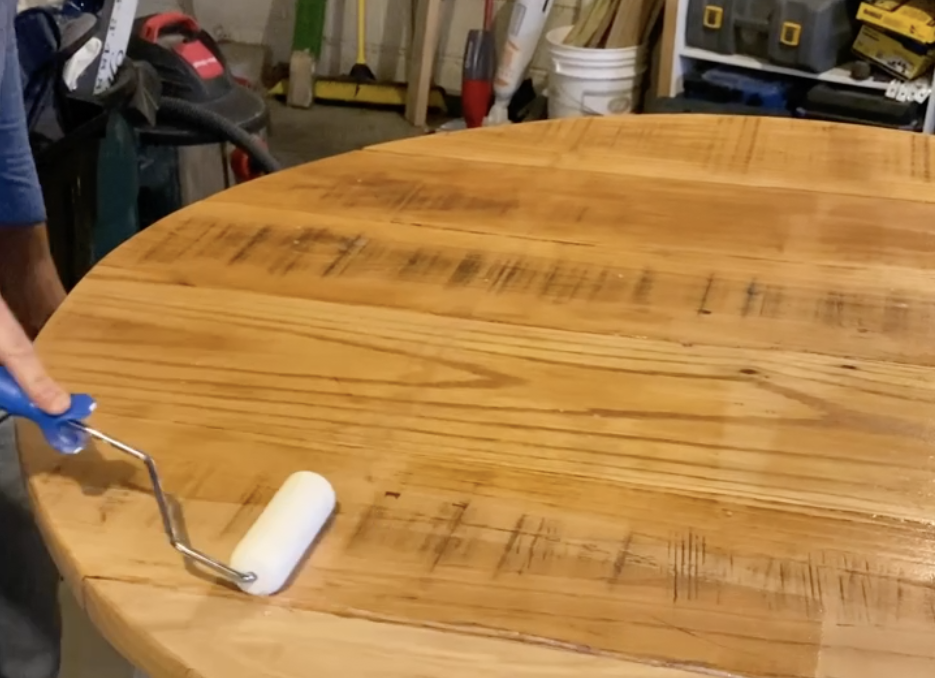
After dust has been removed, I sealed the surfaces with a water based sanding sealer. Apply the sealer with a brush or roller according to the directions on the can. Once dry I gently hand sanded with 320 grit sandpaper. Light pressure is required. If using a water based poly it is possible to dilute your polyurethane with water and use it as a sealer. The goal of this sand is simply to knock down any grain that may have popped due to the applying the sealer. Remove any dust in the same method as described above.
5. Applying the finish.
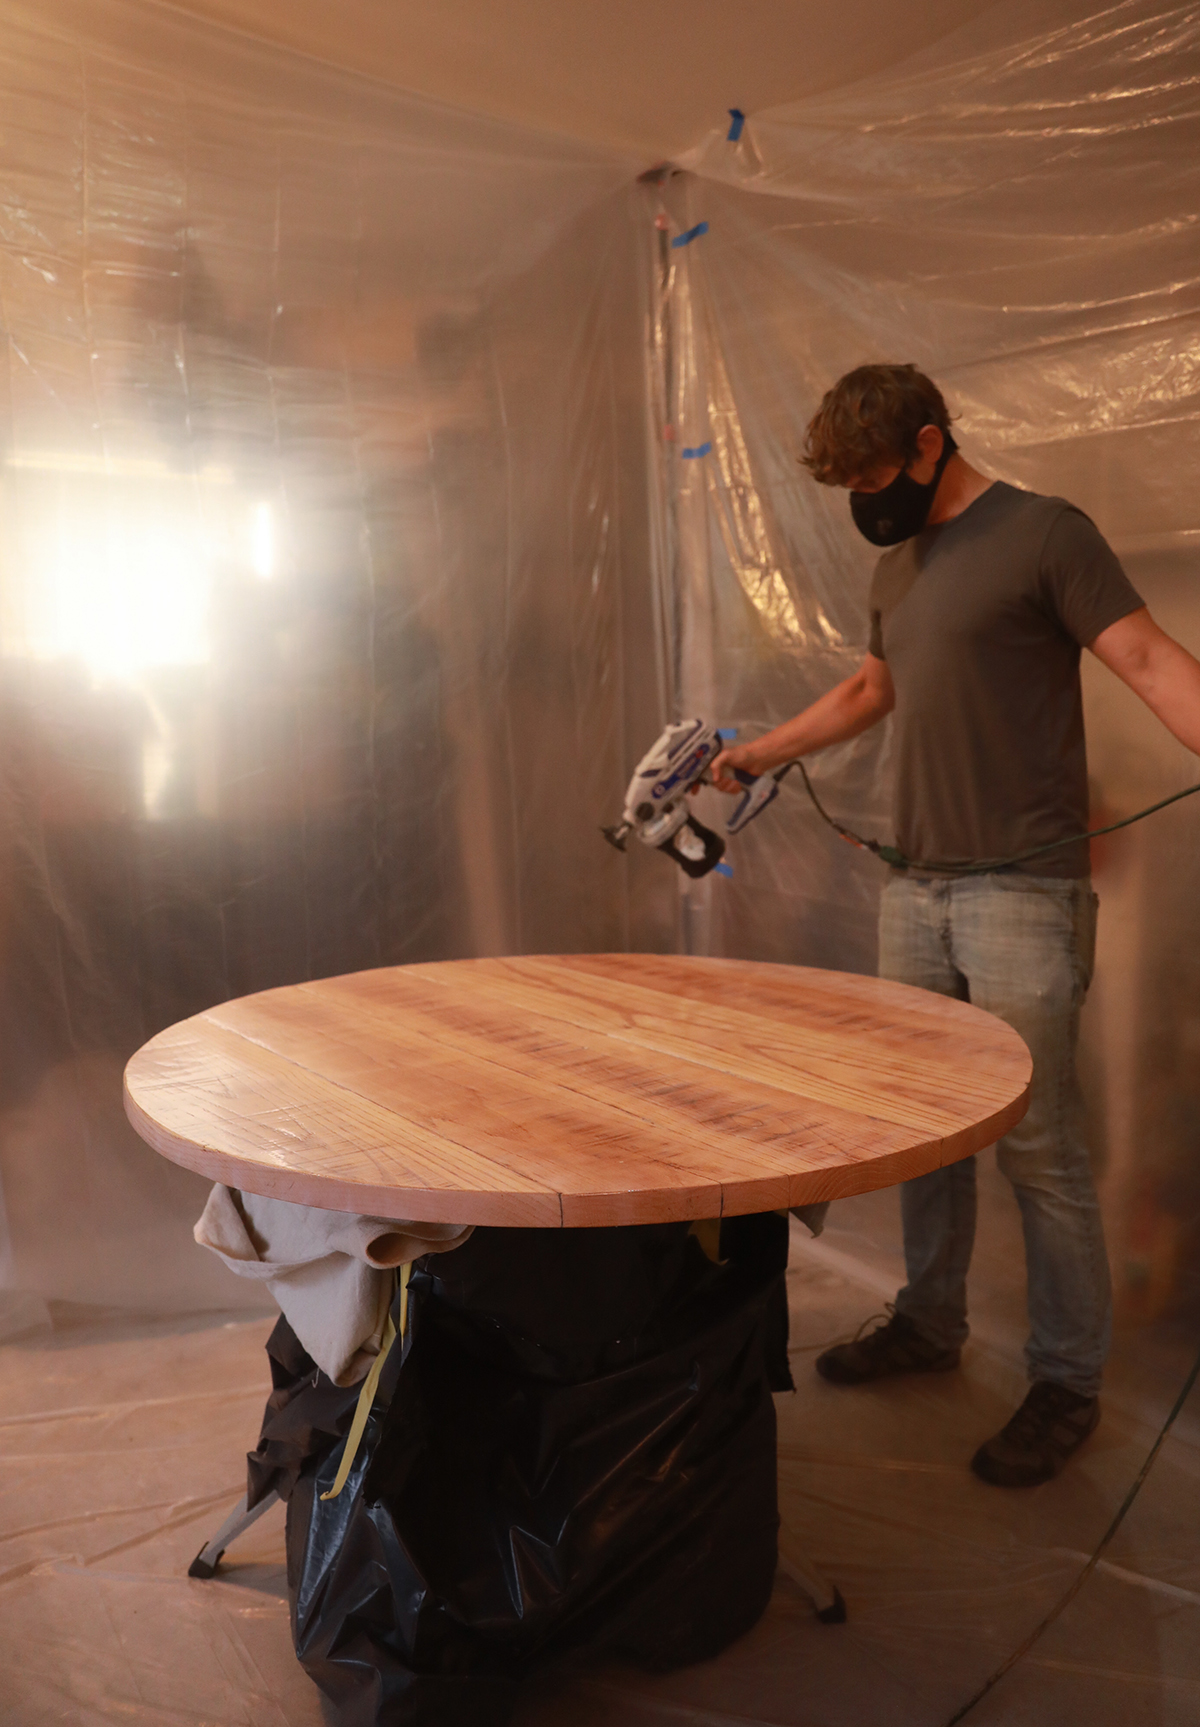
For the best results it is best to apply finish in a dust free environment. The reason is because if dust and debris falls on the work surface before the finish layer has dried, it will likely form small bumpy nibs on the surface. These nibs can be sanded out between coats but its better to avoid them if possible. With all of the kids and lack of space that is hard to come by in my house. This time I created a temporary finish booth using a product called ZipWall and some cheap plastic sheeting in the garage. If you plan on refinishing furniture from time to time I highly recommend it as I have never had a cleaner finishing area, and as a result, I have never had better results than this project.
Once your area is prepped and all dust has been removed from your project it is time to apply the finish. There are many types of finishes, but the most common are polyurethane. We opted to use a water based poly as we wanted to showcase the beauty of the white oak in its most natural state. Water based poly will not amber in color over time like oil based does, especially when exposed to sunlight. Water based poly also dries faster, has lower VOCs, and is a little easier to repair than oil based. The trade off is that in general, water based poly is not as hard as oil based so can be more prone to scratches or water marks (unless using a two part water based system which I don’t recommend for the novice). We opted for Emtech EM3900 in flat, which can often be found at specialty paint stores. It has quickly become my favorite water based poly as it lays down well, tightens up very well, and dries quickly but not too quickly. You can lay down multiple coats of finish in a day, which is a huge plus. I highly recommend it. My second favorite is General Finishes High Performance Top Coat in flat. Because I used a water based poly I will be focusing on that process moving forward. The method of applying oil based is similar but has some differing nuance in technique and what tools to use to lay it down. I also prefer to use a flat rather than gloss or semigloss finish as it hides imperfections much better than the more shiney finishes.
Applying a clear finish is always quicker and easier using a spray gun. If in the market for a cost effective spray system that does both paint and clear coat finishes well at a “reasonable” price look into the Earlax Spraystation 5500. I don’t yet have one, so I tried to use my Gracco VSP paint sprayer. It laid the polly quickly, but not evenly and I had to go back over the surfaces with a high density foam roller and fine brush to smooth it all out. This was still faster than applying it all by hand and I was very happy with the results. If you do not have a high quality spray gun use a high density foam roller for the large open areas (be sure to rub down new roller to remove any loose material before using in poly), and a soft bristled nylon brush for the smaller areas.
For the roller, use a small paint tray to hold your water based poly and saturate the foam roller, but do not oversaturate to the point of dripping. Run your roller over the work surface in a straight line moving with the grain of the wood grain, never against the grain. Smooth out the wet finish as necessary along your line. Then proceed in the same manner to lay down your next line of poly but with a slight overlap over your previous line. Proceed in this same manner over the entire table top or large open area. The key is laying it down cleanly but quickly.
For the brush you will want to lay down the polly in long even strokes in the same direction of the wood grain, never against the grain. Try to maintain even pressure when moving the brush along the surface. Do not suddenly change the direction of your brush without fully picking it up off the surface first. Be sure to slightly overlap your brush strokes.
Once it is laid down on your surface check for any drips or runs and gently smooth them out. Do not touch the surface once the poly begins to become tacky. You will be tempted to try and fix imperfections, but I urge you to leave it alone until it dries. Be sure to check the can of finish to see how long the poly needs to properly dry.
Once dry I always gently sand hand sand with 320 grit sandpaper and very delicate pressure. This is to remove any nibs that may have formed as the poly was drying, which is very common. A gentle sand between each coat is critical to achieve a smooth final finish, and it helps each coat of poly bond with the previous coat. After sanding everything, wipe it down thoroughly with tack cloth to remove any sanding dust. I prefer to remove my workpiece out of my finish area when doing the sanding between coats as it reduces the chances that dust will collect on the work area as the next coat dries, thereby reducing the occurrence of nibs. Then apply the next coat in the same manner as mentioned above.
I prefer to apply at least two coats to a table base, and at least 4 coats to both the top and bottom of the table top. If you do not keep equal coats on both the top and bottom of your tabletop, it can encourage uneven movement of the wood as the seasons change. This can cause warping or cracking to a solid wood table top over time.
The key to the whole process is patience and learning. Mistakes may happen, but remember that it is part of the process, and if you do make a mistake along the way remember that you the finisher will probably be the only one to ever notice it.


