Written by Gabe
When we purchased our current home, we knew that the removal and replacement of the old carpet throughout the upstairs would be a critical project. When carpet has been around as long as ours has, I swear it takes on the characteristics of Pig-Pen from the classic Peanuts holiday specials (“The dust is removing the curls from my naturally curly hair”).
Our original plan was to gradually replace each bedroom’s carpet with oak hardwood flooring, but with several other home expenses that need our attention, we decided to go for Luxury Vinyl Plank flooring. Having installed it multiple times, we knew it would hold up well in our busy house. We are tackling all of your questions today about LVP!
Q: What does LVP stand for, and why do you recommend it?
Luxury Vinyl Plank flooring is a fully synthetic flooring designed to mimic the look, texture, and warmth of real wood flooring — but at a much better price point. It is very easy to clean, requires little to no maintenance, and is very durable if you know what to look for. (More on that later.) LVP is also waterproof, which is why it is a great option for kids’ rooms, basements, concrete slabs, bathrooms, and areas prone to moisture or water intrusion. Lastly, it is very easy to install, even if you have little to no experience installing flooring. This of course can save you additional money on labor costs!
Q: Do you prefer Floating or Glue-Down LVP?
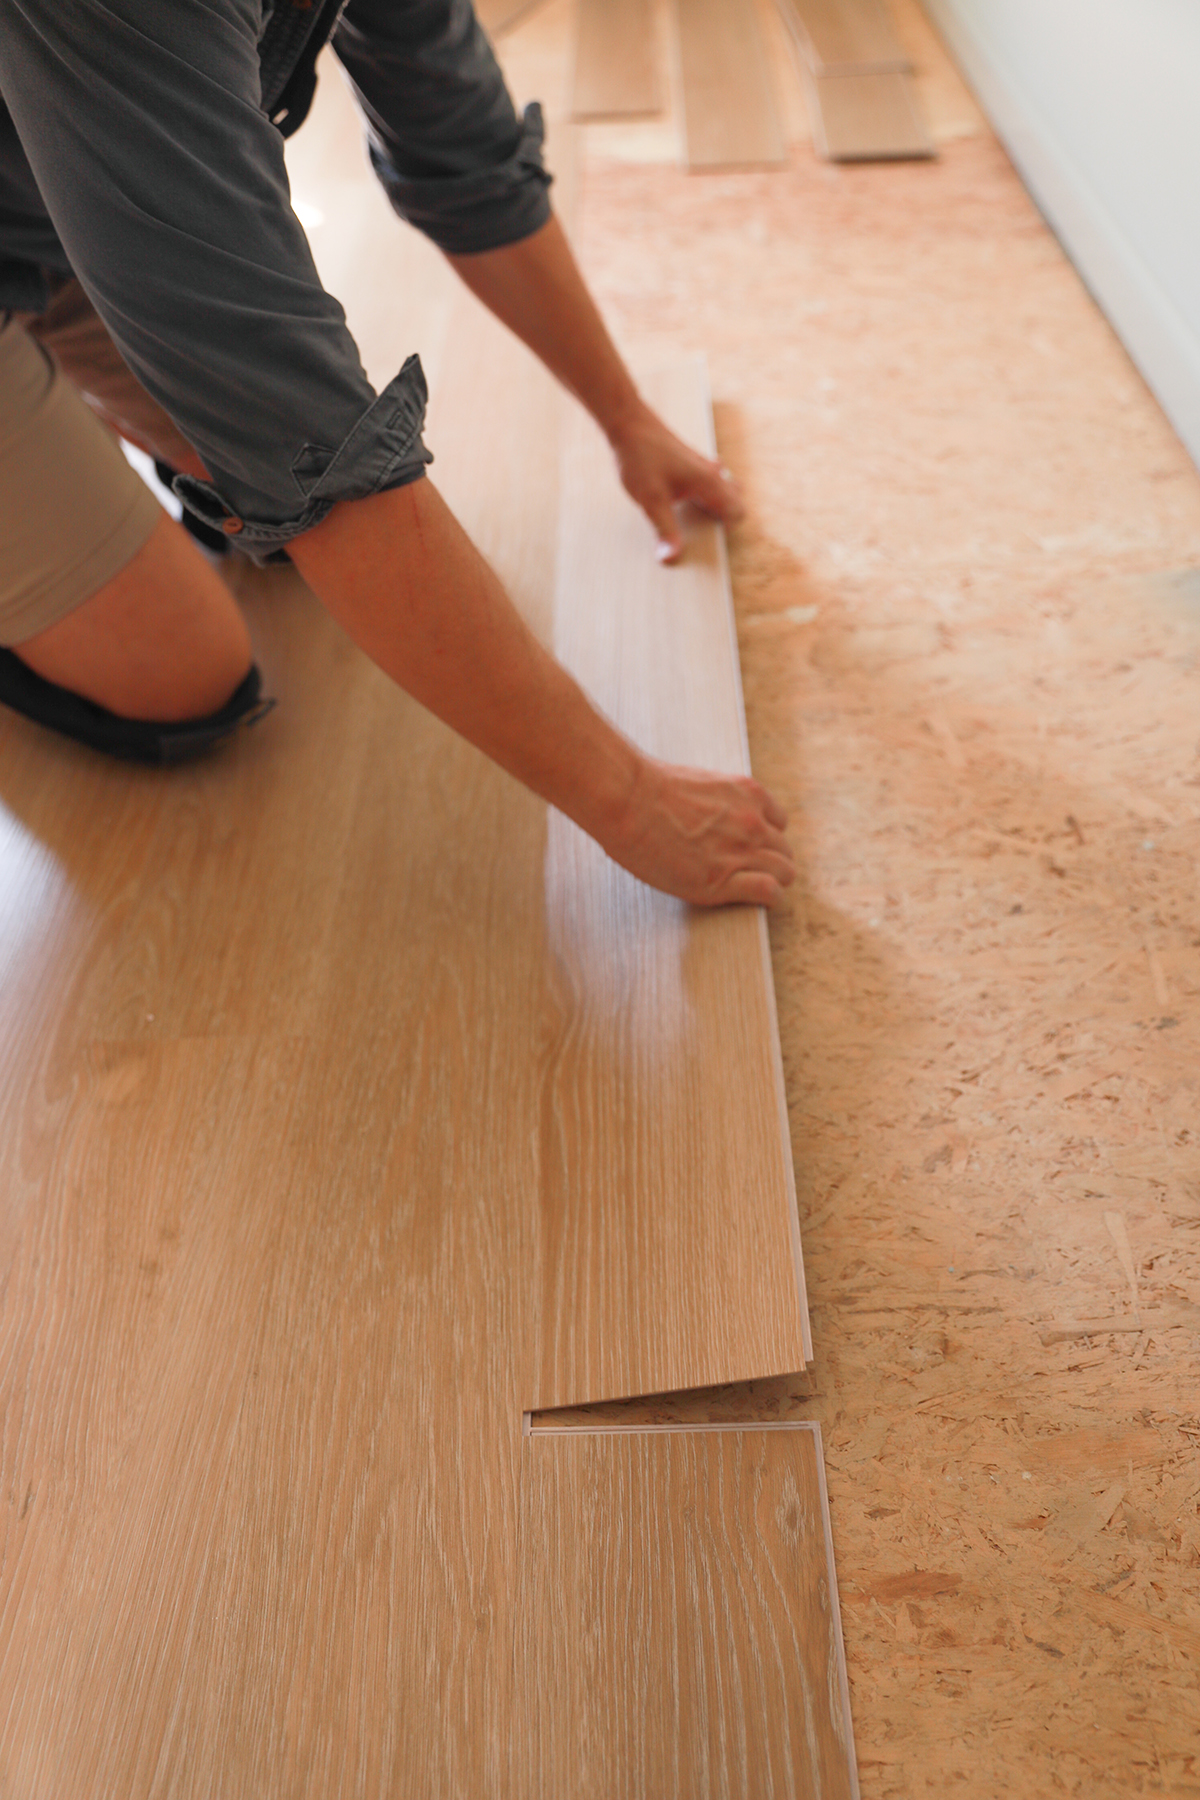
Floating LVP flooring means that the planks are not secured directly to the subfloor but sit on top, or “float,” on the subfloor. Floating LVP generally has a layer of foam, called underlayment, attached to the underside of rigid core planks. (If you purchase planks that do not have a built-in underlayment, be sure to add some to the subfloor before installing a floating LVP.) The planks use a click-and-lock method to secure the pieces together, and the combined weight and friction of the interlocking planks holds the installed floor secure and prevents movement. Be sure to have a level surface free of protrusions and debris. DIY installation of a floating rigid core LVP is easily learned and easily completed. It is also the most common.
Glue-down LVP uses more flexible planks compared to a floating rigid core and is installed using a special glue to affix the planks to the subfloor. You have to be a little more careful with the subfloor prep with glue-down LVP for a very even surface. Otherwise, it’s possible for some subfloor imperfections to show after the flooring glue tightens. Installation is easily done by spreading the glue with a trowel, setting planks in place, and then pressing with a roller. It is more involved than a floating floor, but it’s still very manageable for DIY installation. You can use a water-soluble glue that is low toxin. A pro to glue-down is that you can remove one piece and replace it much more easily if there were damage.
I still generally prefer a floating LVP due to simplicity of installation.
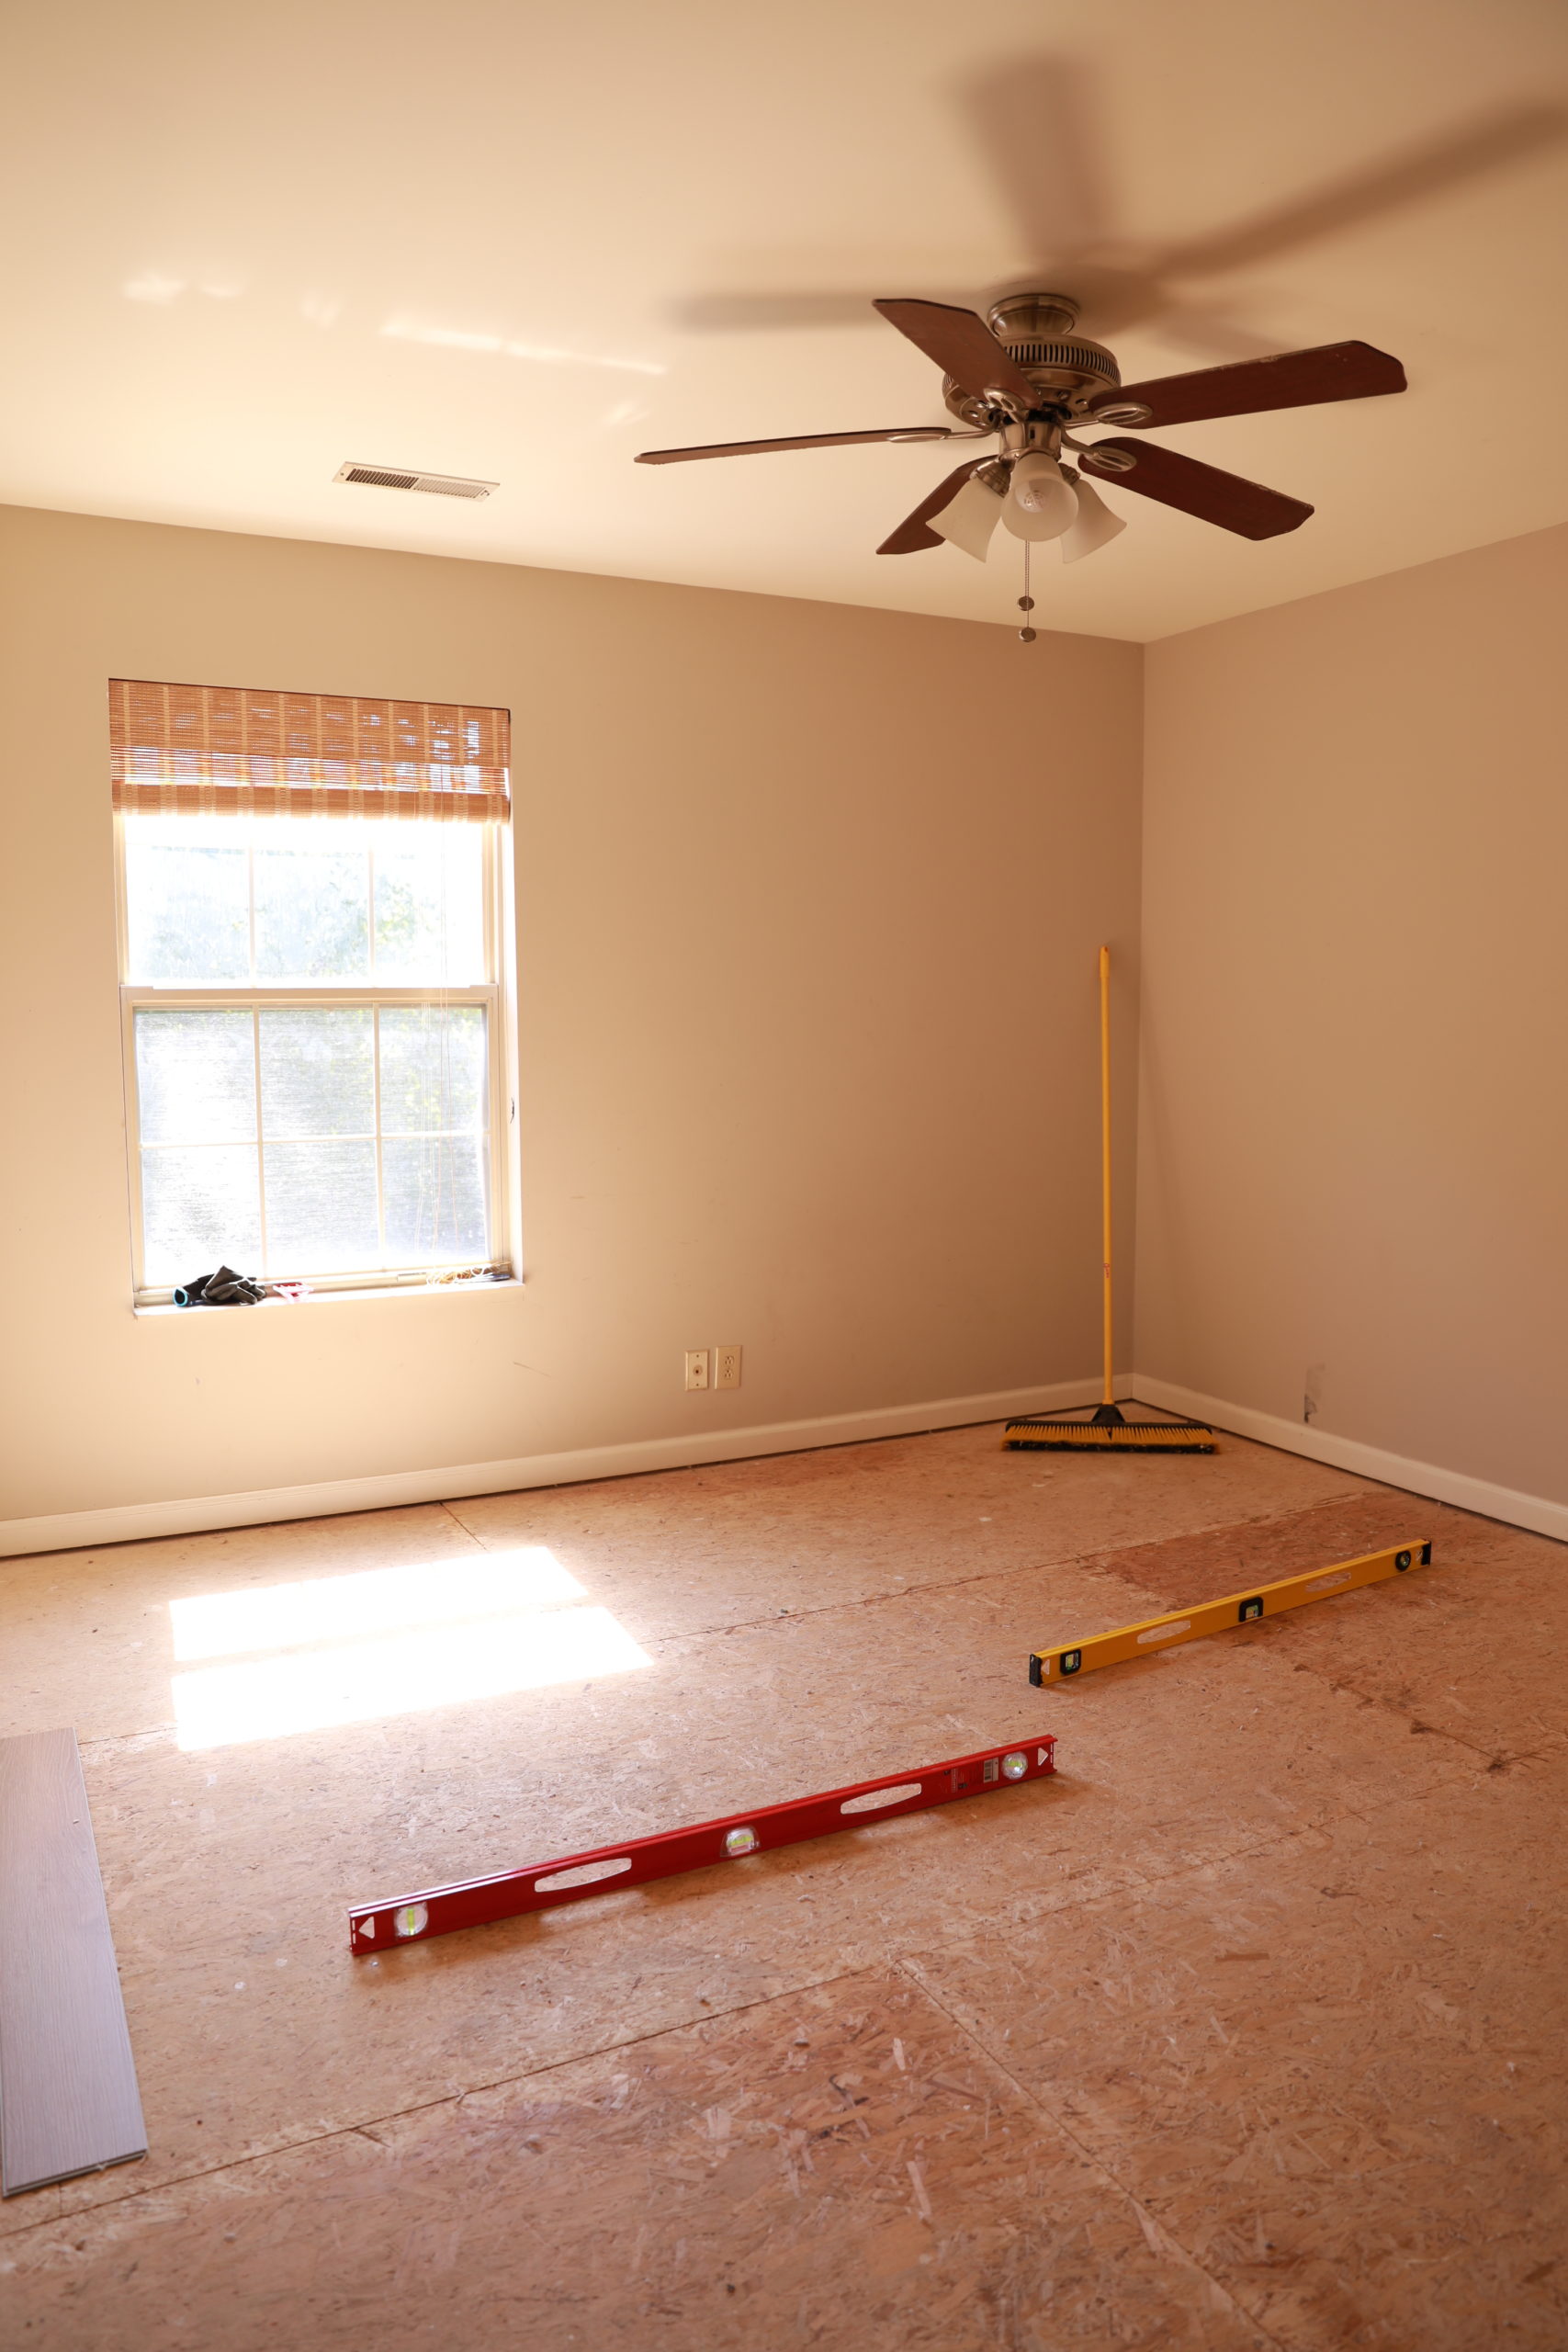
(I use a yardstick level to check evenness of floors before installing LVP.)
Q: What do you look for when shopping for LVP flooring?
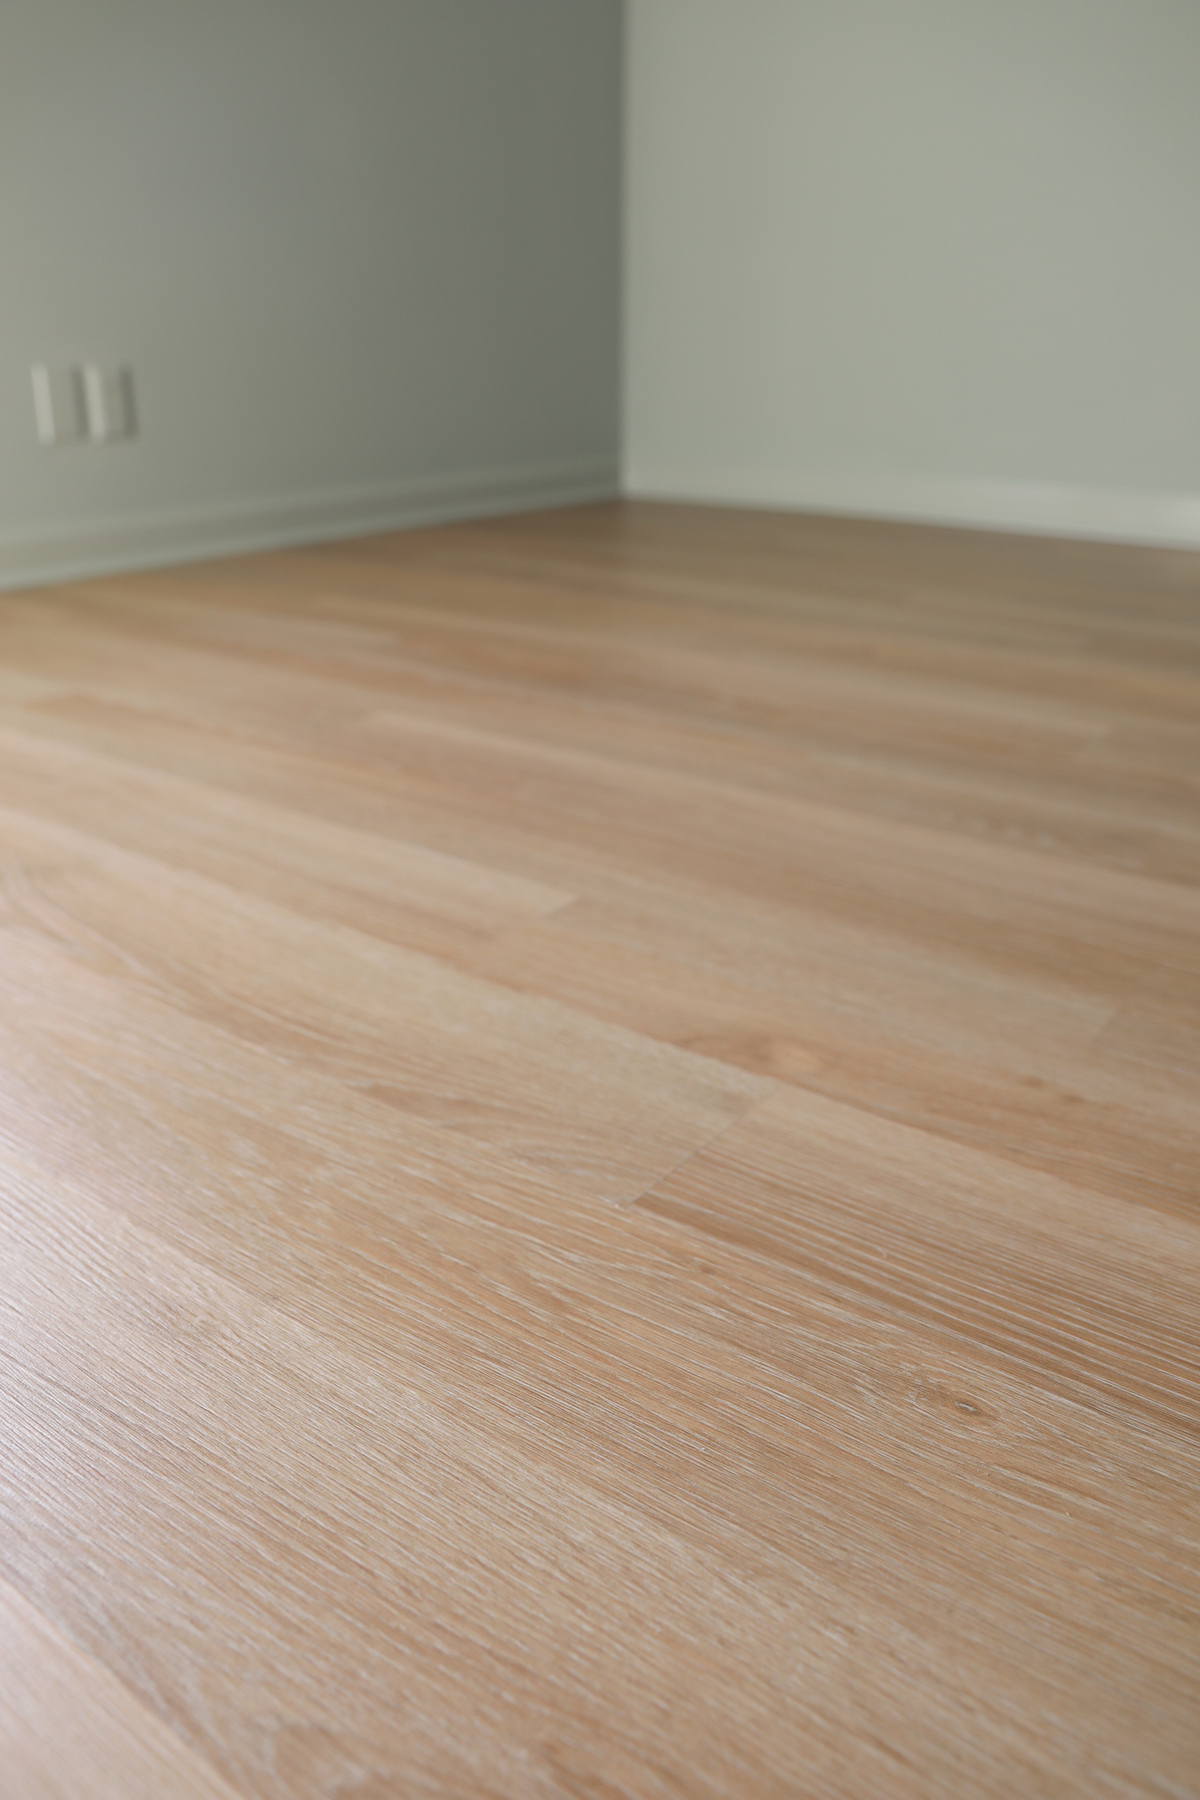
- The clear-wear layer. If an LVP does not have a wear layer on top of the color/design layer, ignore it like a trick-or-treater ignores generic peanut butter chews. (You know which ones I’m talking about. They were always wrapped in orange and black paper.) A nice, thick wear layer is critical in keeping an LVP looking its best over the long haul, especially if living with pets or kids. Look for LVP with wear layer of 12 mil or greater. Knowing how hard my brood is on things, I like to look for a 20 mil wear layer when possible. Is that overkill? Perhaps, but my motto is: “Anything worth doing is worth overdoing.”
- If it is a floating rigid core with click-and-lock installation, I will check the quality of the interlocking edges. They should be firm and strong. If the interlocking edges are too brittle, it will lead to installation nightmares, and you will likely find some edges beginning to separate and lift over time.
- I keep an eye on the overall thickness of the planks. A thicker plank will give a more solid and comfortable feel under your feet. Look for planks that are 5 mm or greater.
- Evaluate the embossing and design layer. We like an LVP that mimics the undulating grain pattern of real wood. This is where the embossing of the wear layer comes in. A good embossing adds more visual appeal and texture to the flooring, but it also increases the warmth and quality. The design layer is the thin layer of color and detail found under the embossed wear layer. A quality embossed wear layer and detailed design layer can be the deciding factors between your flooring feeling warm and inviting, or feeling like a cold, plastic sheet.
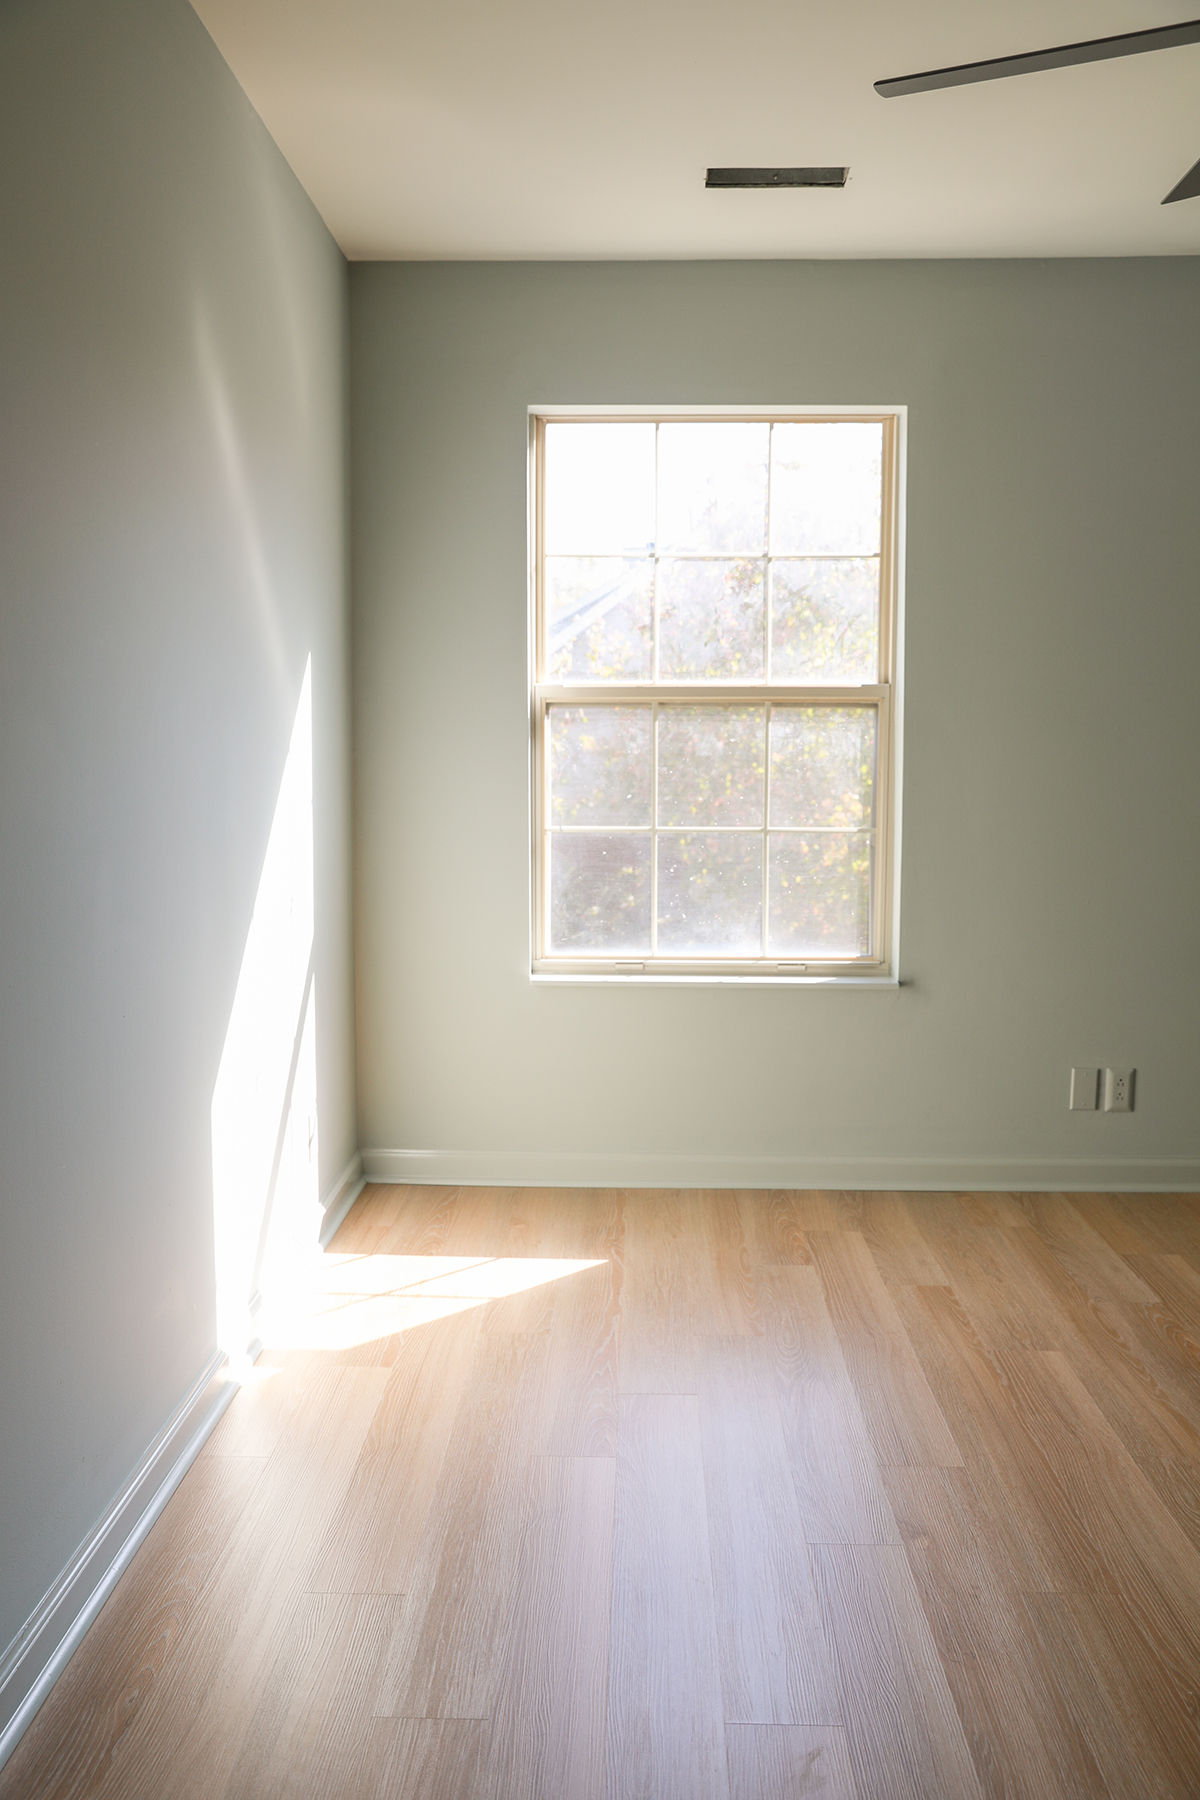
Side note: Just like for hardwood flooring, prolonged direct sunlight can alter the color of your LVP, so you may want to consider some sun protection during times of lengthy sun exposure.
Q: Where can you find samples?
They are available from most online LVP retailers and in stores like Home Depot. I would always recommend looking at a sample of the actual product in your home from the supplier! I cannot express how important it is to experience the color, texture, and strength of the product firsthand in your space before purchasing. Take note of how the natural light in your home plays with the colors and tones of the LVP where it will be installed. Examine it at different times of the day, as the sun shifts, and also at night. You may find that it looks different compared to what you saw in the showroom’s light or compared to what you saw online.
Q: What tools do you need to install the flooring?
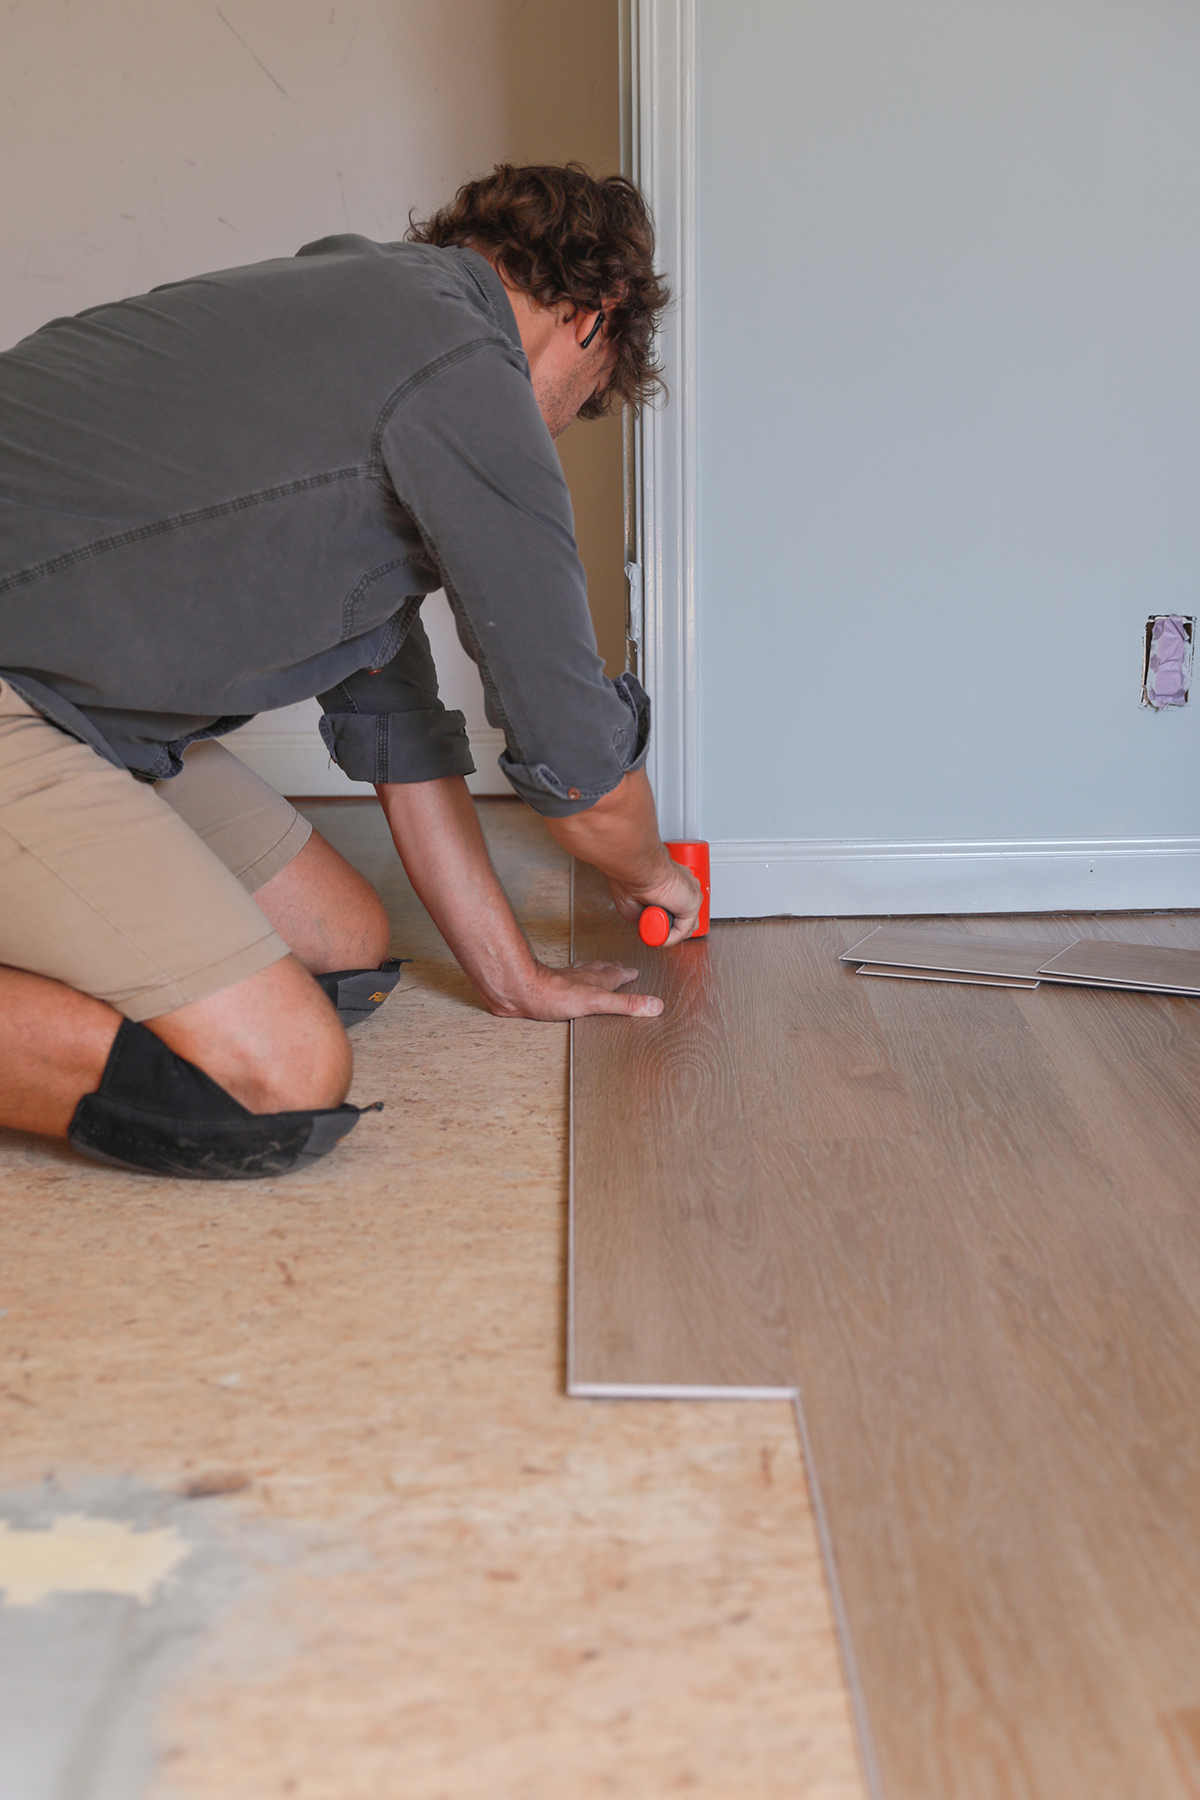
All you need is a dead blow hammer and a utility knife, and if you are installing on stairs you will need matching stair noses.
Q: Can you install on stairs?
Yes! You can install on staircases as well, using a stair nose on each stair that matches the LVP flooring you choose.
Q: What do you use to transition from a bedroom to a hallway?
You can use an LVP transition piece in the same color and style as your flooring pieces. If you have a different material in your hallway, you may want to use a transition piece that matches the hallway instead.
Q: What do you use to clean LVP flooring?
It is very low-maintenance. We usually just use a spray mop and Bona floor cleaner! We have also used a steam mop.
Q: Is there off-gassing in LVP?
For a while there were vinyl flooring materials made in China and sold to the U.S. that had scary amounts of phthalates, formaldehyde, etc. found in testing. In recent years, after a lot of this research came to light, there have been vast improvements in LVP products made more locally that have very low to zero VOCs. (Same story with paint!) Any off-gassing would occur in the first 3 to 5 weeks after manufacturing. By the time it is delivered from manufacturing and production time, there should be little to no off-gassing. You can still let it air out in your driveway or in a well ventilated room before installing if you want to be extra cautious. Most LVP options are now phthalate-free. You can look up different brands that have zero to low VOCs to be sure! This is a more in-depth, helpful read on this topic.
Q: What brand do you recommend?
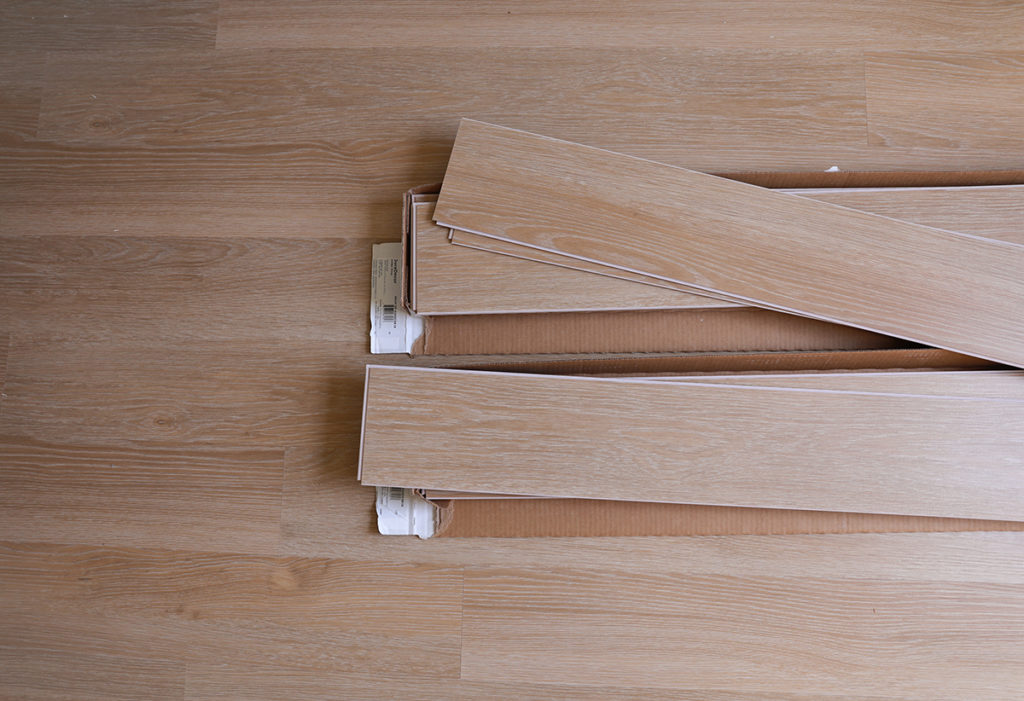
After researching products and trying different samples, we ultimately chose DuraDecor’s Polished Pro in “Golden Glow“. It has a 12 mil wear layer option and a 20 mil wear layer option, if you need extra protection like we do in our busy house! Both can be found at Home Depot, although it looks like the thicker 20 mil is not currently in stock. (We will keep an eye on that and update when it gets stocked.) It has a good thickness to the rigid core with built-in underlayment, solid interlocking edges, quality embossing and detail, and a lifetime residential warranty. It is also made in the U.S. Thankfully the Golden Glow’s tones and color were a great match to the original hardwoods on our first floor. It was very easy to install, and we plan to install it in the remaining bedrooms as well!
Let us know if you have any additional questions, and we will do our best to answer!

