Written by Gabe
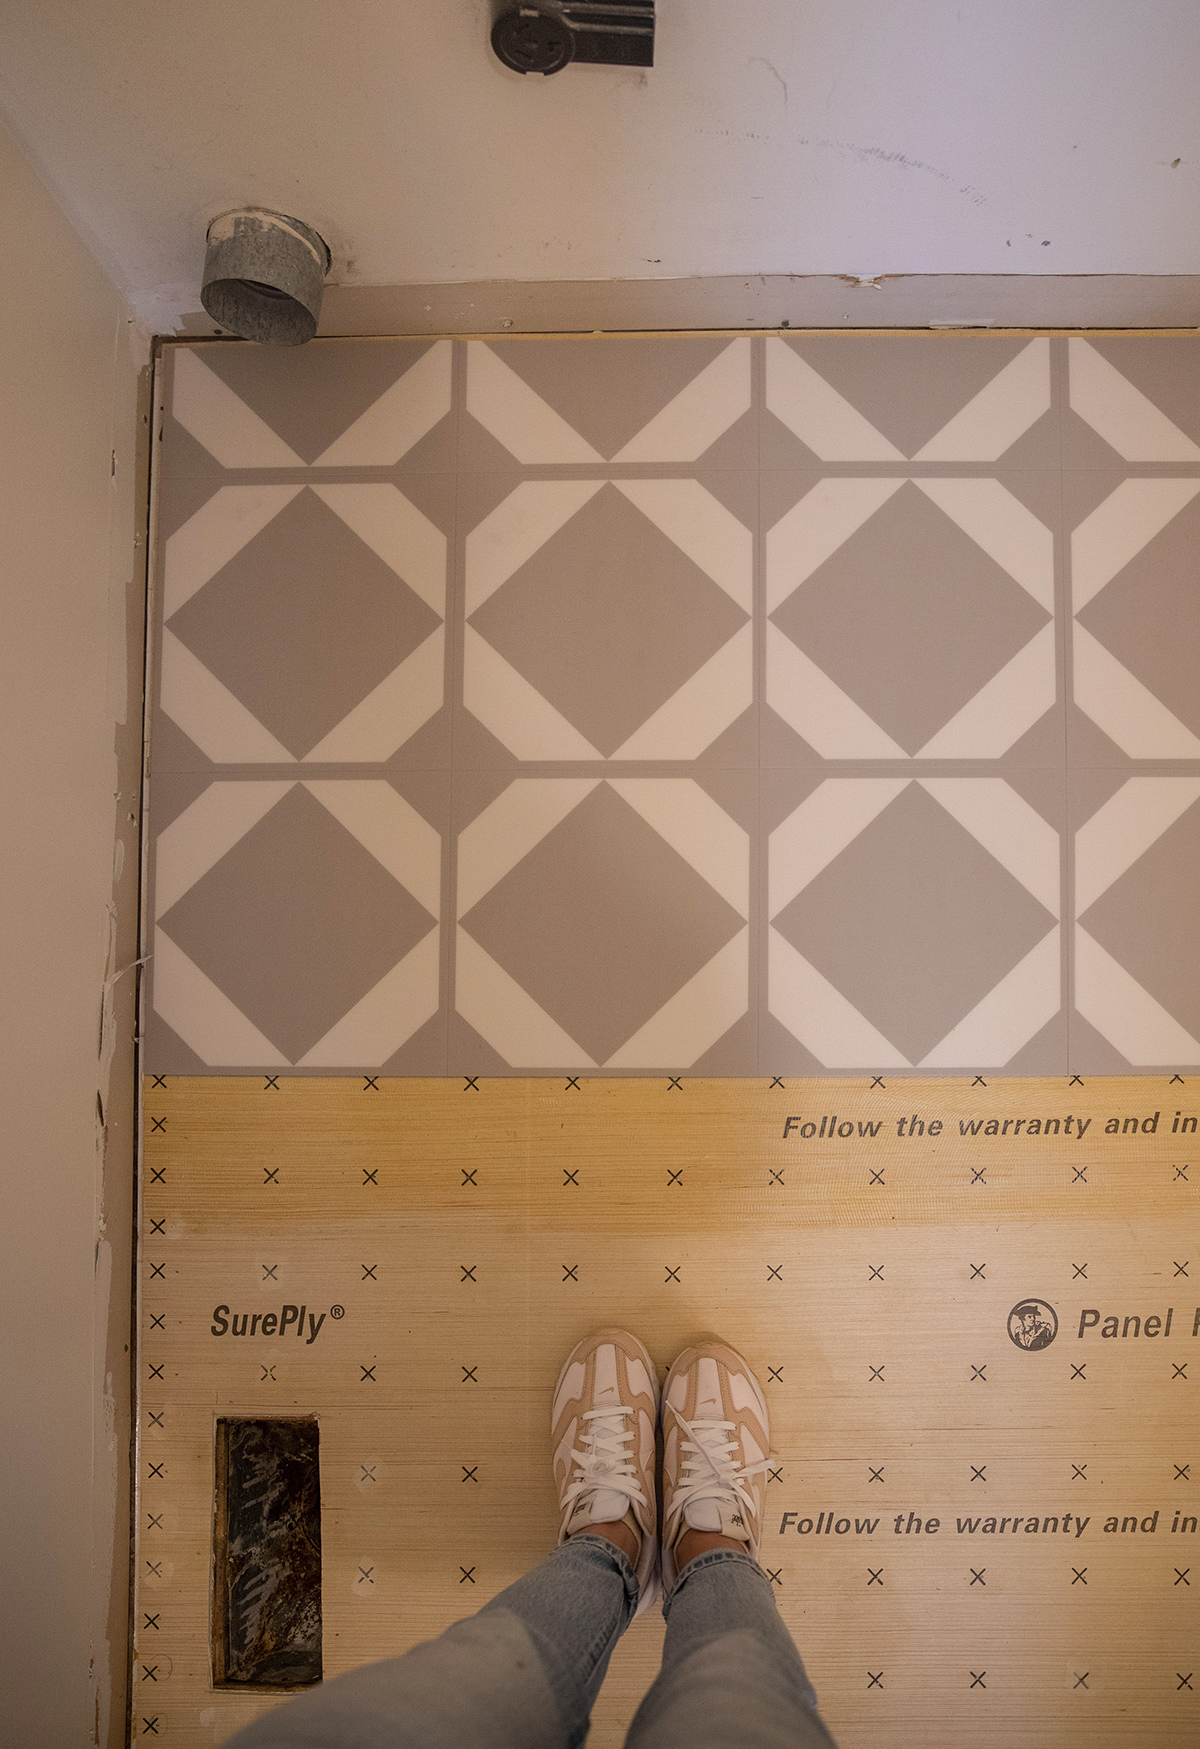
We started our small-space laundry room renovation, and flooring was the first order of business! I am sure most of you recognize the familiar nineties linoleum flooring, and to upgrade we wanted to avoid the time and costs of ceramic tile. After a deep dive, we landed on this LVT by Harvey Maria. I will share the process of how to install LVT flooring and a few tips that helped us out along the way.
When working with glue-down LVT, the floor preparation is half the battle!
Floor prep
Start the process by installing SurePly premium plywood underlayment over the top of the old linoleum flooring. In our case this was necessary for two reasons.
- Glue-down LVT is thinner than a rigid-core floating LVP floor and therefore requires a perfectly flat subfloor. Holes, divots, and debris in the subfloor can show through LVT tiles once the glue tightens and sets. Using a plywood underlayment ensures a flat gluing surface, and it allowed me to skip the step of removing the old linoleum floor.
- We will soon be adding hardwoods in the hallway outside of the laundry room. Adding an extra layer of subfloor will raise the new flooring to nearly the same level as the hardwood flooring.
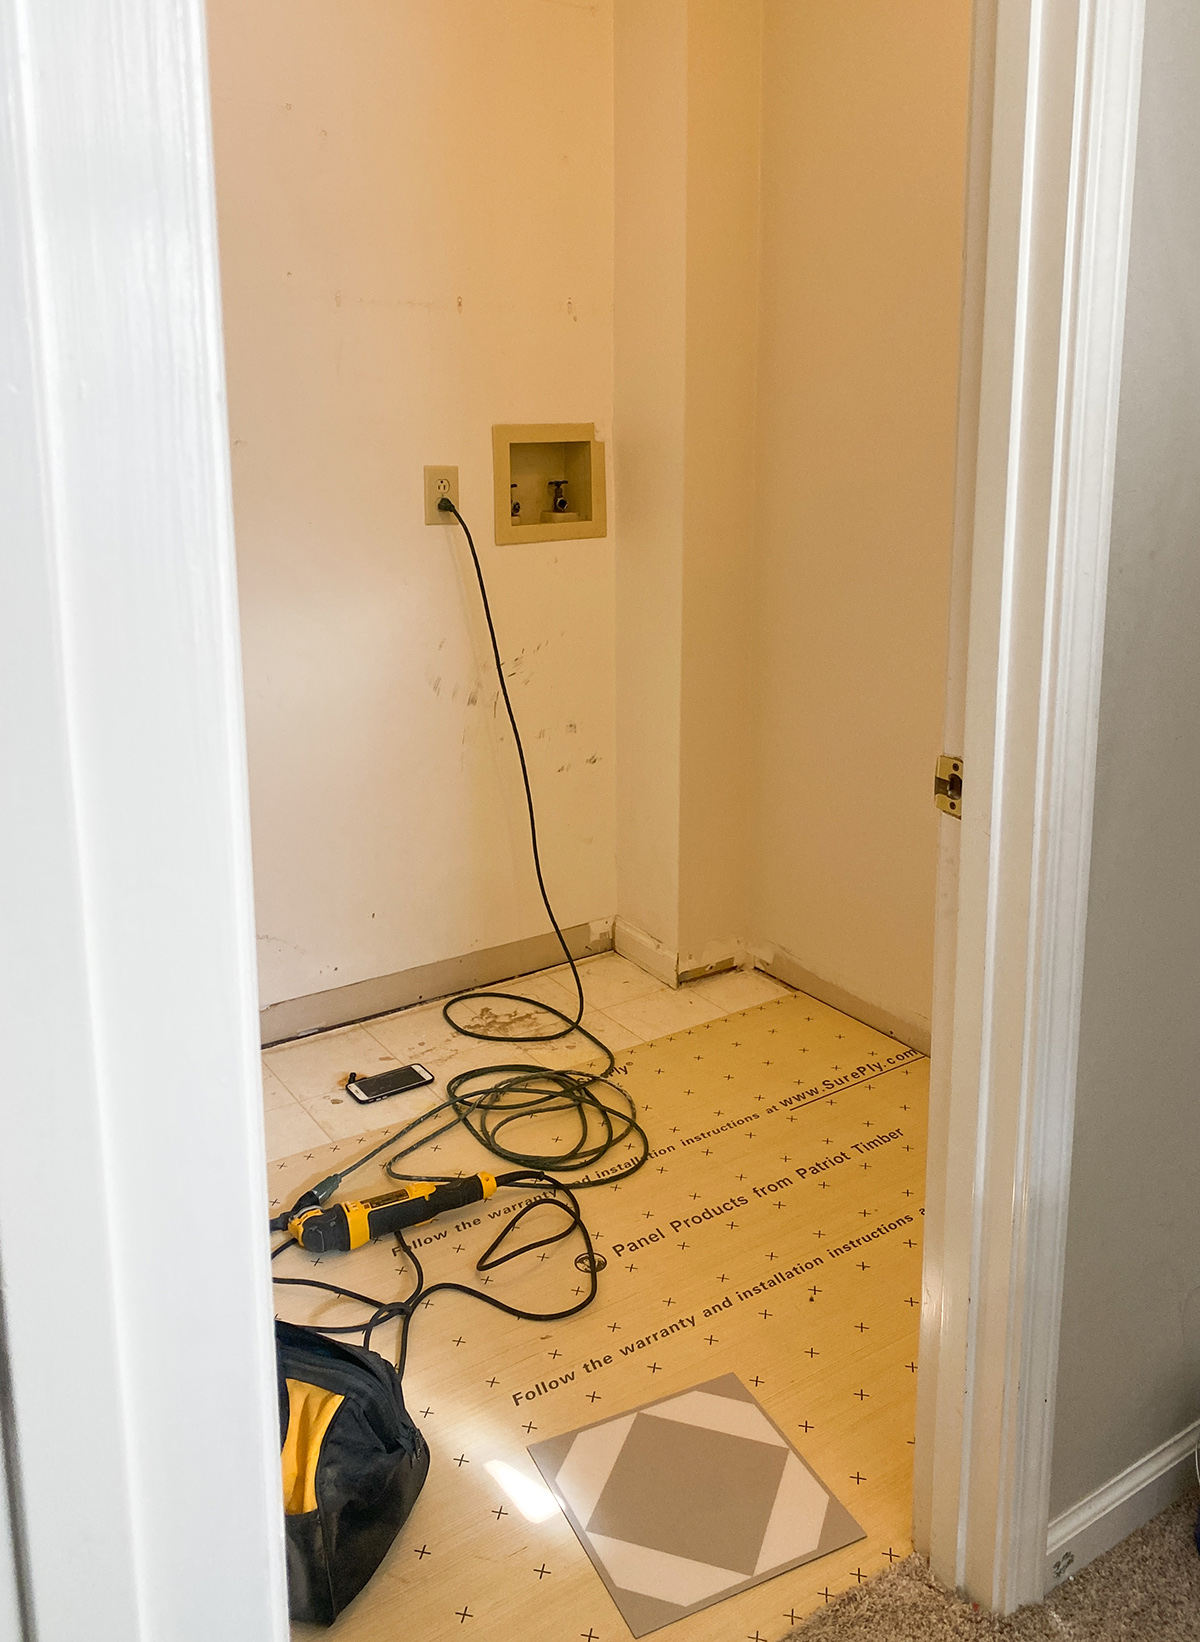
Underlayment installation
Installing the SurePly underlayment is very easy. Cut the underlayment to size, leaving a roughly 1/4 inch-expansion gap at the walls, and cut any necessary floor vent holes. Lay the underlayment in place and secure to the floor with either a finish nailer or narrow crown stapler using 3/4-inch fasteners. The perimeter of each underlayment board should be secured down at an interval of roughly every 2 inches. The rest of the underlayment board should have a finish nail or staple every 4 inches. Thankfully, SurePly marks each securing location with an “X” to make things easier, because “X marks the spot.” Use a nail setter to gently set any nail or staple that sits above the surface of the underlayment. (Avoid using a hammer and nails or screws to secure the subfloor, as it will cause divots in the underlayment, which will likely show through the LVT.)
Finish up the subfloor by filling in any seams between underlayment boards with a floor patch compound. I am a fan of Henry 345 Premixed Patch n’ Level. Use a putty knife or flat-edged trowel to work the patch into the seams and any divots. When dry, sand it smooth and level it with the subfloor.
Trim the foot of the door trim
Once the subfloor is ready to go, it’s time to trim the bottom (or foot) of the door trim. The easiest and fastest way to knock this out is by using an oscillating tool. Take a piece of your flooring and lay it upside down on the subfloor next to the door trim foot. Use this as a guide to trim off the bottom of the door trim at the perfect height for the new flooring.
Finally, thoroughly sweep and vacuum the subfloor. The cleaner it is the better—so clean you can eat off of it… ok, maybe that’s a little too far, but I tend to sweep twice and vacuum twice.
Draw guide lines
At this point you will want to draw guide lines on the subfloor to help ensure the LVT is laid straight. One of the easiest methods is to find the center of the room and use a straight edge or a chalk snap line to draw two perpendicular lines which divide the room into 4 equal quadrants. Kinda like the old X,Y axis lessons in grade school. (In fact, this may cause you to experience flashbacks of grade school math lessons—which, in my case, caused me to experience shortness of breath and cold sweats. Do not worry; these potential side effects will pass quickly.)
Lay the groundwork
Next, lay out your LVT on the floor, using your newly drawn lines (X,Y axis) as a guide. This will help you create a flooring pattern that is even and perfectly straight but also allows you to precut all necessary tiles before installation. Trust me—it is a big time and headache saver. Be sure you are leaving at least a 1/4-inch gap between the end tiles and the walls. This is called an expansion gap, because it allows your flooring the proper space to expand and contract with the changing seasons.
LVT-compatible flooring adhesive
Each brand of flooring has a type of adhesive that it recommends, so don’t just use any ol’ adhesive. Some LVTs are “pressure set,” meaning the adhesive needs time to get tacky, and pressure is needed to activate adhesion. Others are “wet set,” meaning the LVT is laid while the adhesive is still wet, and the drying process creates the firm hold with the floor. Be sure to check what type of adhesive is best for your selected LVT. It will also give you a recommendation of what type of notch trowel is needed to spread the adhesive. Our LVT recommended a wet set adhesive and a 1/16 x 1/16 square notch trowel. Have a bucket of warm water and rag ready to go as well.
Installation
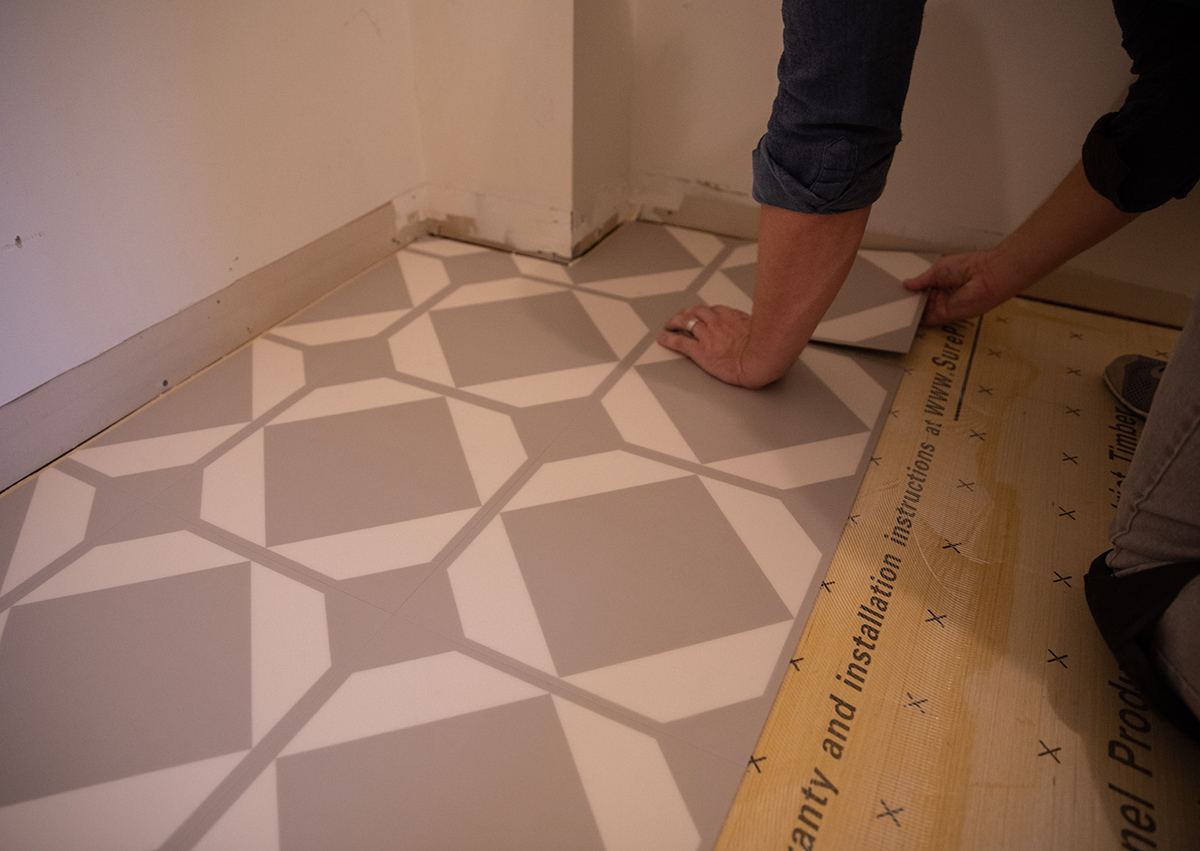
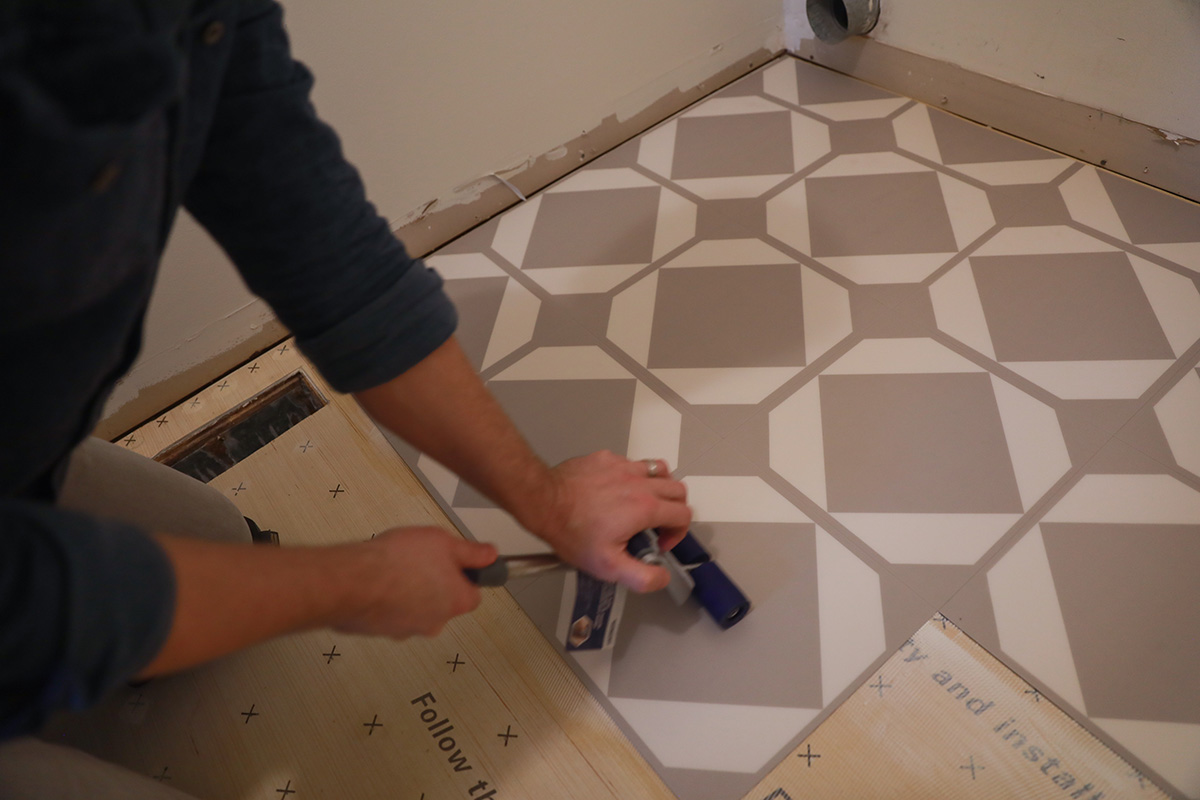
Start by evenly spreading the adhesive in one section of the floor, using the notch trowel. Be sure you are starting on one of your guide lines to ensure the LVT is installed straight. Allow the adhesive to “flash” (or set up) for the recommended time found in the adhesive directions before laying the LVT. Once the adhesive has been given the proper time to flash, begin to lay your LVT along one of the guide lines. The first few tiles you lay are the most important, as those will determine how straight the rest of the floor tiles will be.
If you are using the pressure set method, adjusting the tile placement is done by picking up the whole tile and resetting in place. The wet set method allows some adjustment by sliding the tiles. Once a given number of tiles are in place, roll the area with a flooring roller. I also like to wipe down the tiles right away with water to clean up any adhesive that may have accidentally gotten on the tile surface. Repeat this process until all tile is down. Be sure to have someone gradually check in on your progress, so that they can be thoroughly impressed with how amazing your craftsmanship is. Avoid walking on the floor until the adhesive has properly dried to prevent shifting tiles.
Once the floor adhesive has properly cured, roll around on the floor from wall to wall at least three times, basking in the glory of finishing the work.
Sound off in the comments with any questions!


