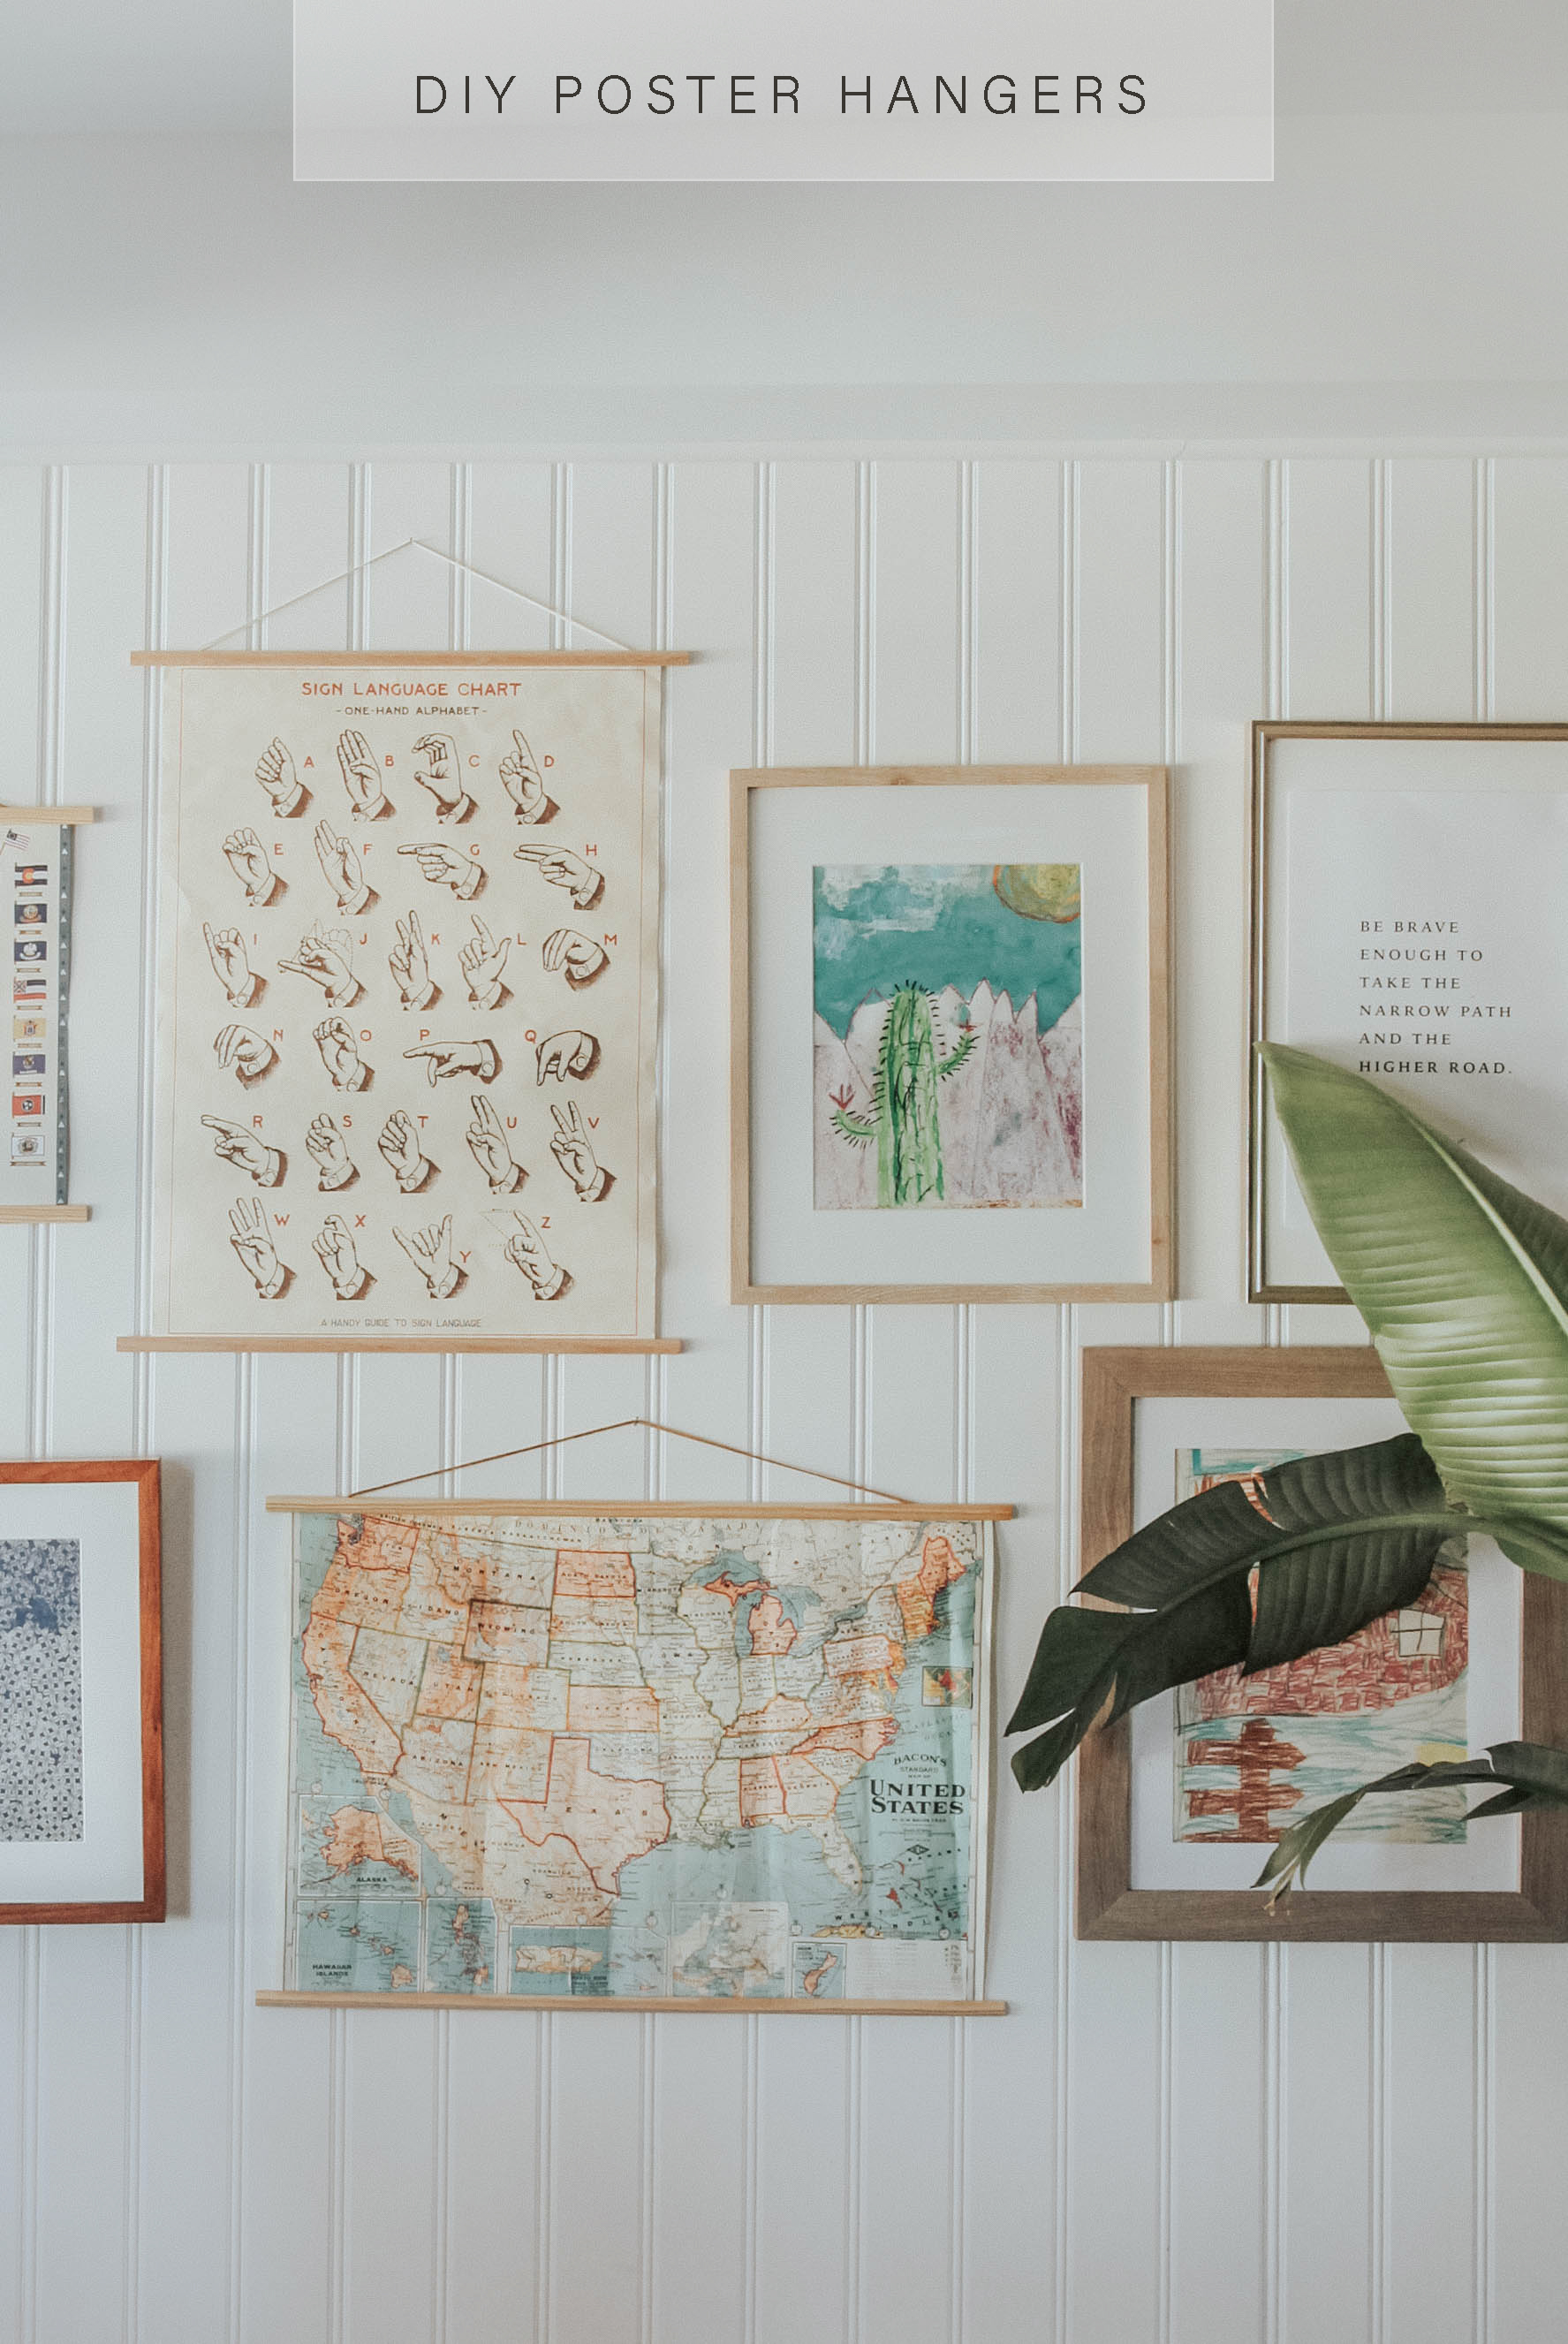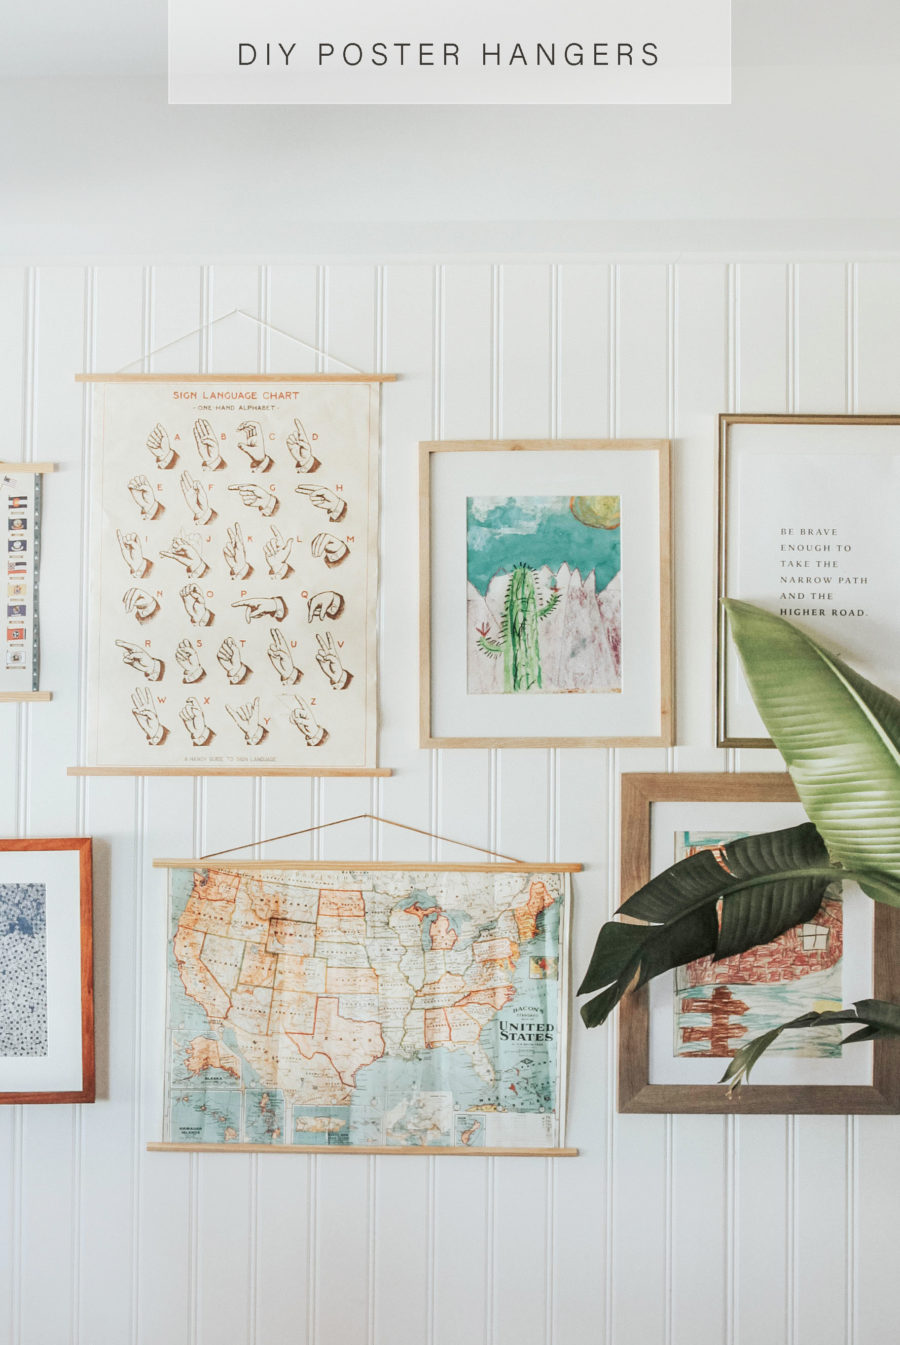
I was hunting for poster hangers for our boys room, and ordered a few options that were in the $12-$15 range. I thought it wasn’t bad compared to frames, but then Gabe comes in and says “you paid how much for these? I could make those for a couple bucks!” So I let him prove it. Surprisingly, they were cake to make, and I love how making them on your own gives you more design and color options as well. Promise these DIY poster hangers take two minutes to make, and cost approx. $3.50 a set!
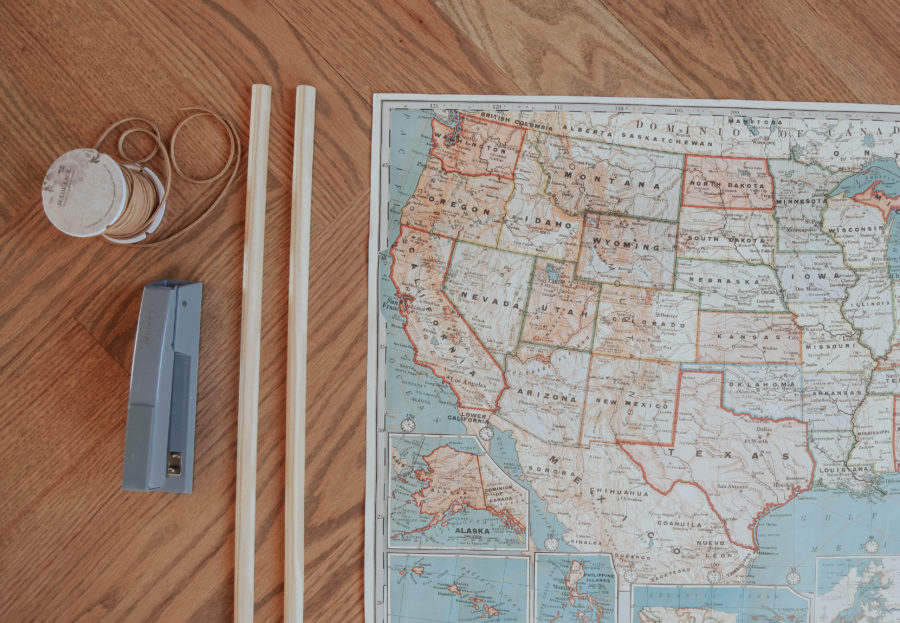
Supplies:
- Wooden moulding – You can find curved, flat, or decorative moulding at Lowe’s or Home Depot. They come in long pieces, and you can have them cut to size there. OR use a simple saw if you want to cut them on your own.
- Staples, E-6000 glue, or thumbtacks – we tested all three of these, and they all work great for attaching your art to the trim. The Staples and thumbtacks work best for attaching the cord.
- Suede leather cord – you can buy a spool of it at Hobby Lobby or Michaels.
- Optional: paint or stain should you want to change the color of the wood.
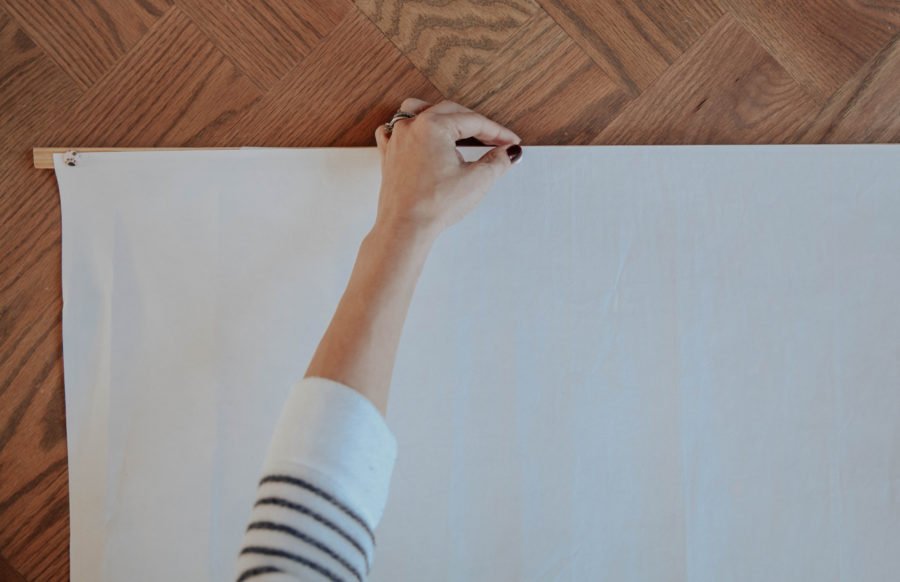
(You can use thumbtacks to attach your poster into the moulding trim since it is a soft wood.)
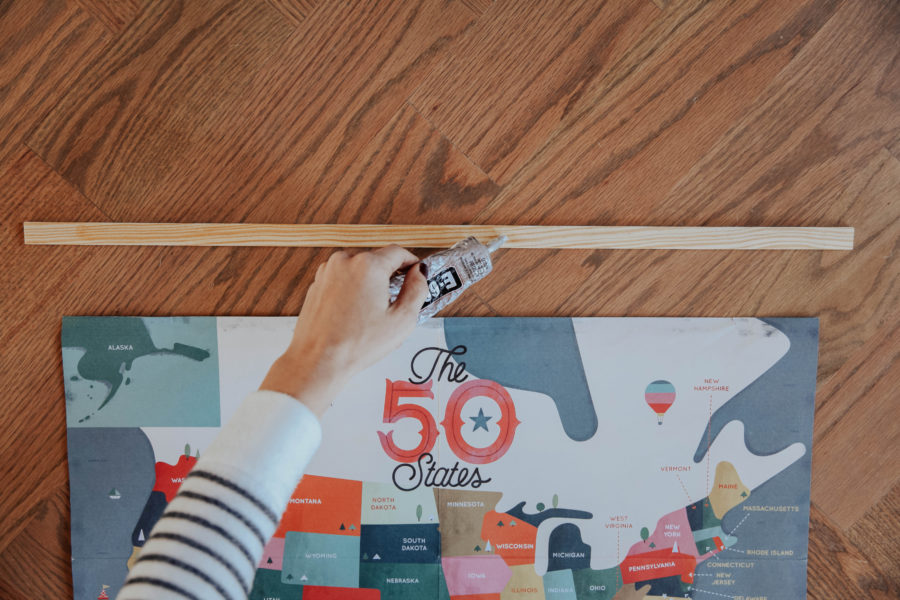
(If you have a reversible poster, use E-6000 glue to attach both the poster and second piece of wood moulding.)
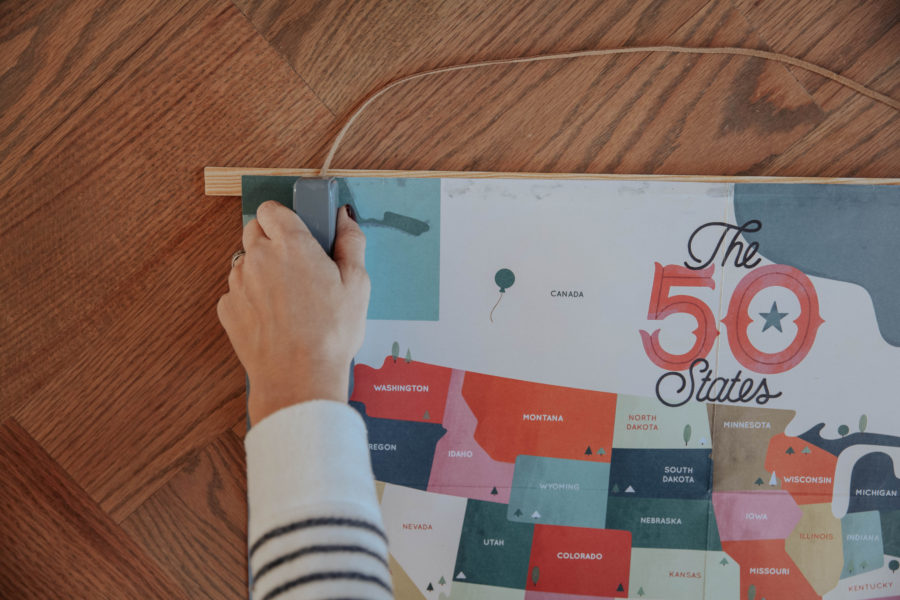
(Staple or thumbtack the leather cord to the moulding.)
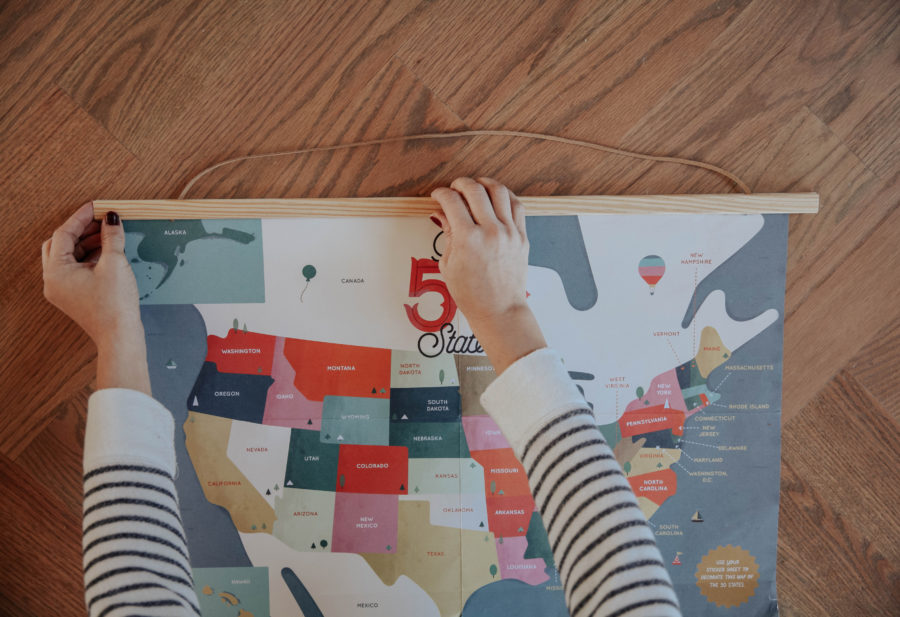
(If it is a reversible poster, glue a second piece of moulding with E-6000 on top.)
Instructions:
-
- Measure out your poster or art you would like to hang, and cut your wood moulding accordingly. For the flat moulding, you can cut four pieces to create a hanger for reversible posters. Otherwise, two pieces for top and bottom is all you need! If you are staining or painting the pieces, do so before adding the hanging cord.
- To add the leather cord, measure how low you want it to hang, and cut the cord to reach each side of the wooden rods. Secure with staples or thumb tacks! Both are easy and sturdy.
- Add your artwork or poster to the top and bottom rod by using either staples, thumb tacks, or E-6000 glue.
It’s ready to hang!
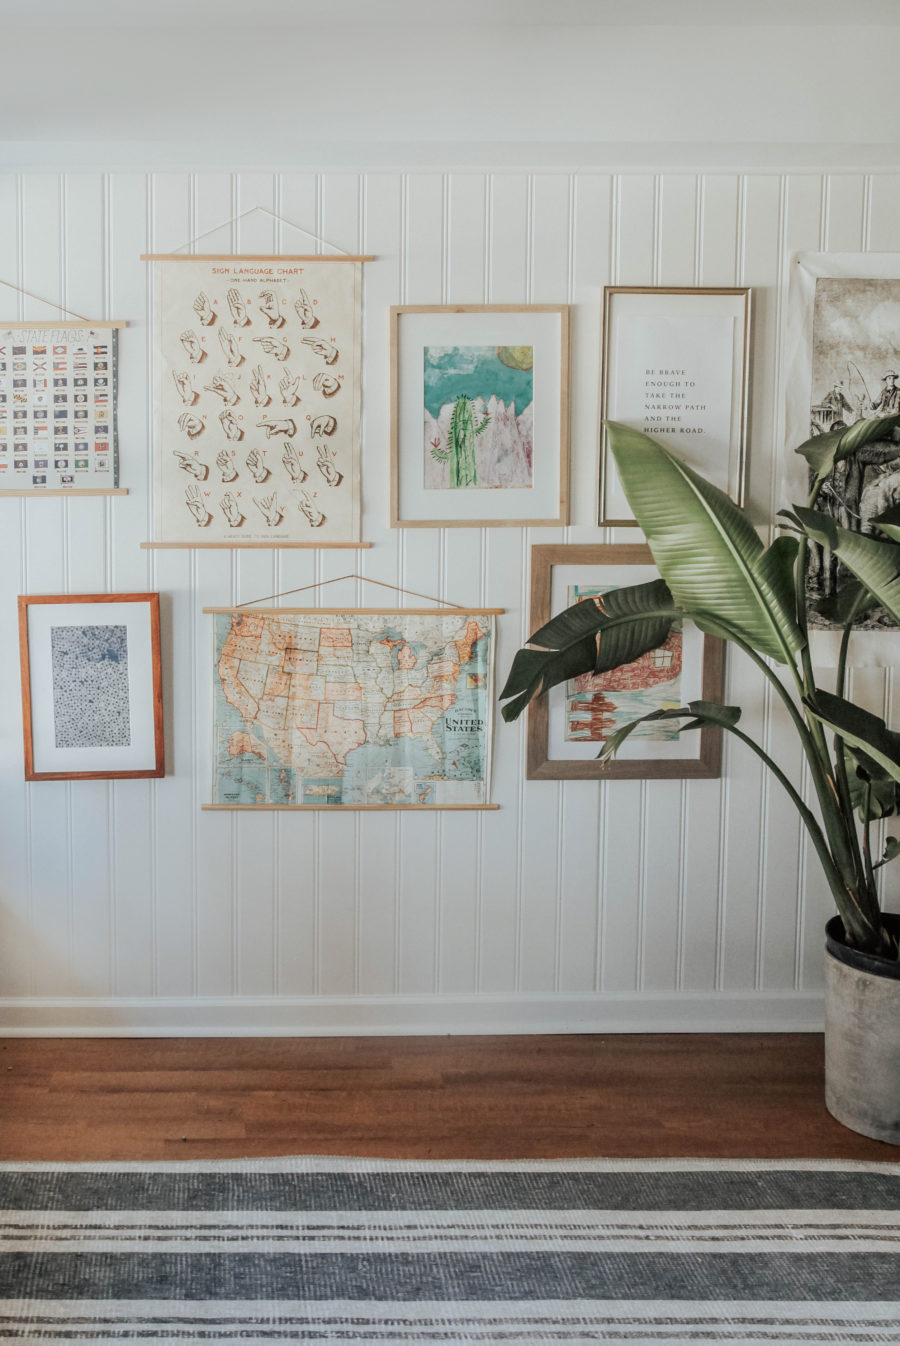
Let us know if you have any questions. Would love to see how you use this DIY in your own spaces!
*Most of the posters in our boys room are from Paper Source, and a few of the prints are from our print shop.

