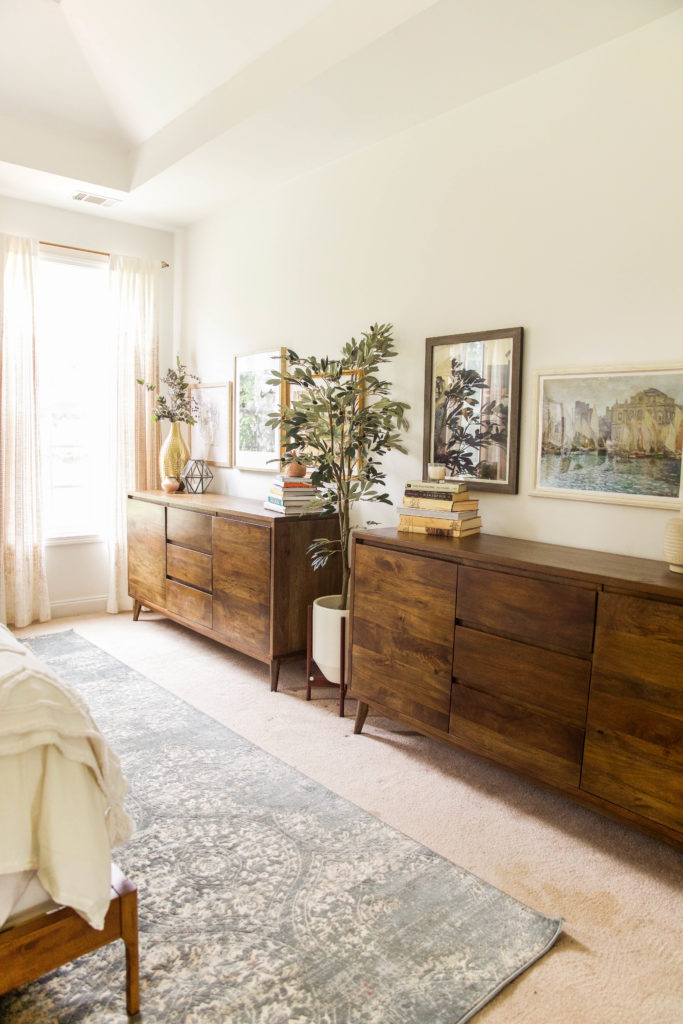
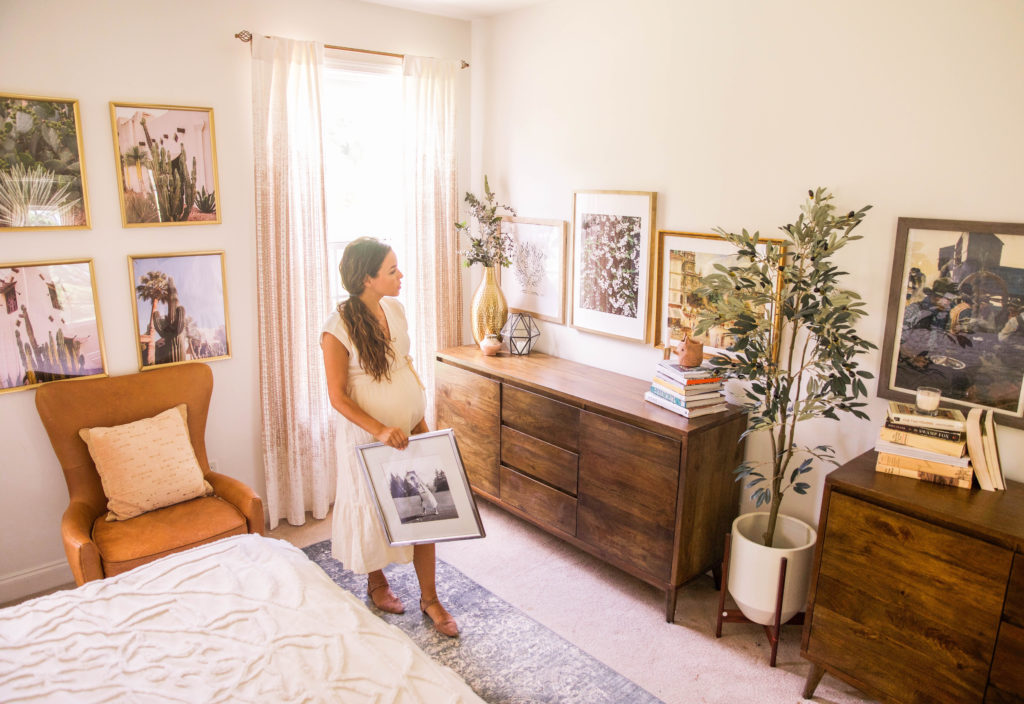
Gallery walls can feel daunting to pull together, but there are several ways to hang art and photos in your home in series of three or four that is just as fun! We had our art leaning against the wall for over a year. This can work too, but I do really how this visually cleans up this side of the room. (That is, before it becomes the cluttered mess it usually is!) We thought it would help to break it down into a 5 step aligned row art wall tutorial you can try along any wall for any room!
Materials:
Tape measure
Long straightedge or yard stick
Hammer
Wall hanger hooks/nails
Marking Pencil
Mr. Clean Magic Eraser
Aligned Row Art Wall Tutorial
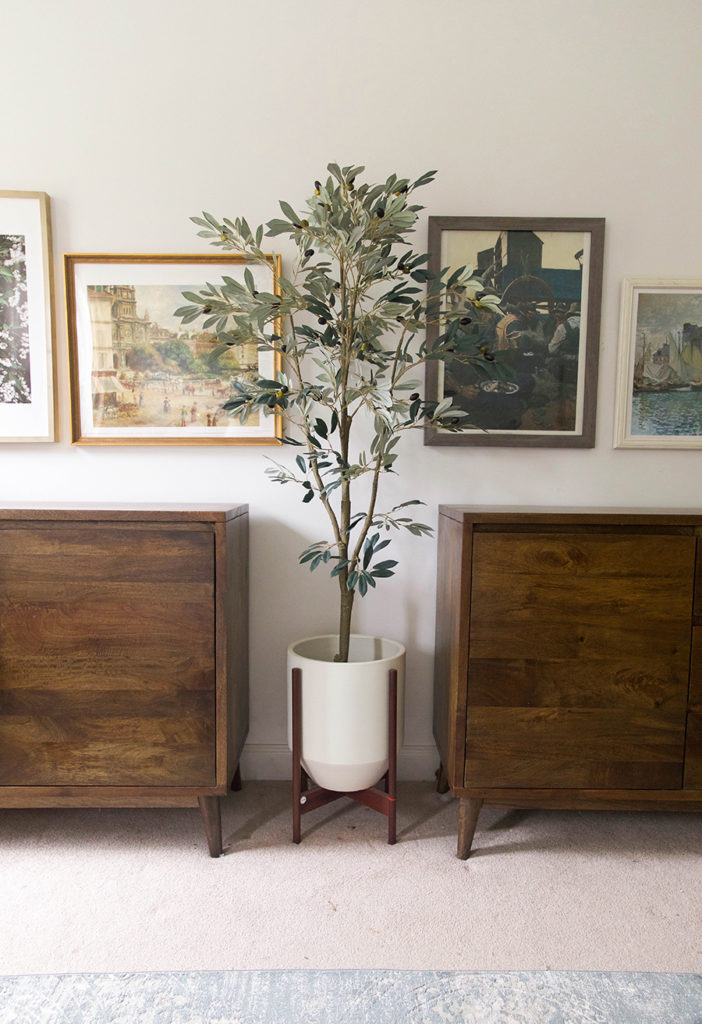
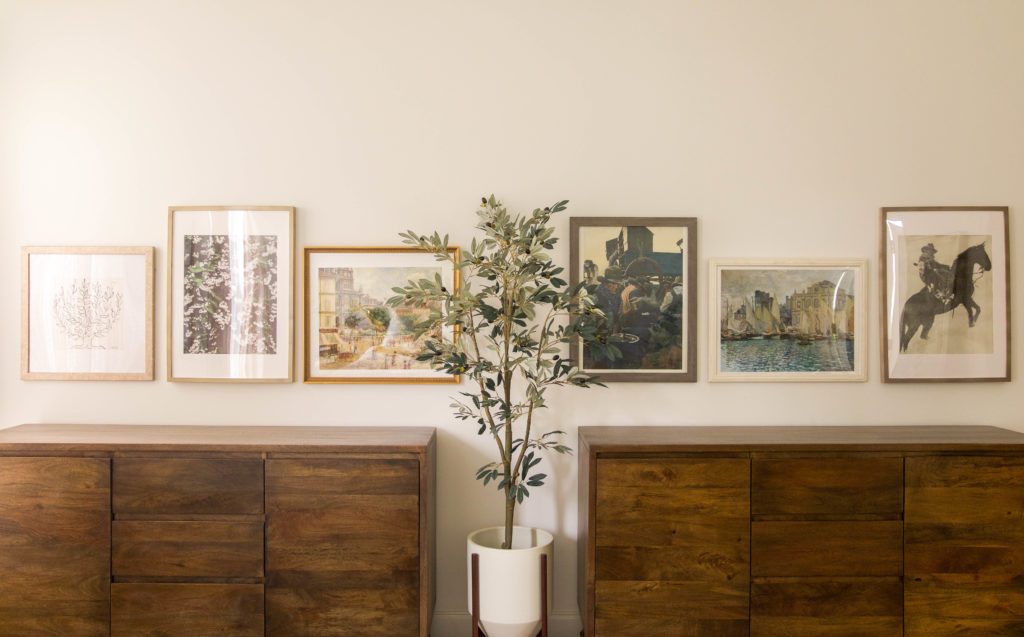
1.Determine how high up you want your bottom base line to be. In this case we chose 7 in. from the top of the dresser to lift the visual point towards the center of the wall which felt more proportionate to the space. Make several markings of the same height along the wall, then line up your straight edge to these markings and draw a straight line. A long level can also be used to create the line. This will be your guideline for the rest of the process.
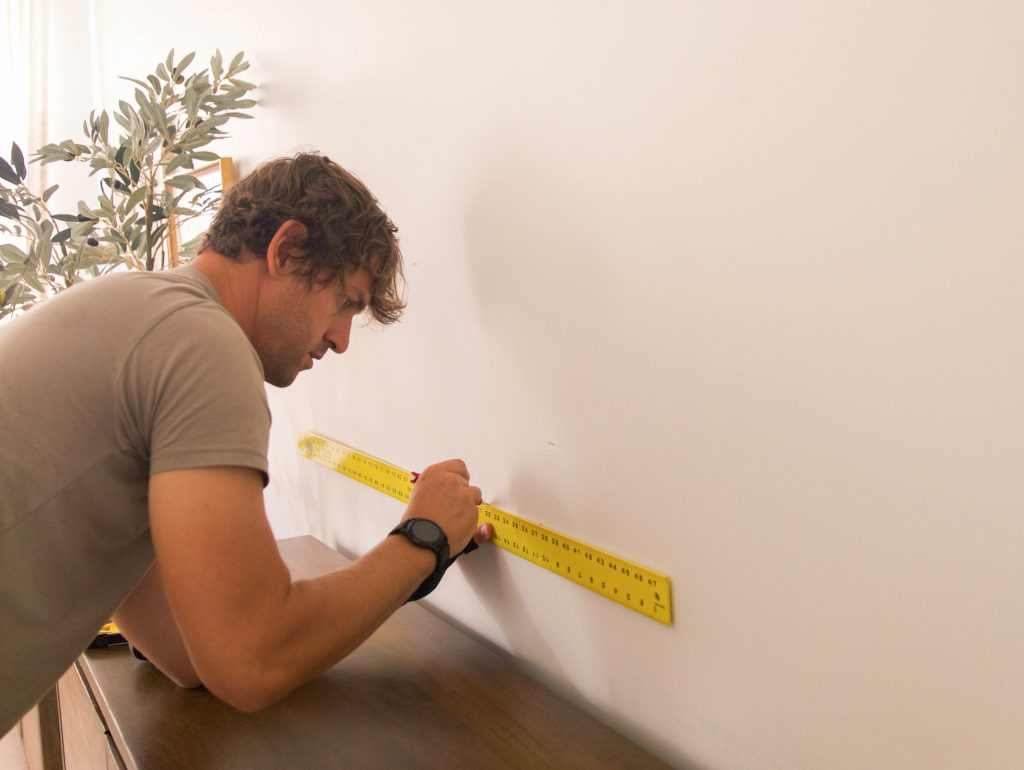
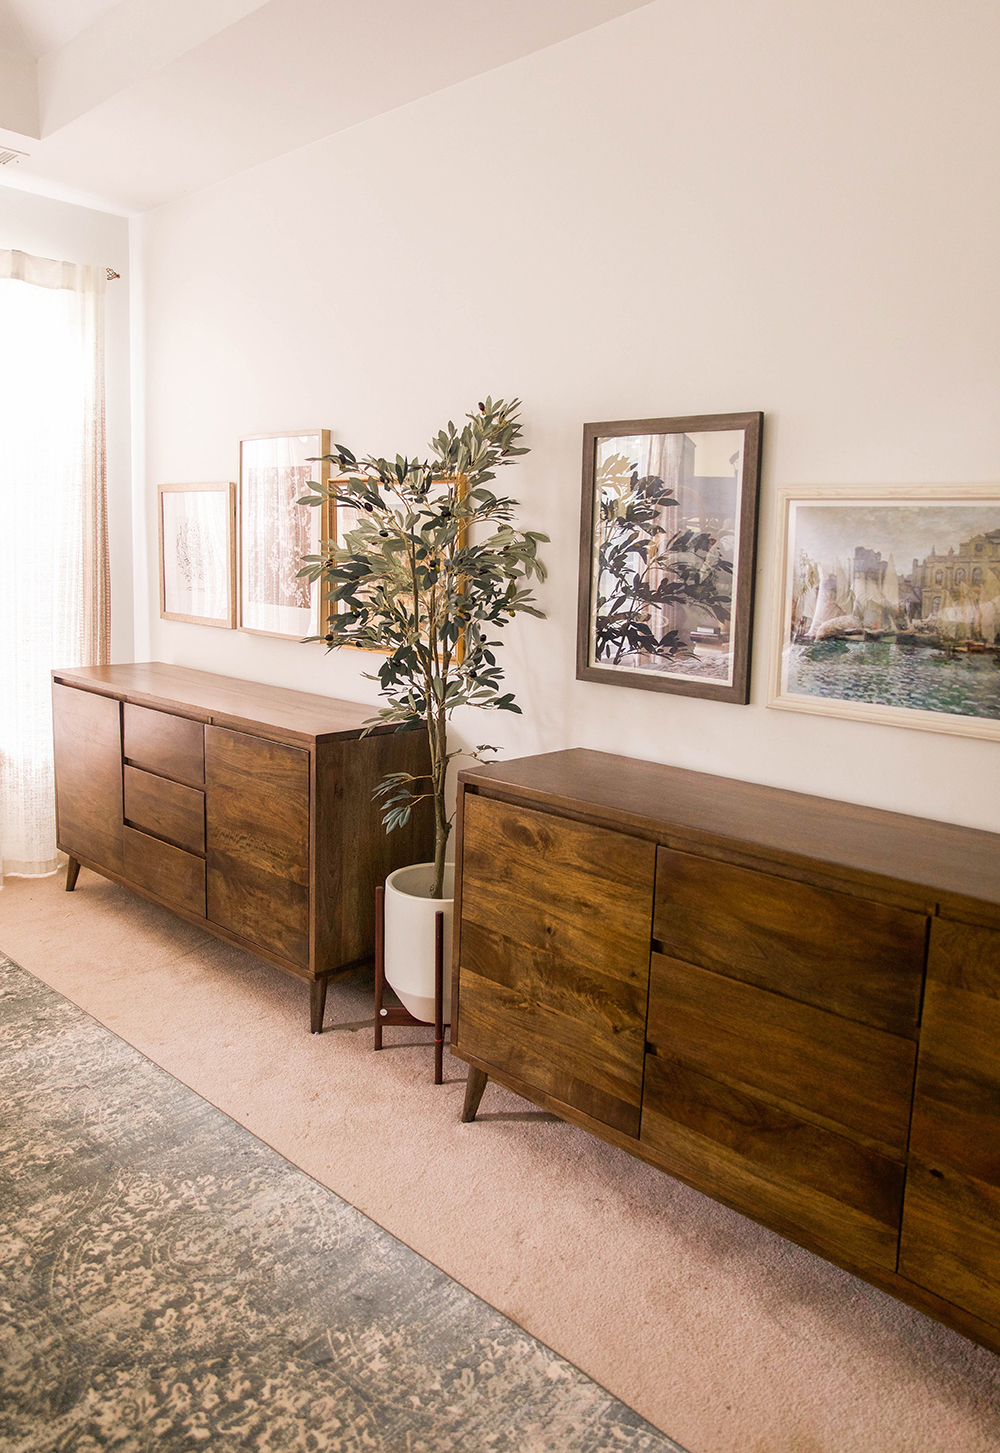
2. Next determine the order of how the frames will be hung on the wall and the desired distance between each frame. In our case, we had three we wanted to hang above each dresser with roughly 2 in between each frame. We wanted them centered on the dresser, so we measured the dresser and marked its center on the guideline. When hanging multiple frames in a straight line, hang the middle frame first.
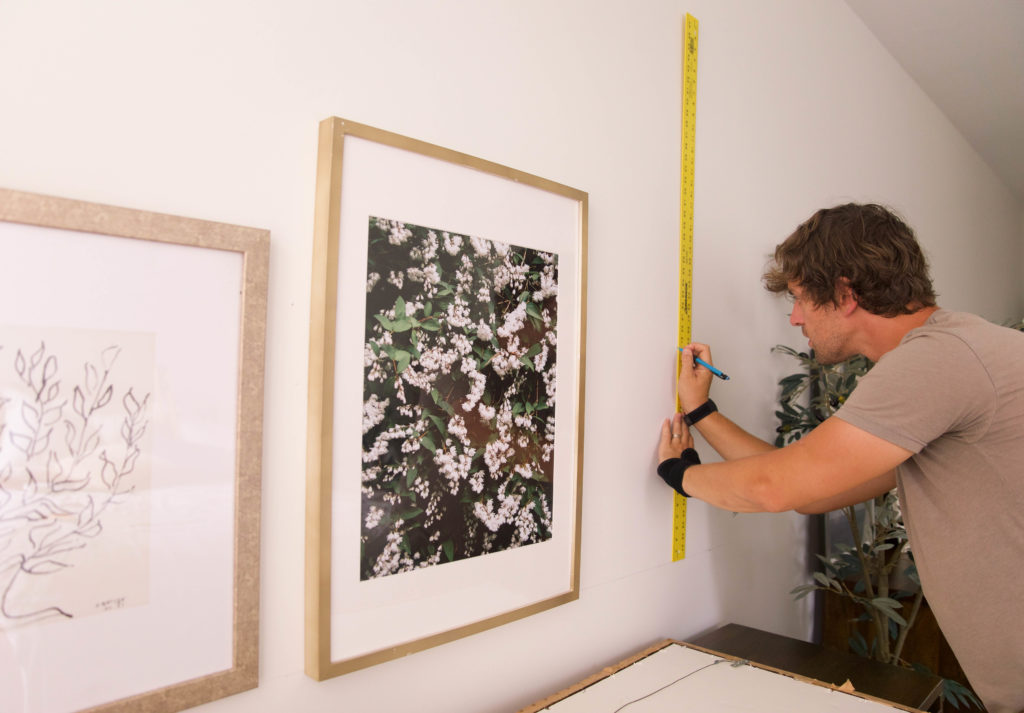
3. Find the mounting height by measuring the distance from the bottom of the frame to the frame’s hanger mount. OR if the frame has a hanging wire, measure the distance between the bottom of the frame and where the hanger would be pulled if hanging on the wall. Last take the mounting height measurement and use it to mark the location of where you will install your hanger hook or mounting hardware. Start at the center mark already placed on your horizontal line and go straight up the wall. Last install your nail/hanger hook or mounting hardware.
4. Hang your frame and use a level to ensure it is hanging level. Then mark the edges of your newly hung frame as well as the distance between that frame and the edge of the next frame on your guideline. In our case it was roughly 2in between each frame.
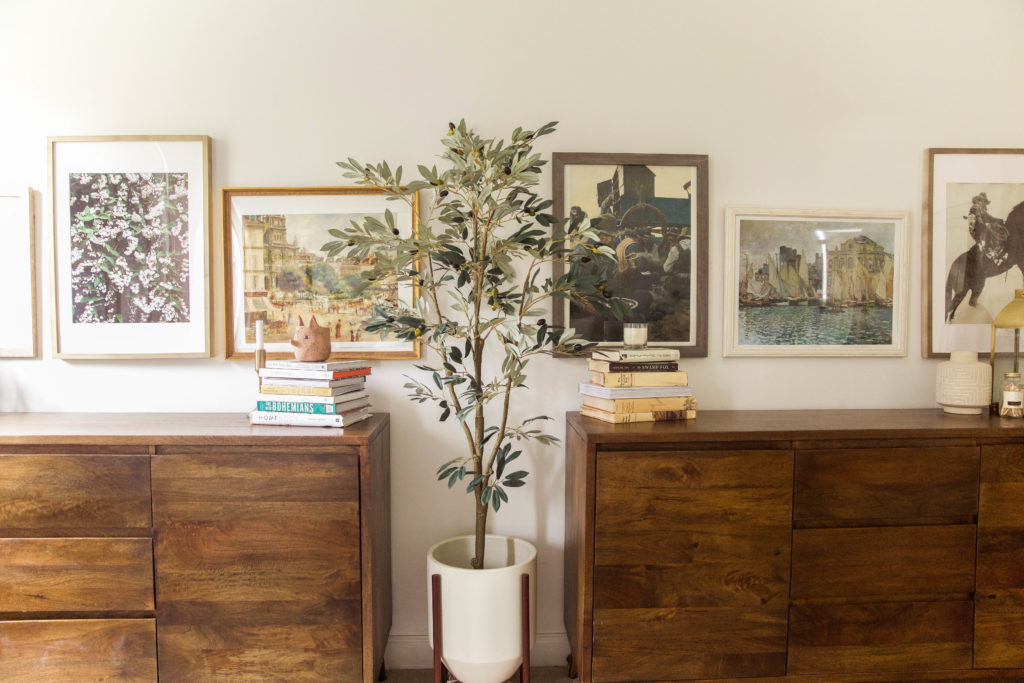
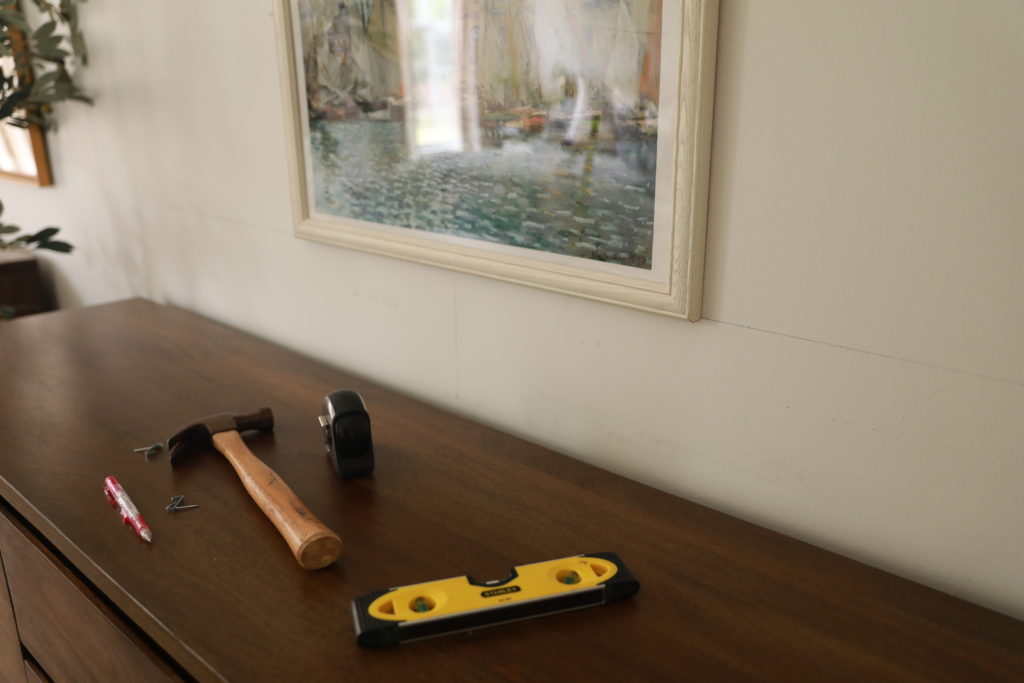
(And now it’s ready for all the usual clutter that collects here.)
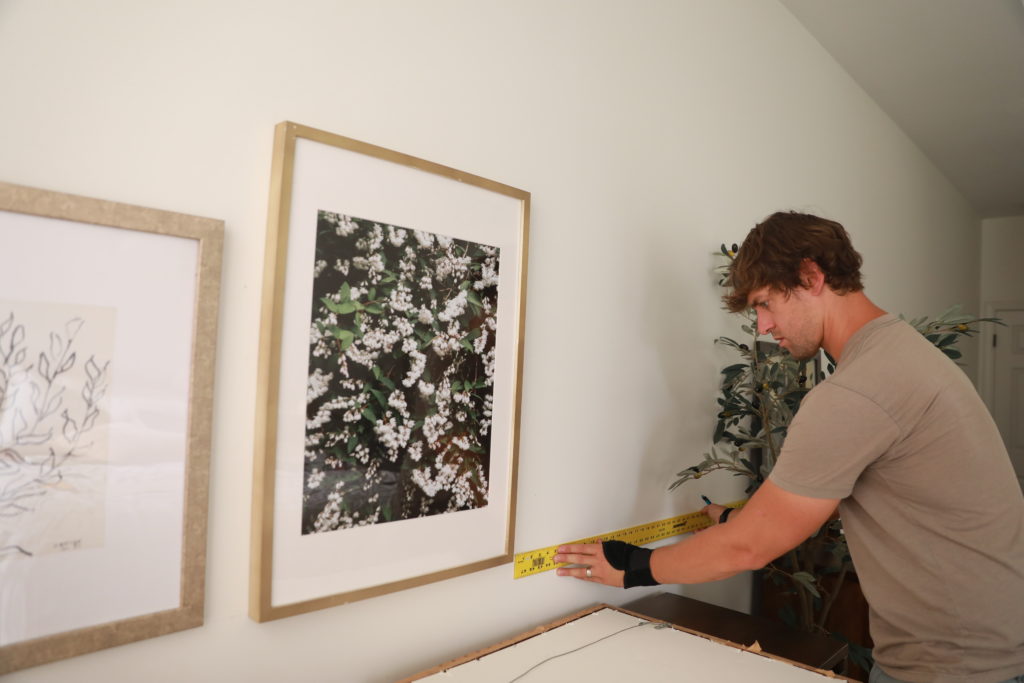
5. Take your next picture frame and find the distance from one of the side edges to the center. Do so by measuring the width and dividing it by two. Take this measurement and mark it on your guideline starting at the edge mark made in step 2, then follow steps 3 and 4 to finishing hanging the picture.
Keep following steps 3, 4, and 5 until all frames are hung!
I hope this gives you the courage to try something a little different in your home, and get those unhung wall pieces up! (Anyone else realllllyyyy good at procrastinating on hanging art?!)
Sources:
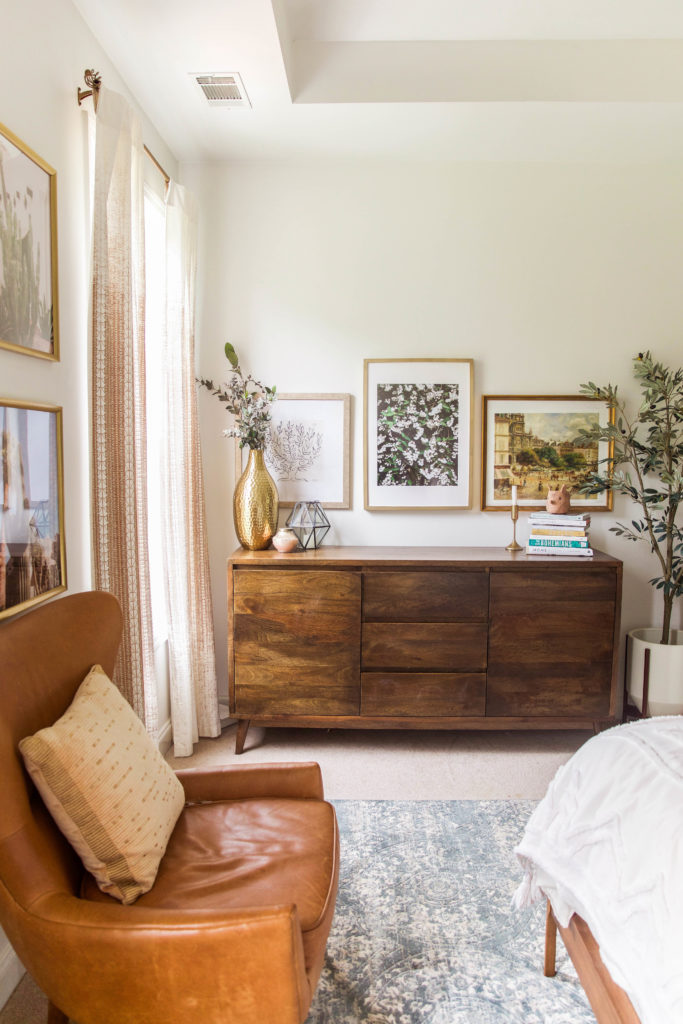
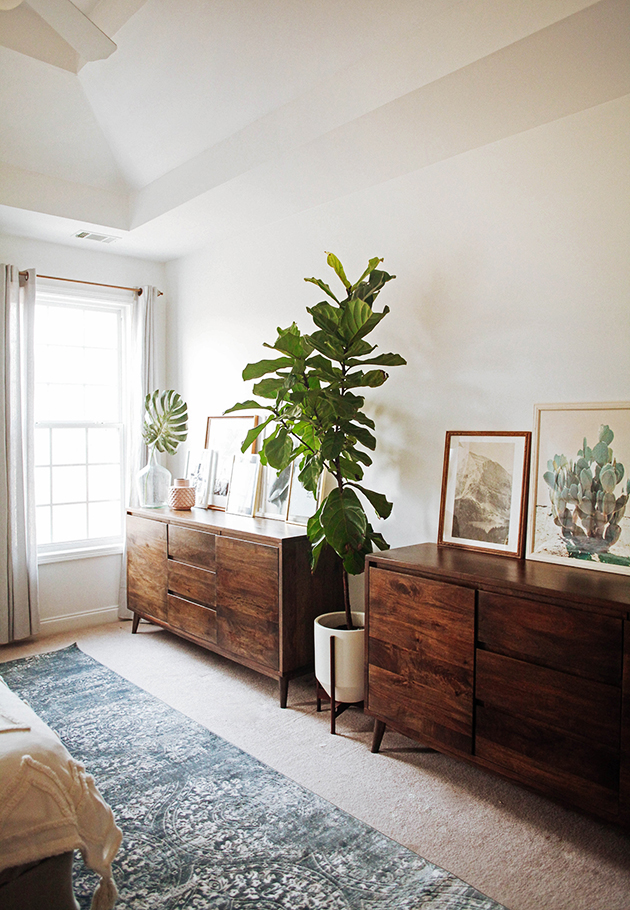
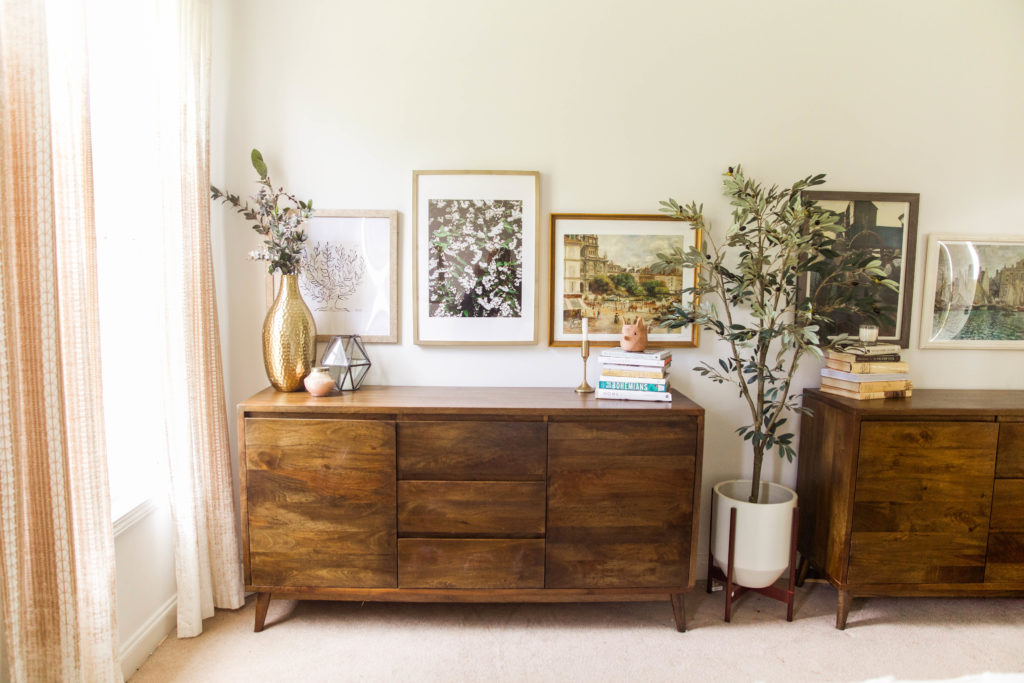
Dressers – These are actually buffet tables we originally got by Home Decorators, but used as dressers! They are out of stock, but similar here or here.
Faux olive tree – The best price for a 6 ft. faux olive tree was here. There is also a good 4 ft. version from World Market and hopefully Wayfair will restock theirs soon.
Planter – World Market
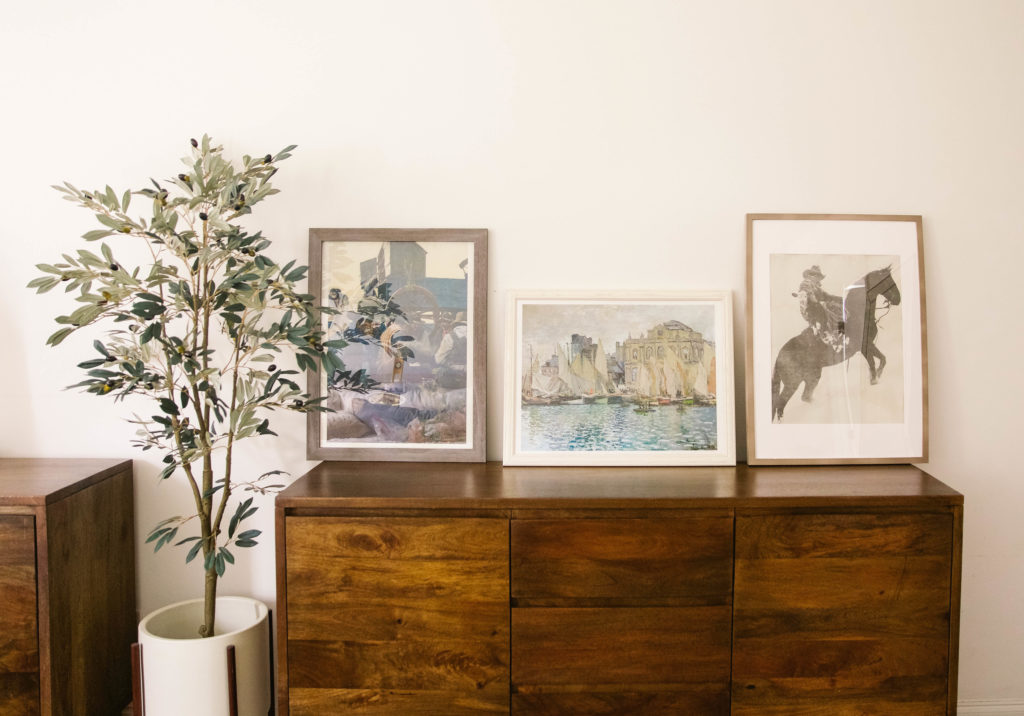
Art from left to right: Le Platane by Matisse, Vervain Print, Place de la Trinite by Renoir, The Lee of the Grub-Wagon by N.C. Wyeth, View of Le Havre by Monet, and Vintage Cowboy poster
Frames – I find most of my frames at a wide variety of places. Antique markets, Amazon, Target, Framebridge, Michaels, and IKEA. (The highest quality and most durable being from Framebridge.)
Desert Art Prints + Frames
Duvet Cover (also similar here)
Pom Pillow
Similar velvet pillows
Curtains
Leather wingback chair