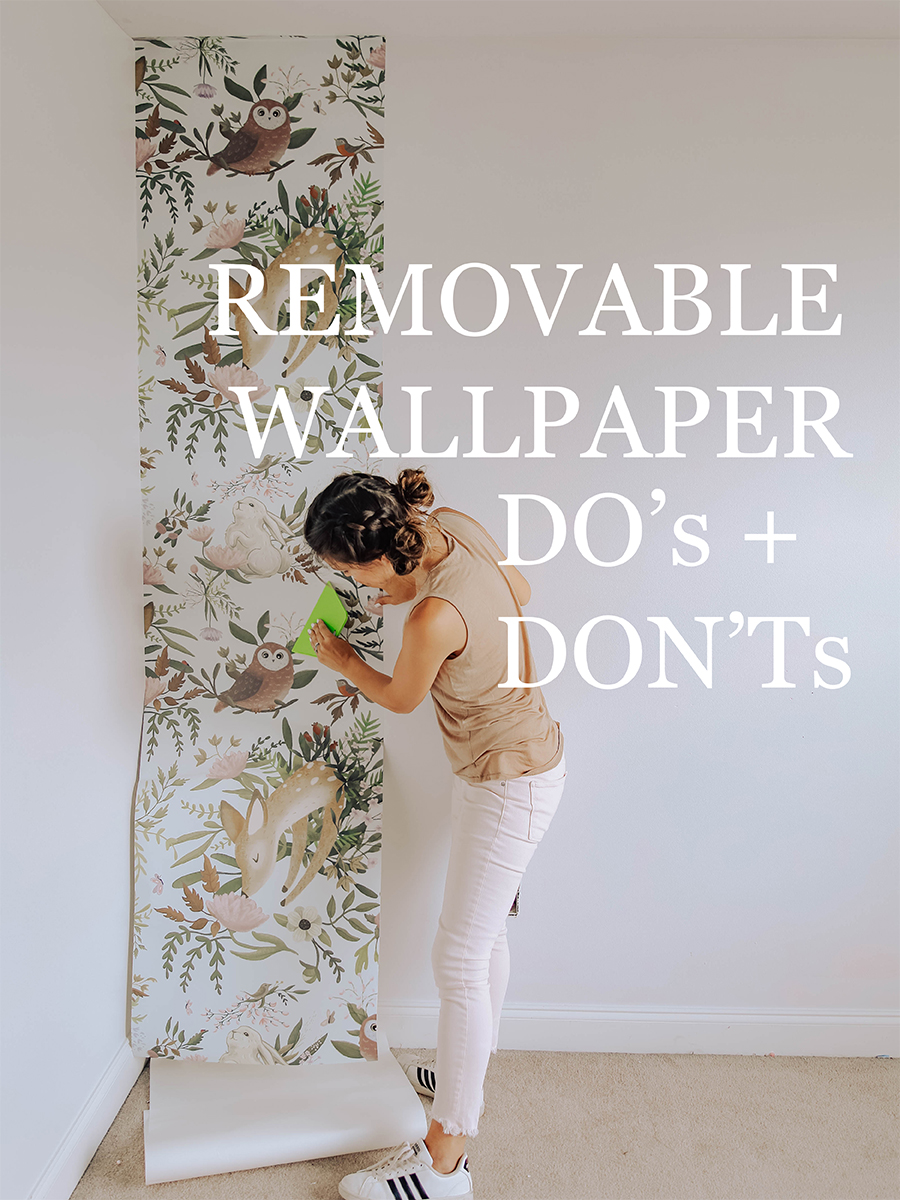

Over the weekend, we painted the girls’ room, and prepped it for a oh deer! removable wallpaper mural I’ve been so anxious to get up. I was totally positive going into it that I could do it on my own, and in two hours flat. I have installed it before in our old dining room. However, we learned a few things. One of them being that not all removable wallpaper applies the same. (Insert sarcastic laugh.) Read on for a few tips for applying removable wallpaper + the before and after!
Removable wallpaper is a great option for any space, whether you are renting or not. It’s so much easier to remove than permanent, and usually not too difficult to apply depending on the material. So if you aren’t sure how long you will be in a home or office, or are generally have a hard time making permanent decisions (ahem – hand raised), this is the solution for you!
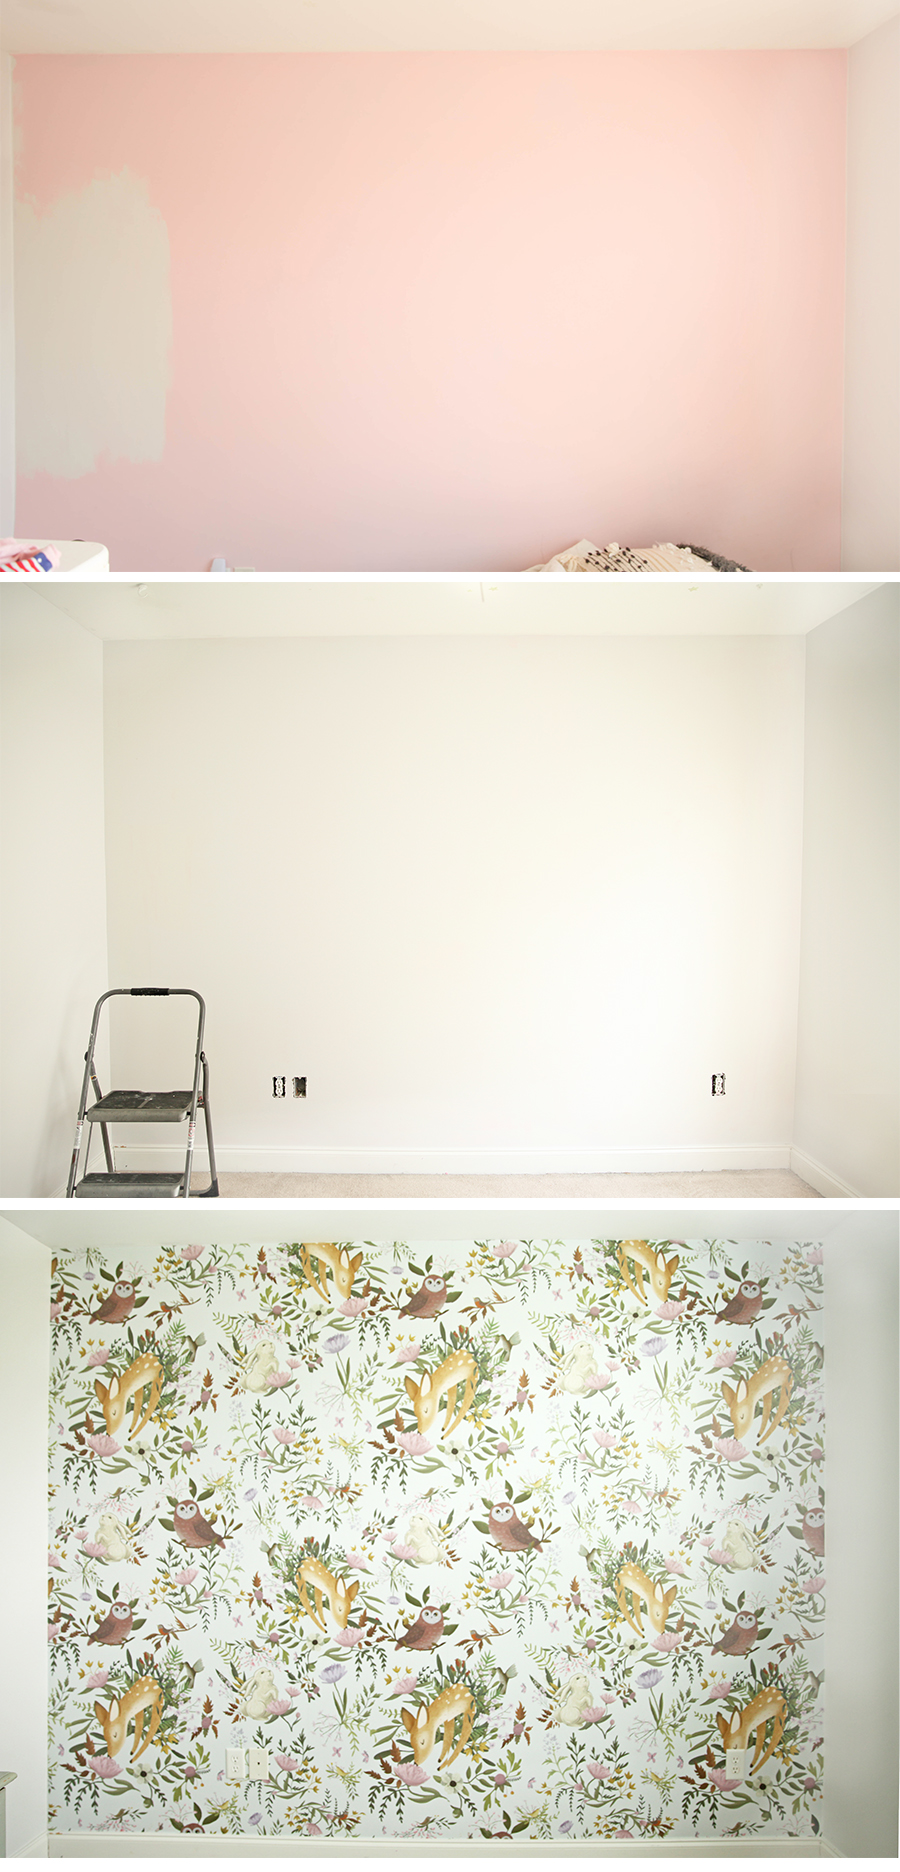
PREP
– Make sure your wall is even in texture, as well as clean!
– A few tools to have on hand that we used to align as straight and even as possible: painter’s tape, pencil, level, exacto-knife, and a smoothing tool which helps to flatten out air bubbles as you apply. Definitely a must-have, but a credit card would work if you are in a bind.
– Remove outlet or cable plates on the walls with a power drill or screwdriver.
– If there is a how-to video available from the company you buy your paper from, watch it beforehand! This was our first mistake. We missed the fact that we should have been measuring out each panel and marking prior to application since the animals have to be so precise on this particular design!
– Line up your panels on the floor if possible to see if there will need to be any overlap. This mural was custom cut for our wall space so we had 6 panels total that overlapped each other by two inches each.
APPLICATION
DO’s:
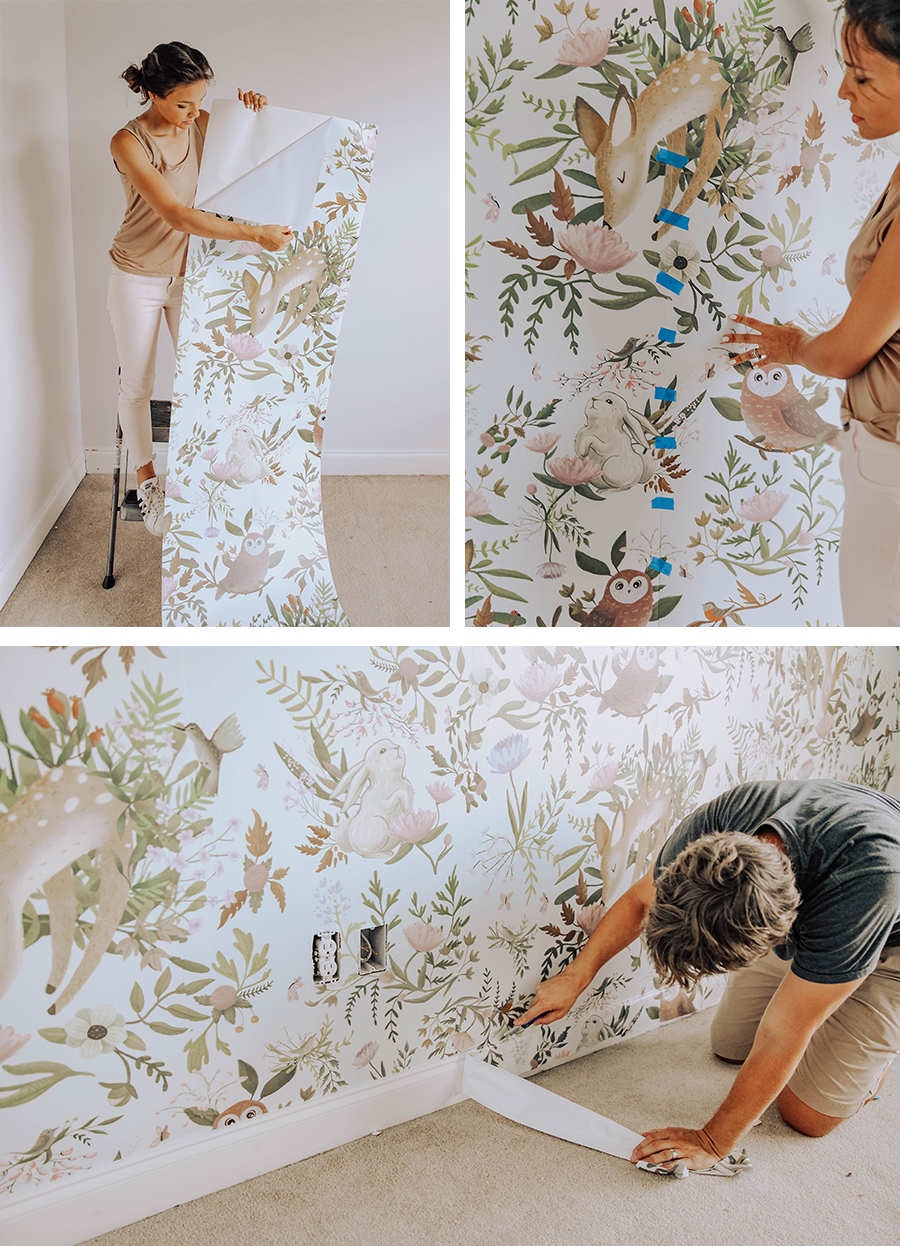
– Adhesive wallpaper feels like a sticker on the back, so once you start to take off your backing it will stick to anything it touches. Have your first panel lined up and ready to go before peeling back the backing. We left two inches excess on top knowing our walls weren’t perfectly straight (it is hard to find walls that are!), and left overhang on the baseboards as well to trim off last.
– Align the corner and left side of your first panel as straight to the wall as possible, and mark with a pencil on the right side all the way down the wall. This is why it helps to have a second person! One can hold the paper while the other checks to make sure it is straight against the lines as you go down the wall. Use a level if needed. The pencil line will keep you on track even if it doesn’t end up perfect.
– If you can get that first wall panel down well it will make the rest much easier. If one is misaligned, the rest will be that much more challenging to apply. Our sixth panel was a tad too short on the top after we aligned the animals because we had gone on a slightly downward angle each panel.
– Use painter’s tape to secure alignment. It takes two pairs of hands to get it set up and ready for peel back and application! You also better realllllyyy like the person you are applying wallpaper with. If you are a couple it may be true testament of your relationship;)
– Use a smoothing tool to press and smooth every section as you work your way downwards. Peel back paper a foot at a time and continue to work out bubbles towards one side. This will significantly decrease the chances of wrinkles and problems with alignment.
– Use an exacto knife to trim the outlet areas on the wall when you reach that area. If you apply wallpaper over it and continue it can create unnecessary bubbles.
– After all panels are applied, use an exacto knife to trim the top and bottom excess.
DON’TS:
– Do not apply and pull off and re-apply too many times or it stretches the vinyl wallpaper. We learned this the hard way. We ran into some serious bubble and stretch problems the second panel in that you would be able to see if you looked closer. Align it as best you can and stick it like you mean it!
– Don’t wing it. Take the extra time to apply painter’s tape all the way down to make sure it lines up the who wall length. Promise it’s worth saving the headache.
– Apply paper starting at the bottom. It is much easier to start at the top and work your way down. Smooth in small strokes in one direction in order to prevent wrinkles.
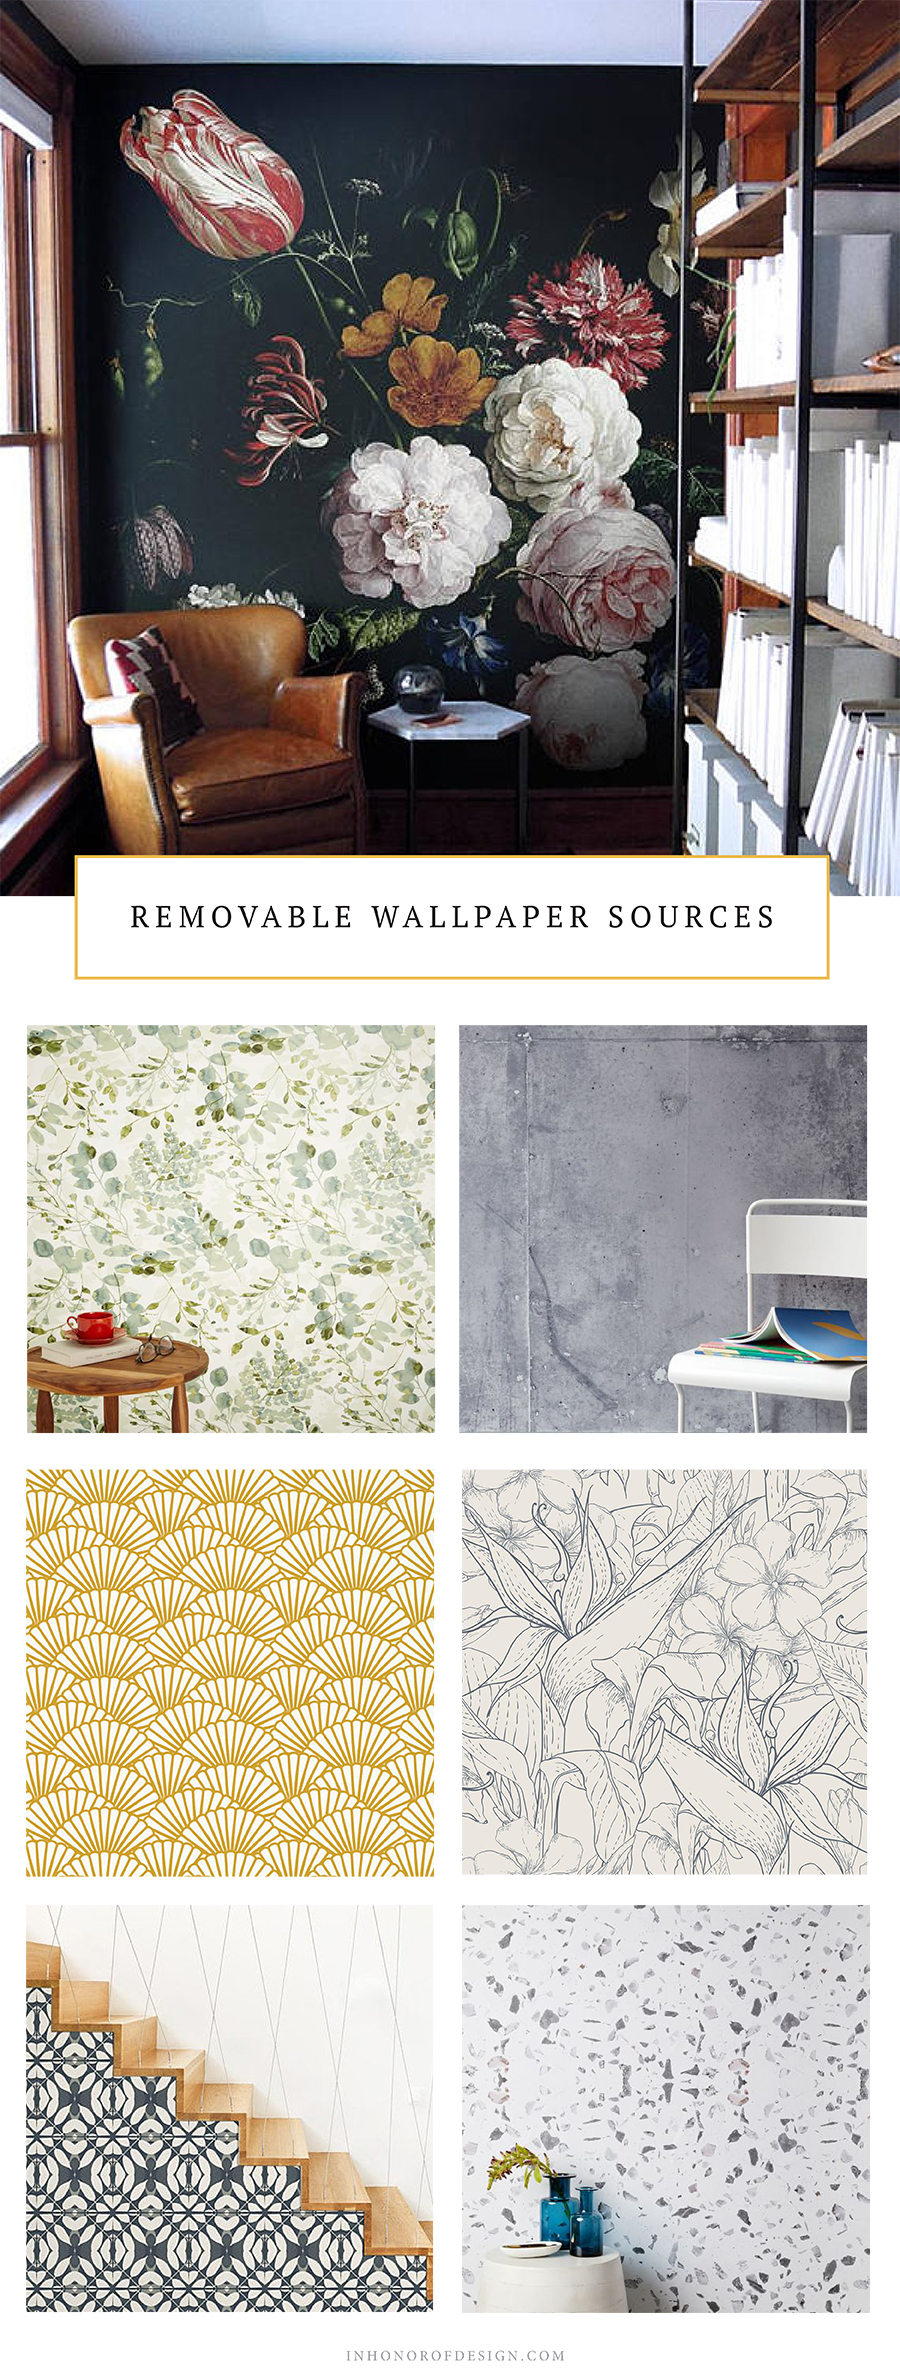
Dark floral wall image source, Botanical, Concrete, Scallop, Floral sketch, Mosaic tile, speckled marble
A few current removable wallpaper designs I am loving above. These are all great sources:
– Anewall Decor
– Hygge and West
– West Elm
– Chasing Paper
– Etsy
– Wallsneedlove
Here is a comical timelapse of the start to finish. Including Azelie eating a light saber. Rather than 40 seconds, it took more like 6 hours, but you get the idea;)
Let us know if you have any additional questions in the comments below. Hopefully we save you a headache and hours of unnecessary work if you are going for removable wallpaper in your own space!


