With the new baby coming we have been shifting rooms, and subsequently closets! It’s a crazy amount of things that can accumulate in such small spaces, and today we get to share the before, during, and after of a closet clean out + makeover of our girls’ room. (Custom shelves and clothing bar DIY here!)
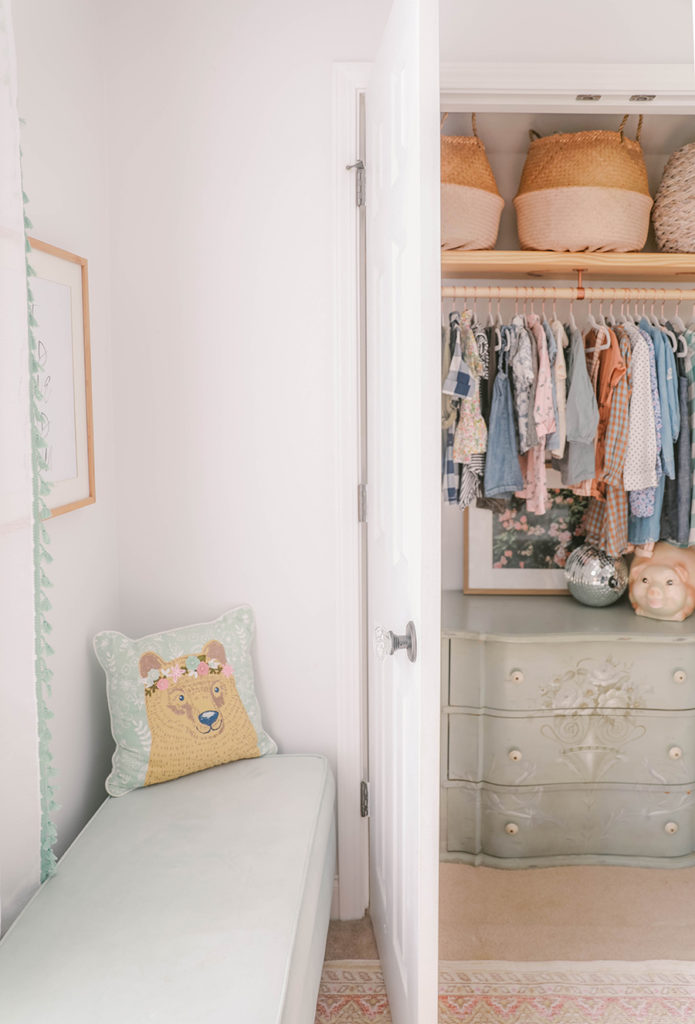
Veronica (8) and Azelie (almost 3) share a smaller bedroom right now (It’s about 12 ft. x 12 ft.), so it’s been a fun challenge to figure out how to design a space that works for both of their ages! Bunk beds were a great floor space solution, that they both still really like. You can check out their bedroom reveal post for more of their room.
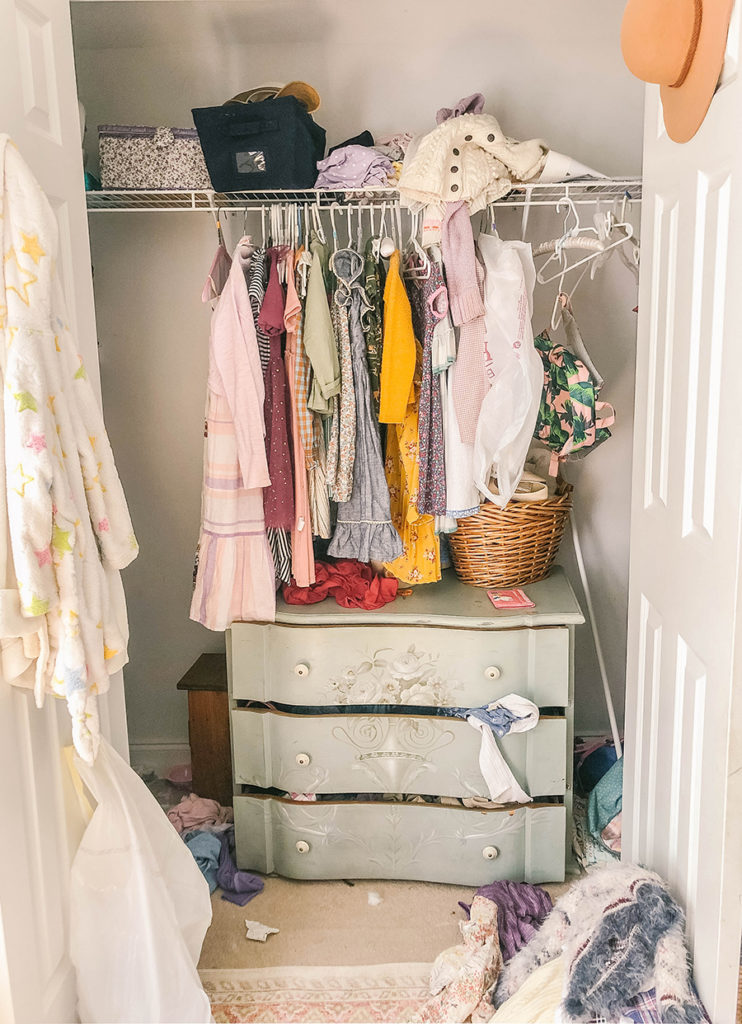
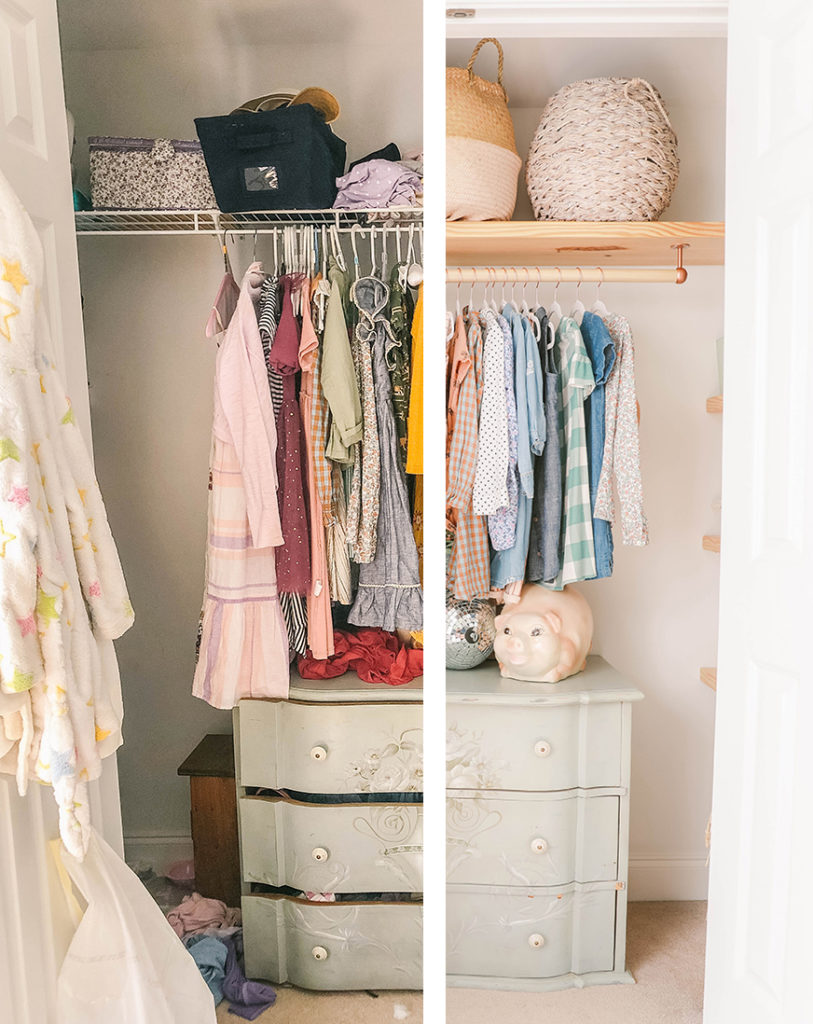
The closet on the other hand…it has been kind of a haphazard mess that was low on the priority list as we were doing other bigger projects around the house. Azelie’s clothes have been in another room all of this time!
FIRST STEPS
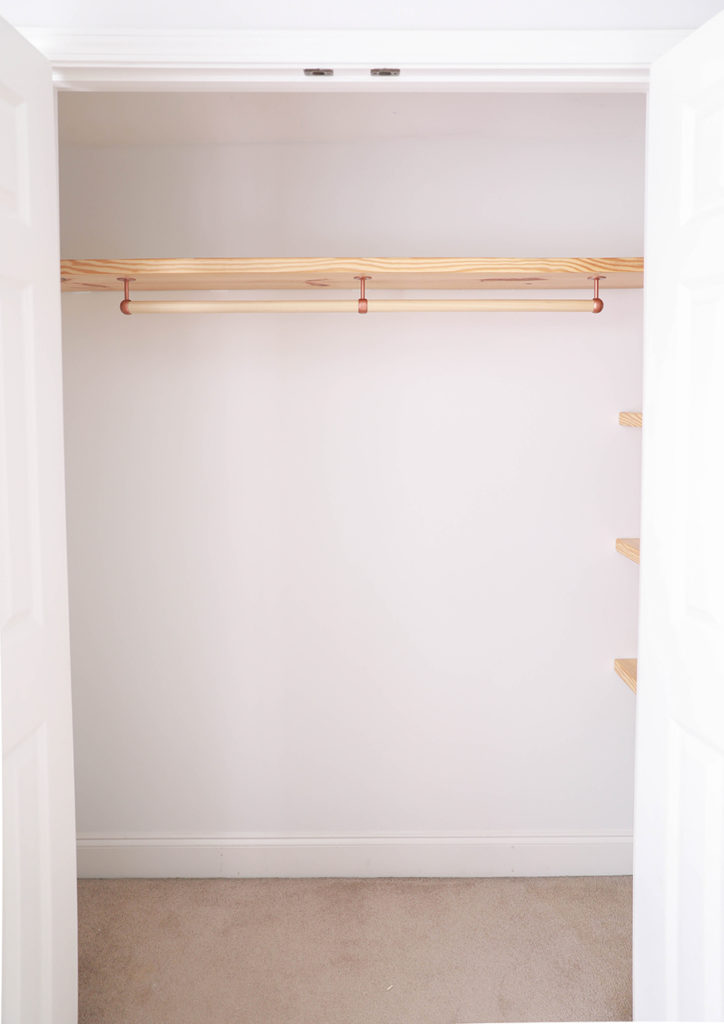
The first thing I did was pull just about everything out of the closet, sort into piles of what stays and go’s, and made a list of everything that would need to be done. We decided to build custom wood shelves and hanging rack since they are so sturdy and last forever! While Gabe worked on that, I worked on designing a layout that could actually fit not only their in season clothing (which we keep pretty minimal), but their dolls, toys, and off season clothing and bedding as well. Gabe removed all of the wire shelves + patched the walls so we could start fresh!
DRESSER VS. CUSTOM DRAWERS
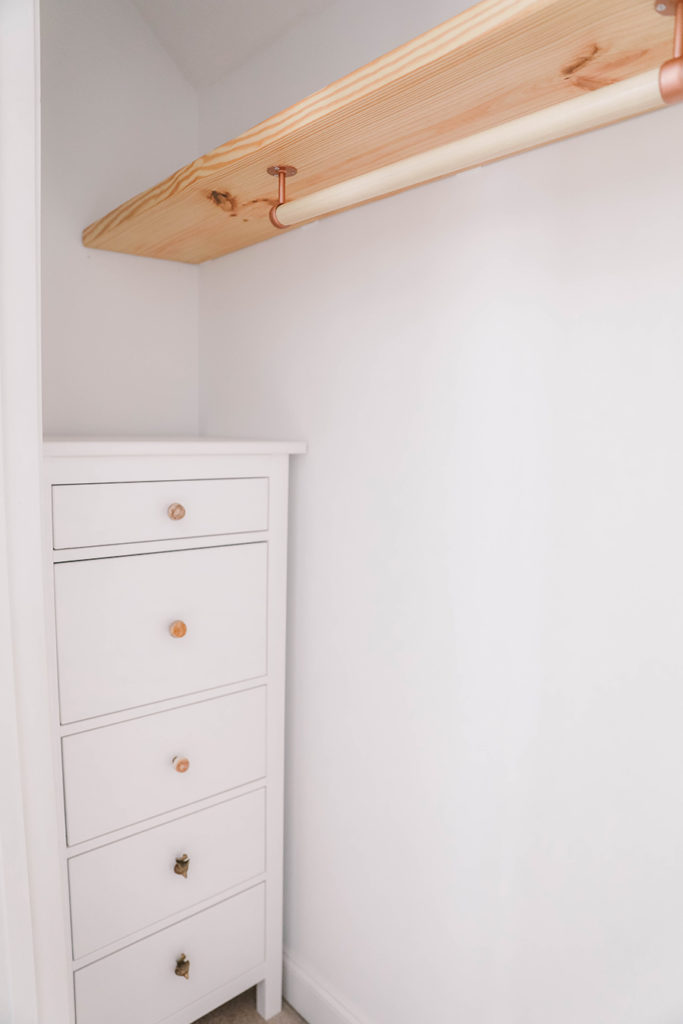
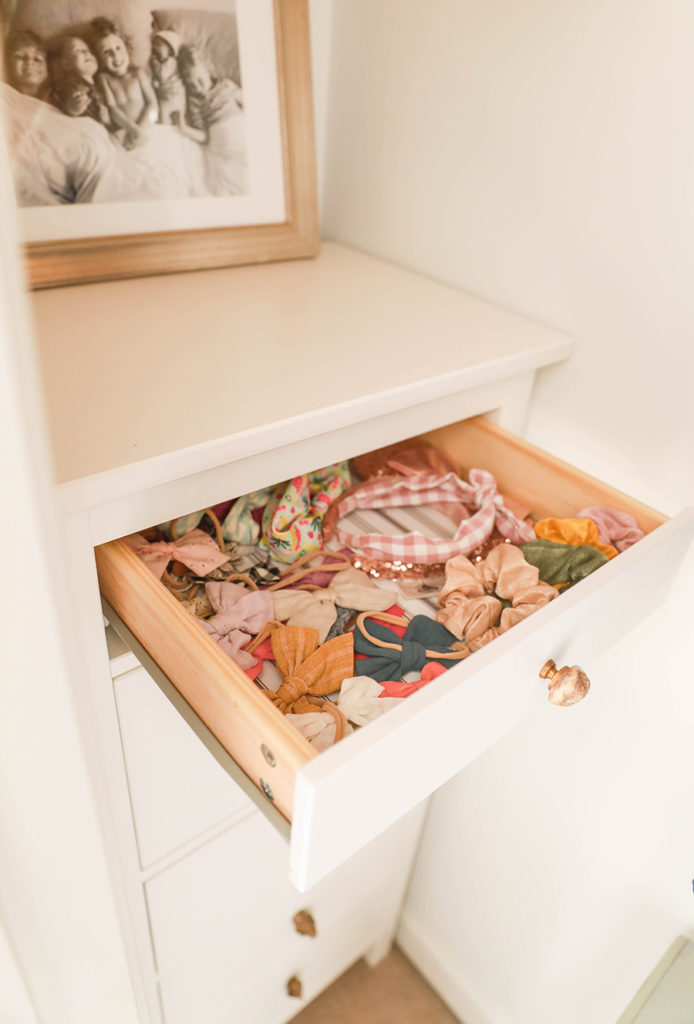
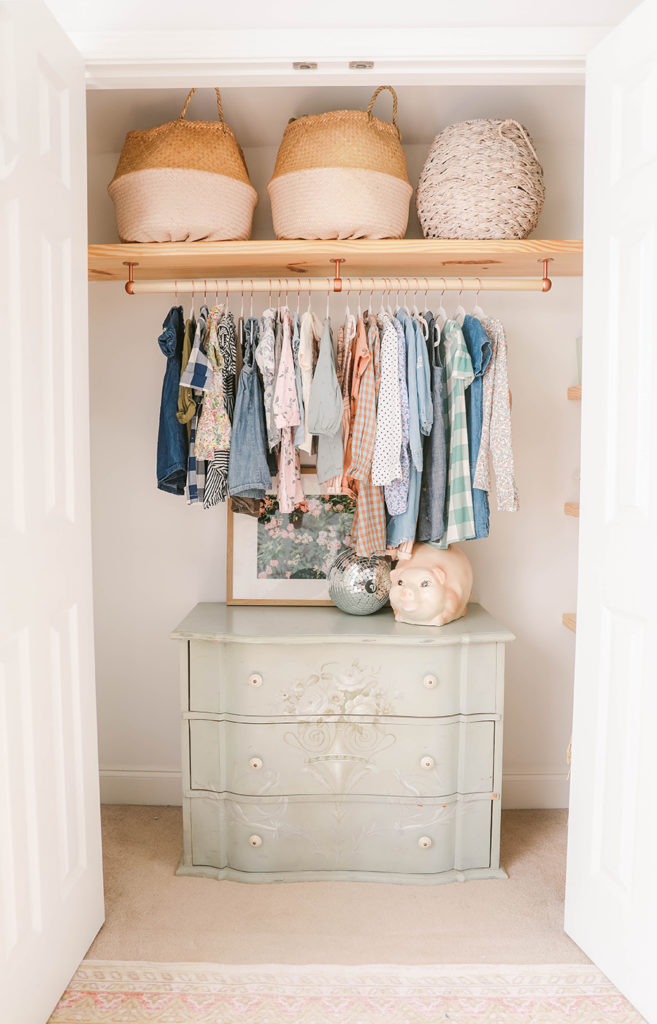
We initially debated custom drawers on the side of the closet, but realized quickly it would be more time and cost efficient to do something pre-built. I found this chest of drawers on IKEA that was exactly the dimensions of the side section of the closet. It is a sturdier design than others I have experienced, and although we had to assemble it wasn’t all that bad to assemble! Took approximately 2-3 hrs. total. We switched out the knobs for some fun ones I had been saving for a worthy cause;)
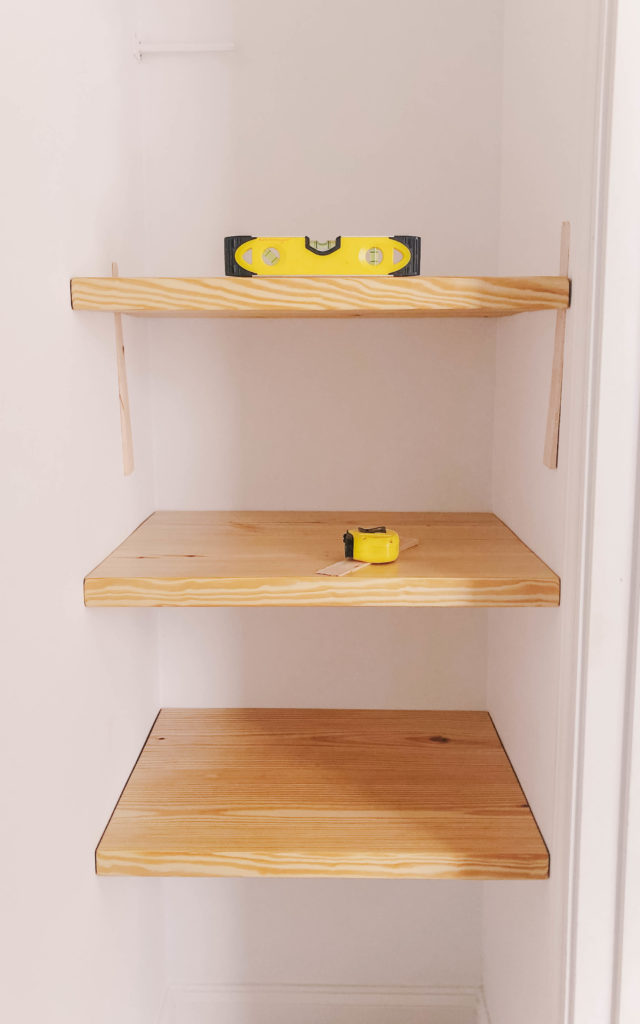
Replacing the Shelving
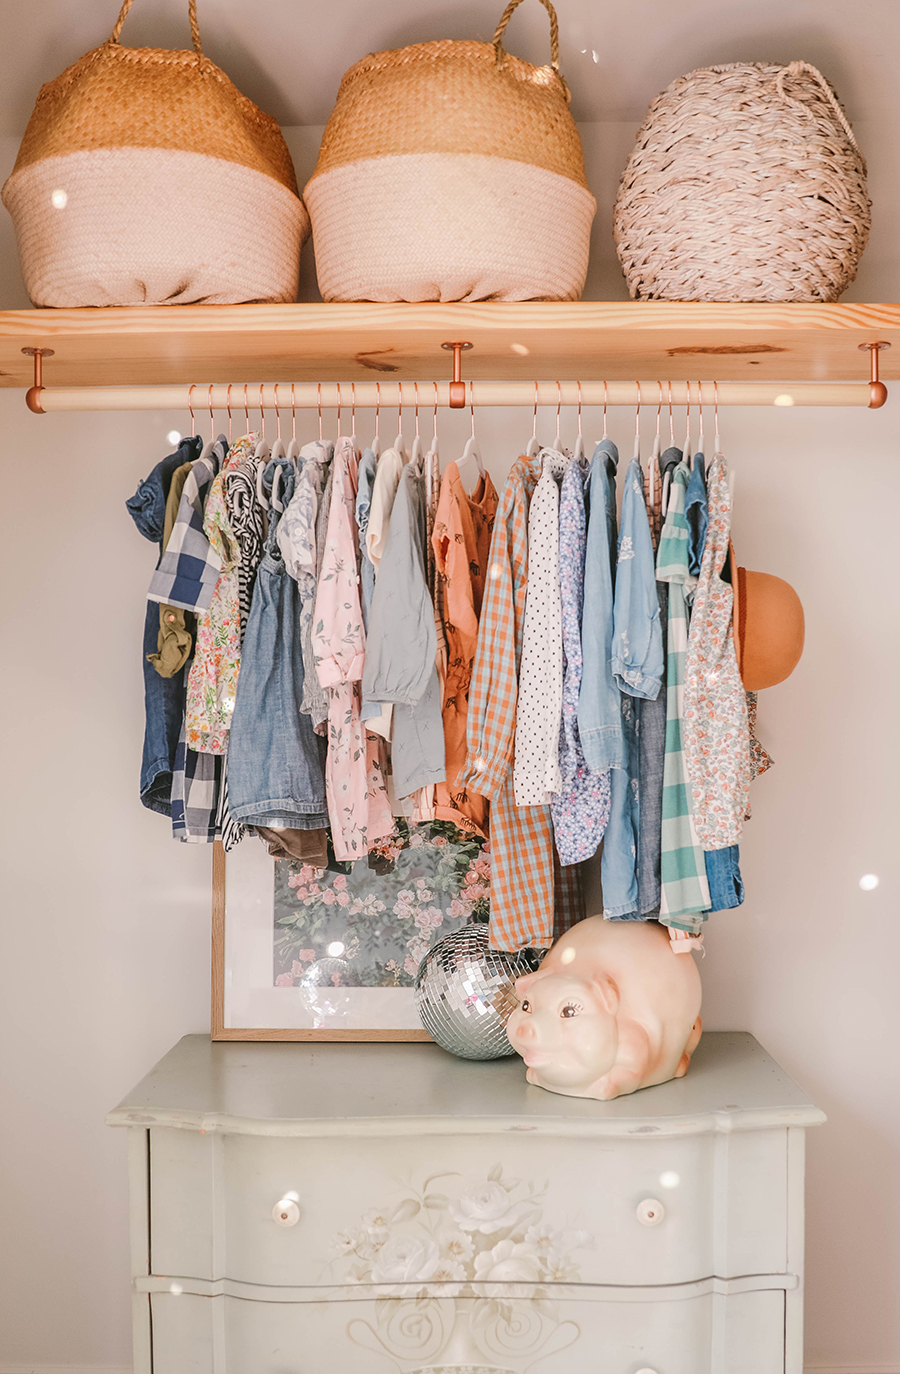
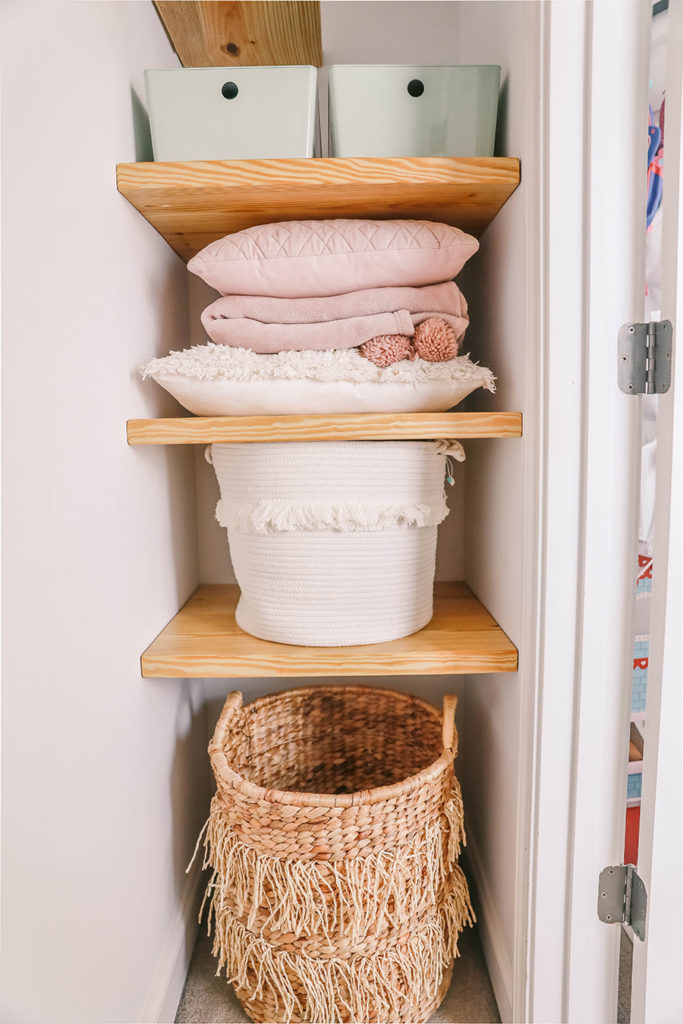
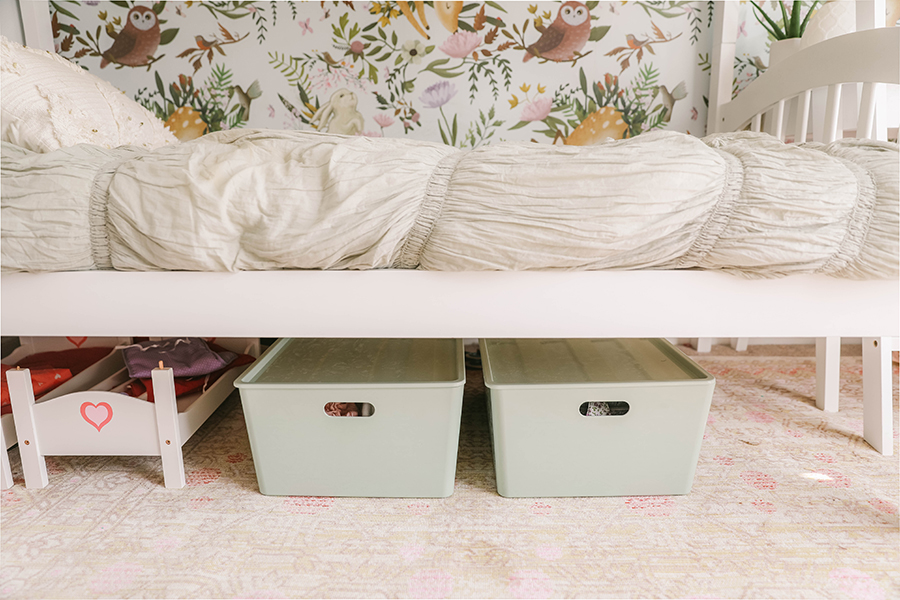
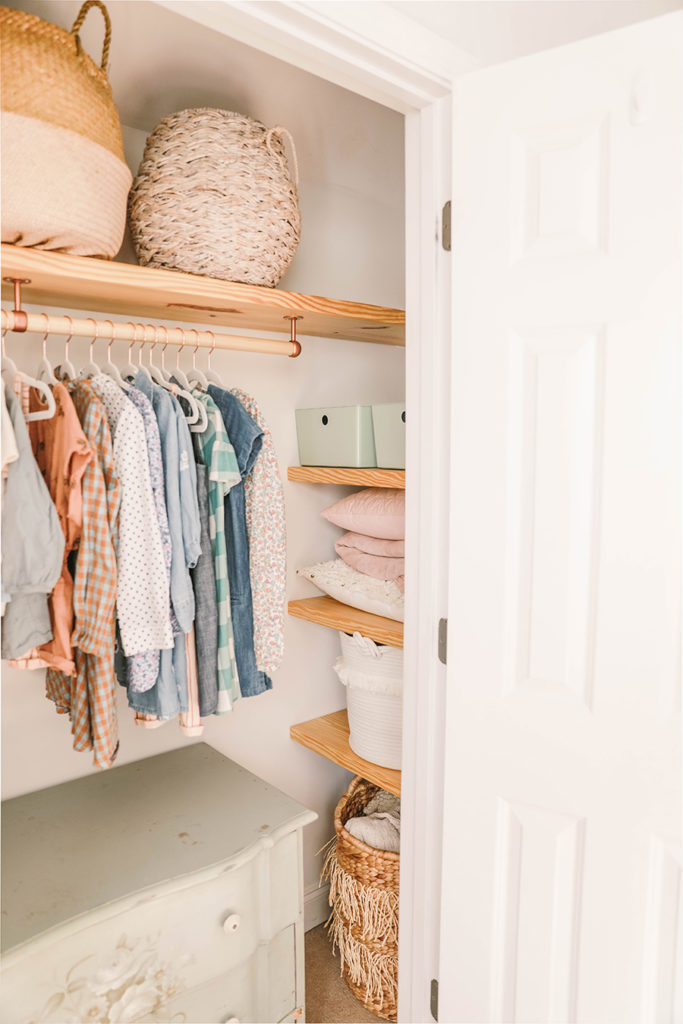
On the other side we kept the same shelf set up, but just replaced the wire shelves for wooden floating shelves. The larger basket at the bottom will be used either as a hamper or for blanket storage. I loved these stackable bins I also found at IKEA for the girls legos, tea sets, and other keepsake items.
On the top floating shelf where we will keep more baskets for off season clothes, dress ups, or items they don’t use on a daily basis. Veronica also is going to keep some craft projects and sewing kit up there that she doesn’t want Azelie to get into – because toddlers are good at that. We had quite an unfortunate nail salon spill all over the carpet recently….ahem.
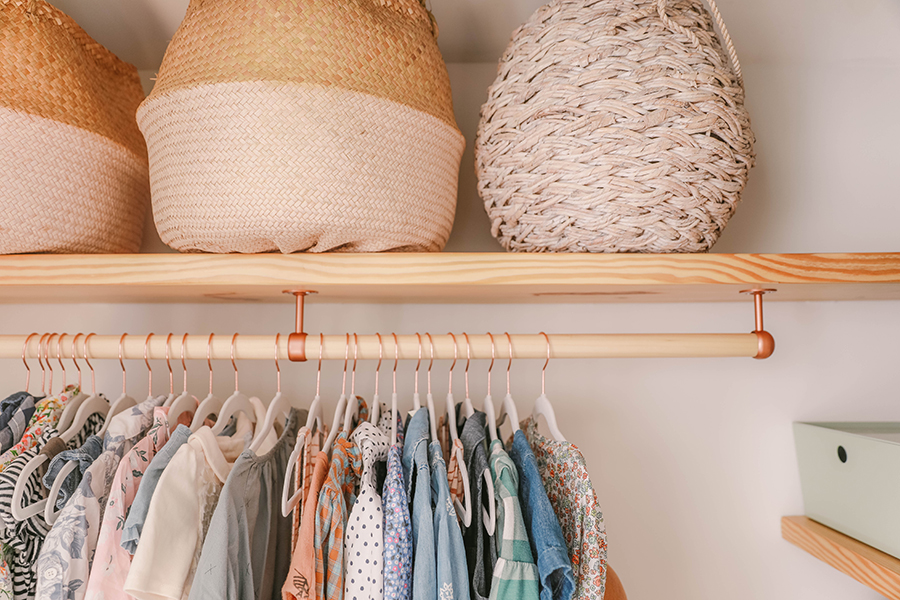
Hanging Clothes Bar
The bar was actually pretty simple to assemble and install (more on that soon as well!), but we kept it only the width we needed. I try to keep the girls clothes pretty simple with a mix and match capsule wardrobe each season. The nicer shirts and dresses we hang, and the rest goes in drawers.
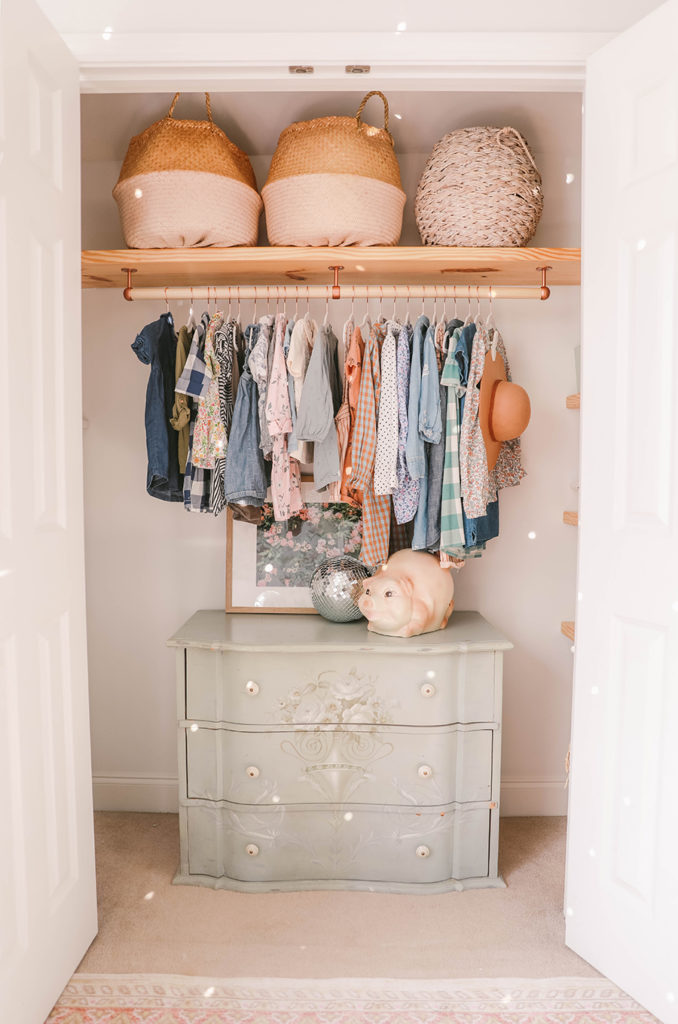
Funny story about the small vintage dresser – I originally spotted it on Facebook marketplace and fell in love! I clicked on it immediately, and realized that it was my sister who was selling it! (Sharing taste in all things since we were tots.) Called her up and she graciously let me take it offer her hands!
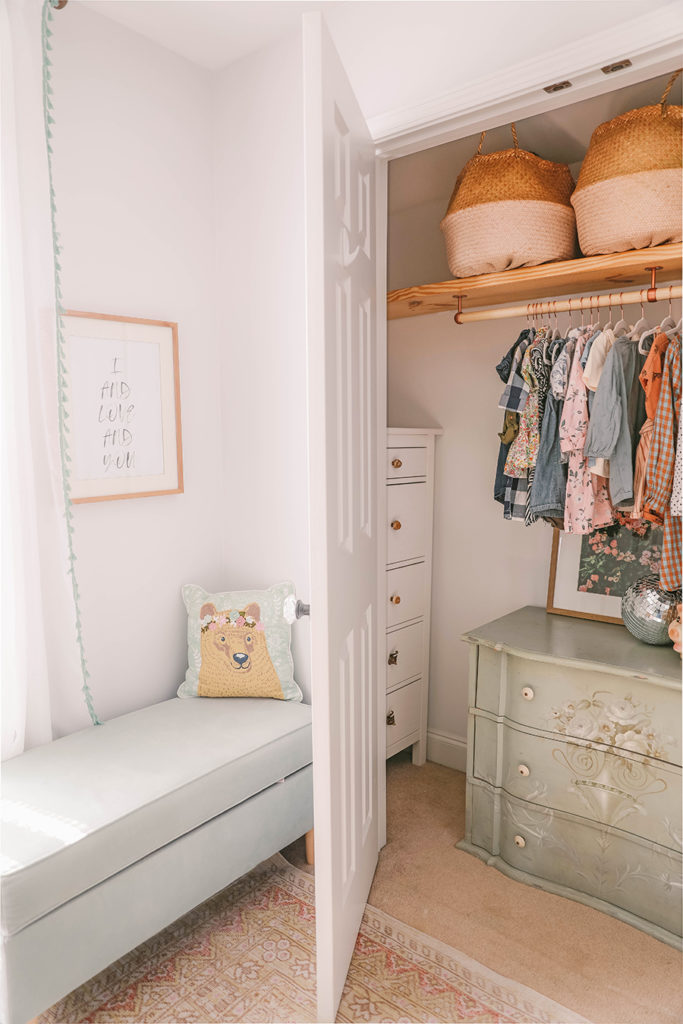
Utilizing Every Inch
This closet is definitely full, with every inch utilized! If it was just Veronica, I wouldn’t add the dresser, but this is what you call making it work with the space you have:)
SOURCES + TOTAL COST:
Top shelf:
color block baskets – $15 ea. (sold out but similar here)
white round basket – $24 (sold out but similar here)
Side shelves:
stackable light green bins – $8 ea.
white rope basket – $25 (sold out but similar here)
wicker fringe hamper basket – $30
Ikea side chest of drawers – $199 (Already had drawer knobs) (sold out but similar here)
Vintage Dresser: (Already had from my sister)
No -slip rose gold and white hangers: $21
Rosebud print download (from our shop)
Vintage piggy bank – (three generations old from Gabe’s Oma!)
Wood materials, brackets, and hardware – $85
(We already had wood finish, wood glue, and screws on hand from Gabe’s handy dandy workshop.)
___________________________
Total Cost: $410
Side note – This cost almost as much as our powder room bathroom makeover – whoa! Although, I would say this could be half the cost if you just use whatever baskets you have on hand, or try inexpensive stackable bins until you find cheaper options at a flea market.
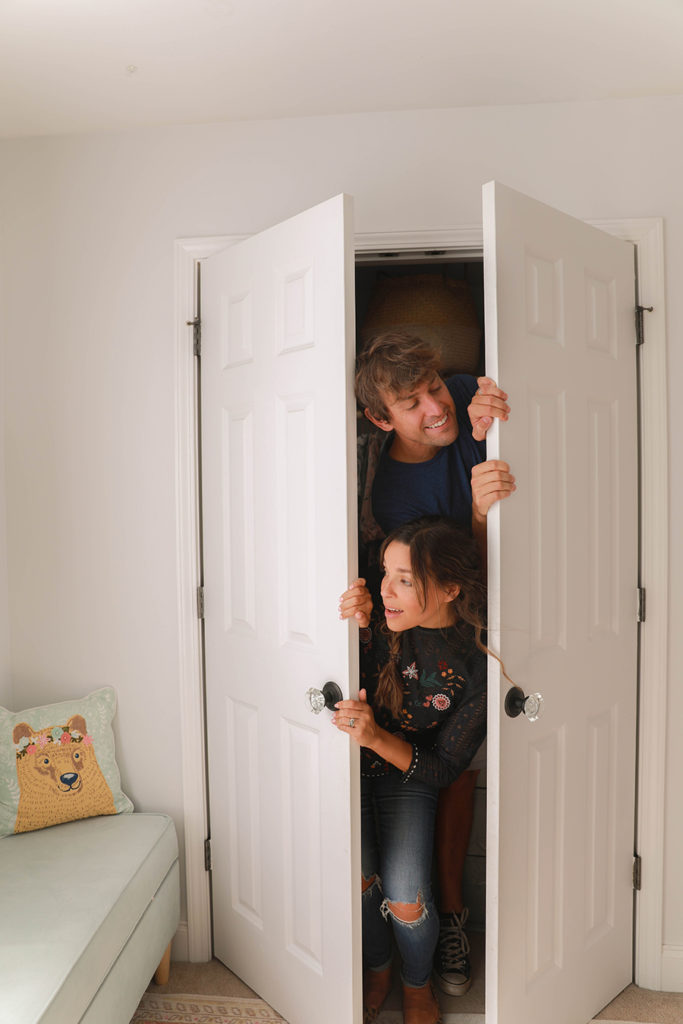
I can now let out a big exhale! This was a very satisfying project to complete as someone who is nesting furiously like a bat out of he**. Lucky for me, Gabe was excited about the challenge too. We are sharing some fun video timelapse of this process on IGTV tomorrow, and there are many behind the scenes videos on instagram in our highlight section as well. Please don’t hesitate to ask us any questions you have though in the comment section below!


